
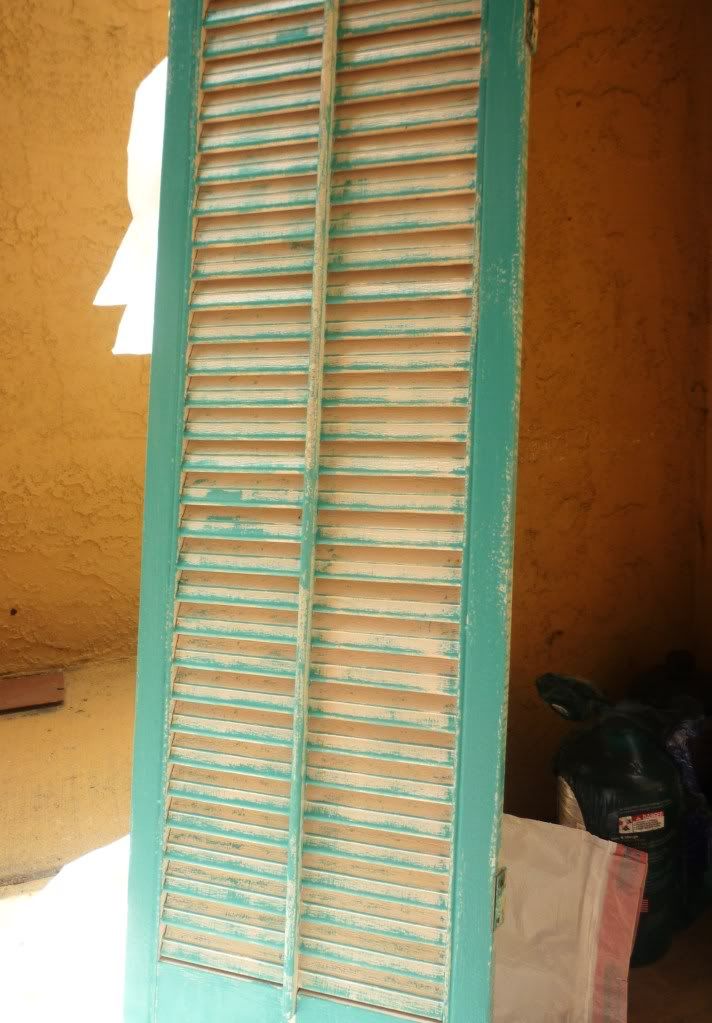
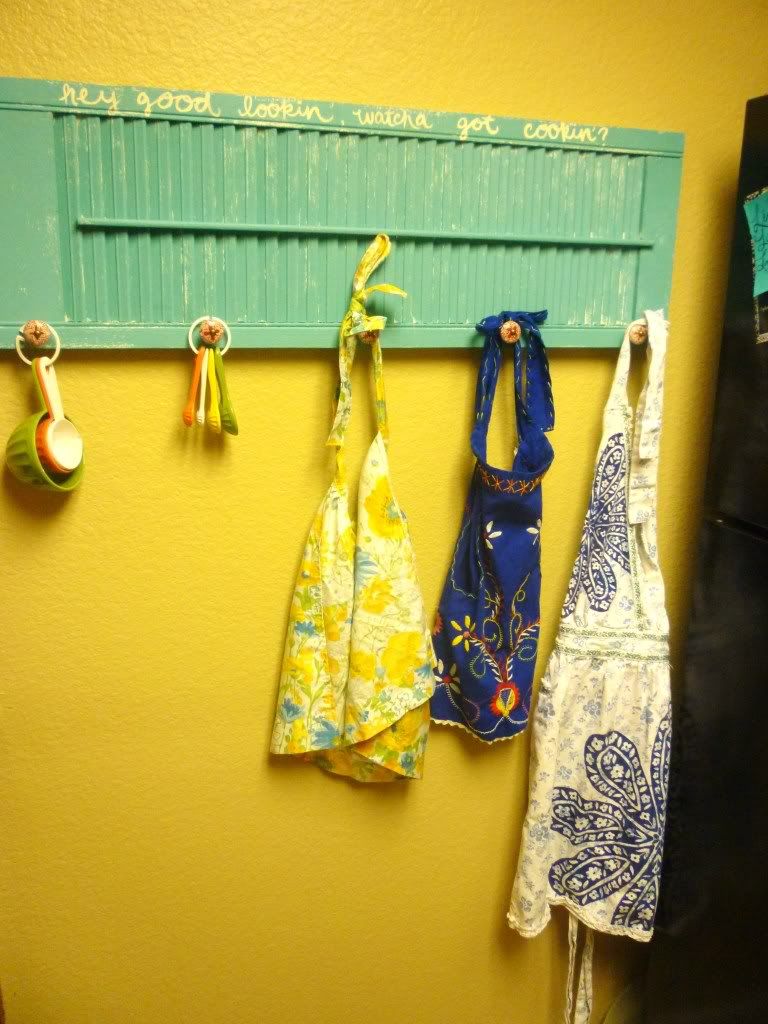
Take this shutter, for example:
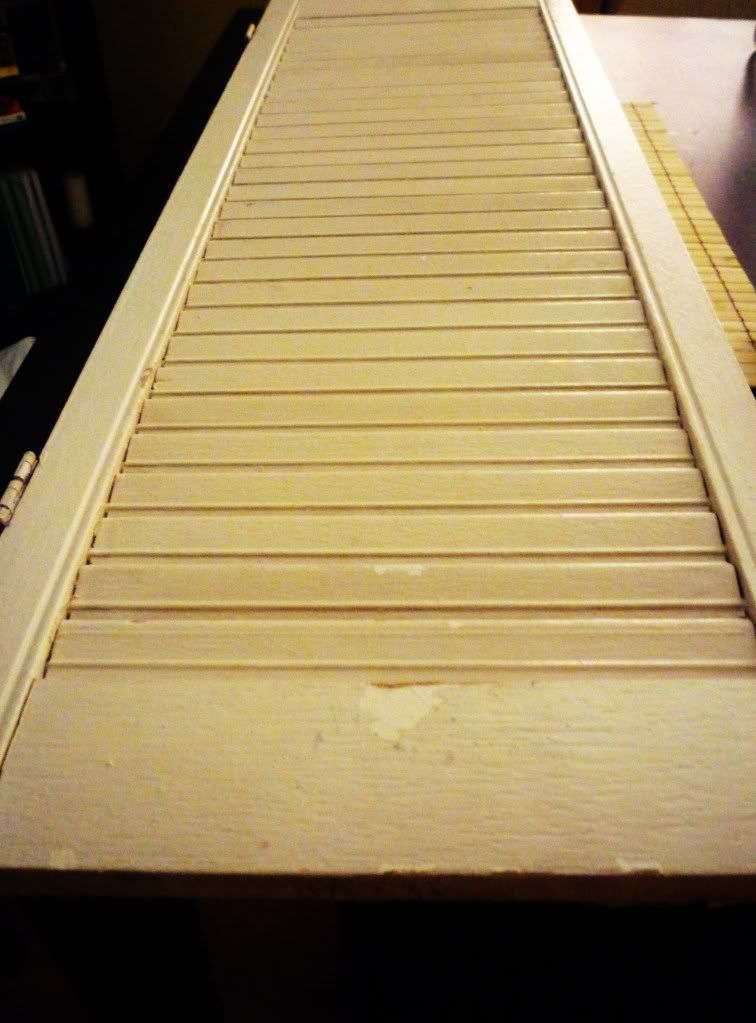
I have had this shutter for well over a year...maybe even two. I bought it at the thrift store for 95 cents. It's made three moves with me. This is craziness. But somewhere deep down I knew it had some seriously great potential.
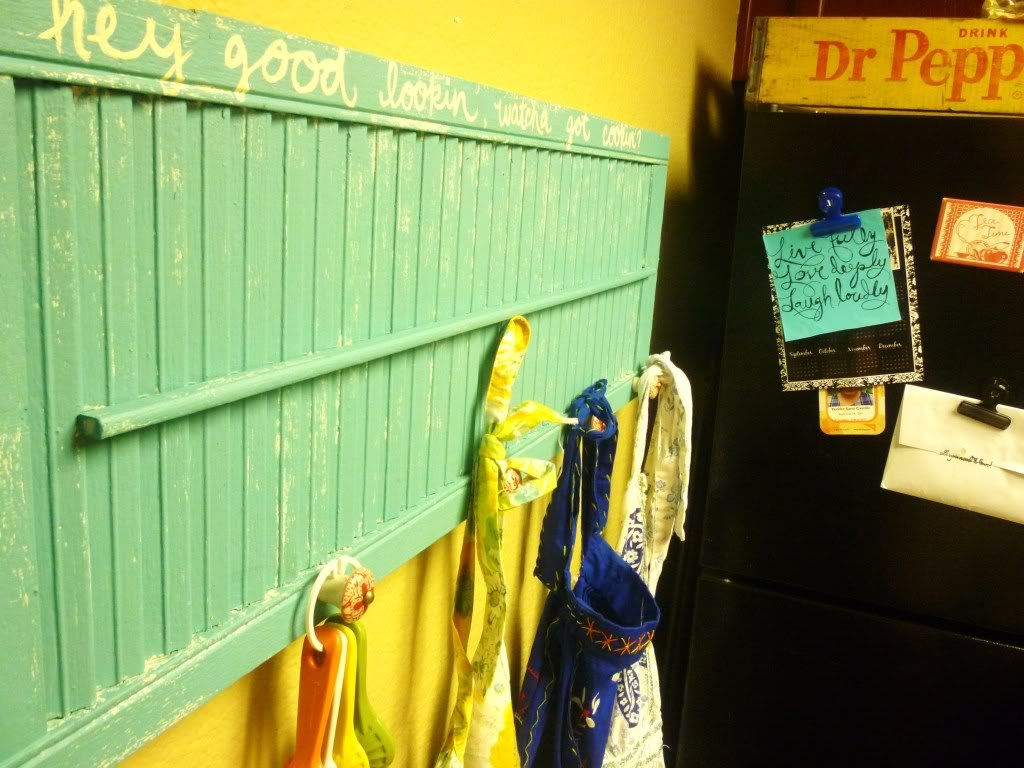
Well, I finally decided to tackle it. I saw these shutter hooks from Pier1 and felt the inspiration bug hit. I needed something to fill up some blank space on my kitchen wall, and I also needed somewhere to hang at least a few of my many aprons (I have a slight
If you want to re-create this project, you'll need:
- one shutter (or similarly sized piece of wood)
- paint brushes (1 medium size, 1 very small, fine)
- latex paint, any color
- craft paint, contrasting color (for lettering)
- 3-5 small knobs or hooks (mine are from world market)
- drill, 3/16 drill bit (if using standard cabinet knobs)
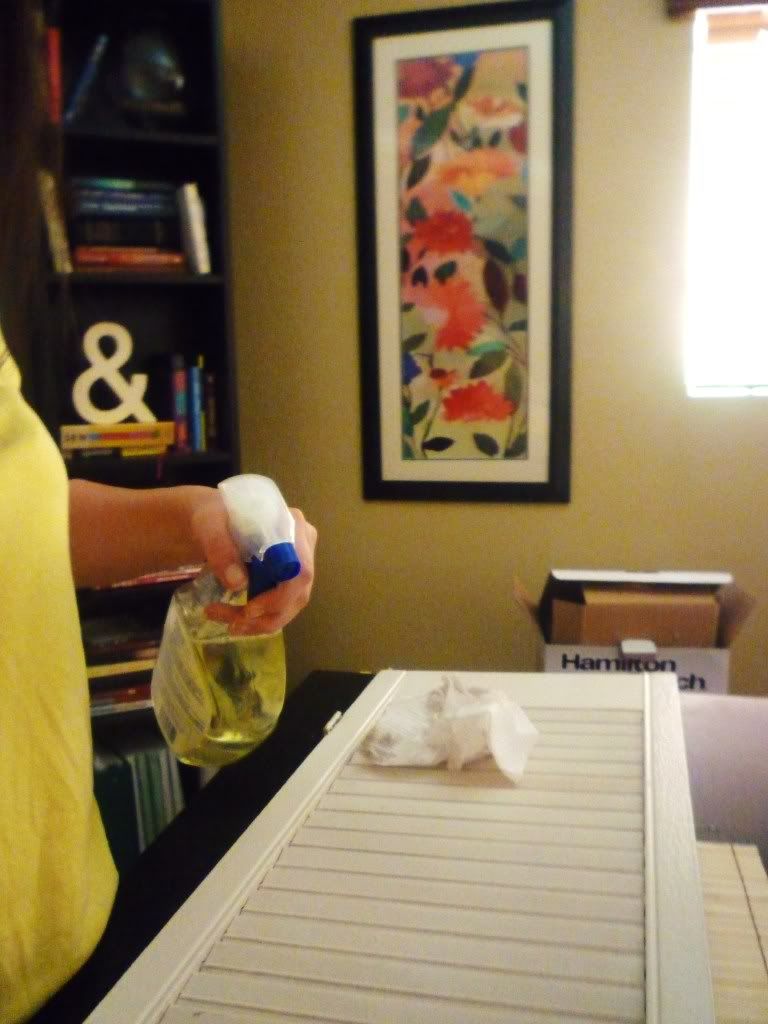
Step one: clean that dirty shutter. I just used some basic cleaning spray and paper towels. LOTS of paper towels. That sucker was dir-tay.
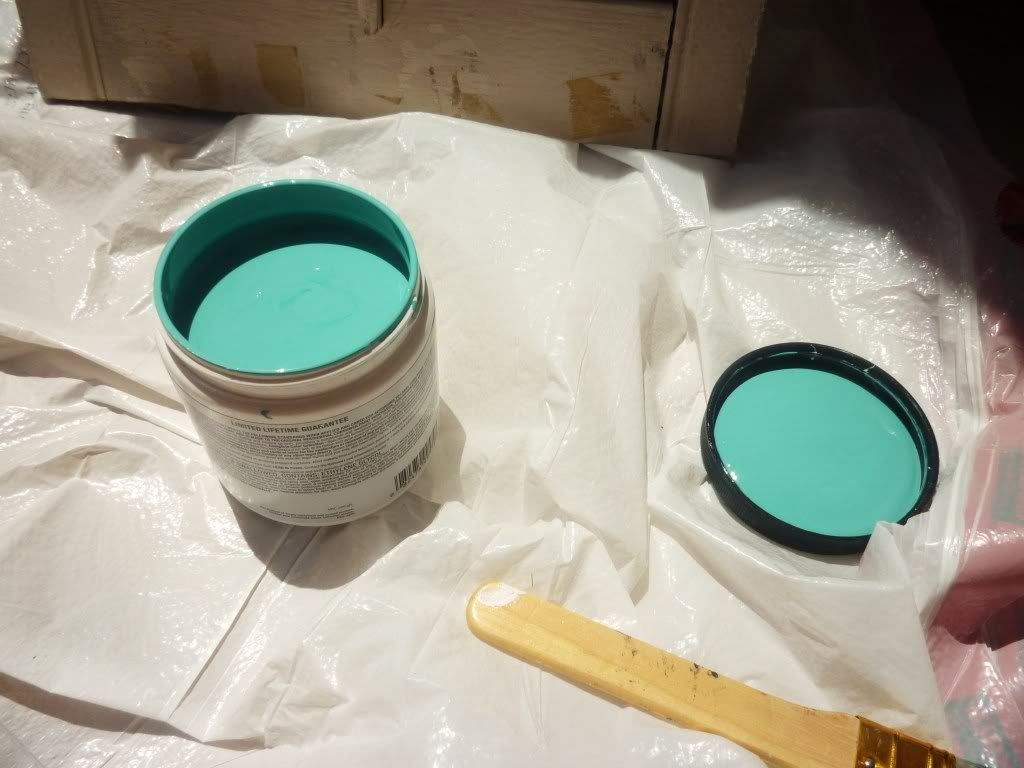
Step two: paint! Tip: Home Depot sells small samples of their paints which are perfect for small projects. The colors are many and the price is right. I got my sample of behr paint/primer for less than $4. Usually, I end up buying a quart, which is just wayyyy more than I need. And another great part about the samples is that they have screw on tops, instead of the typical pop off ones. Makes for easier storage!
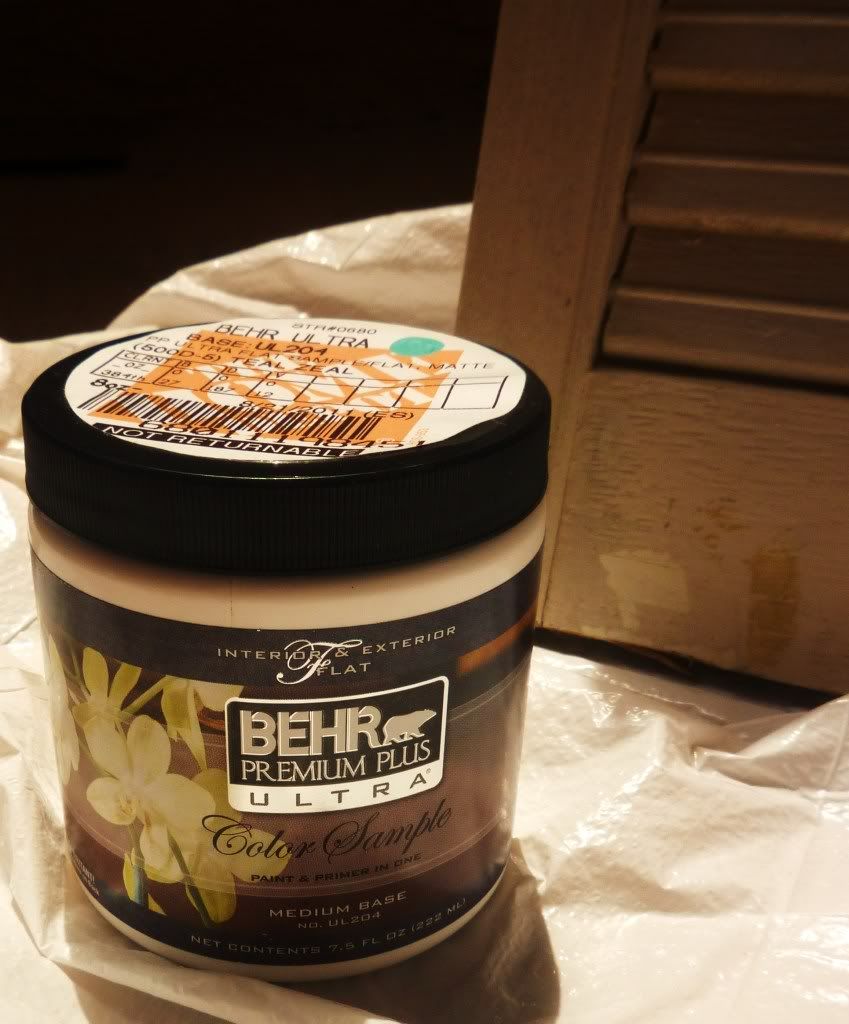
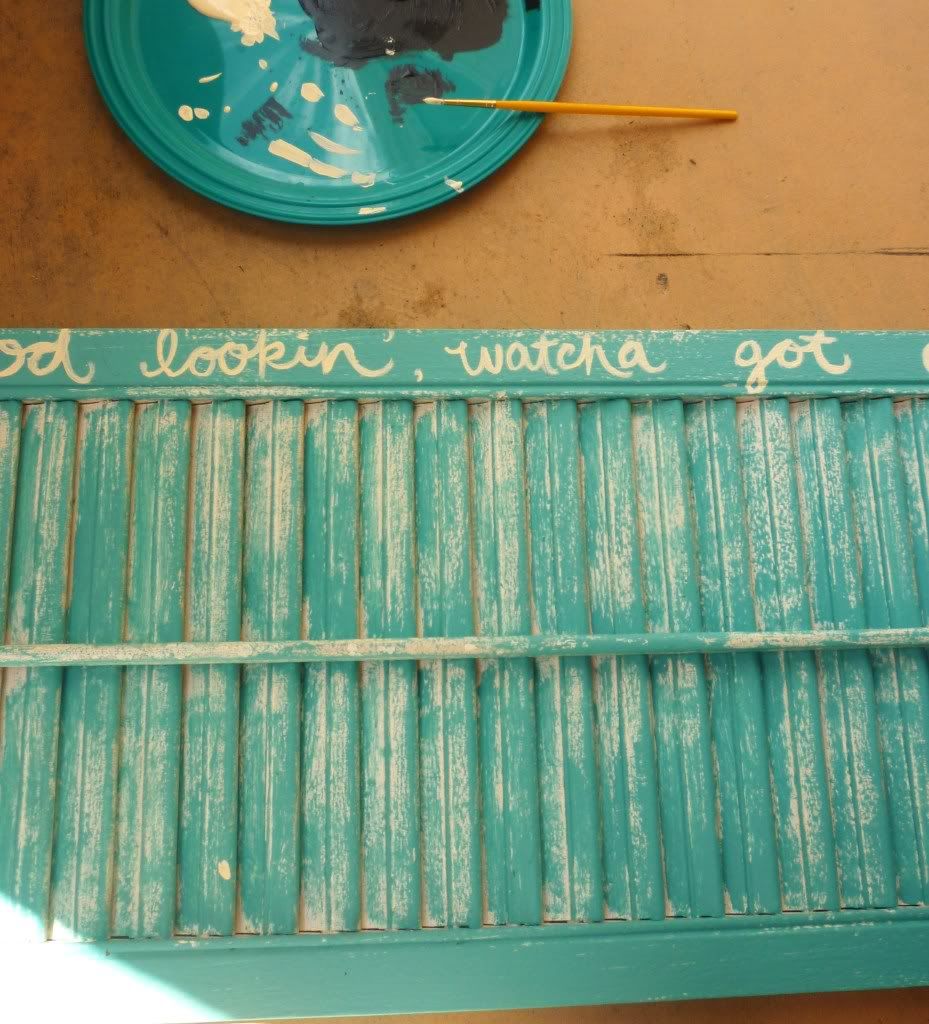
I knew I wanted the shutter to have a distressed look, so I wasn't overly concerned about getting into every nook and cranny of those shutters. That was probably a good thing, because I definitely would have made myself crazy trying to get complete coverage. I only painted one side because I knew it would be hanging on the wall. Why do more work than you need to??

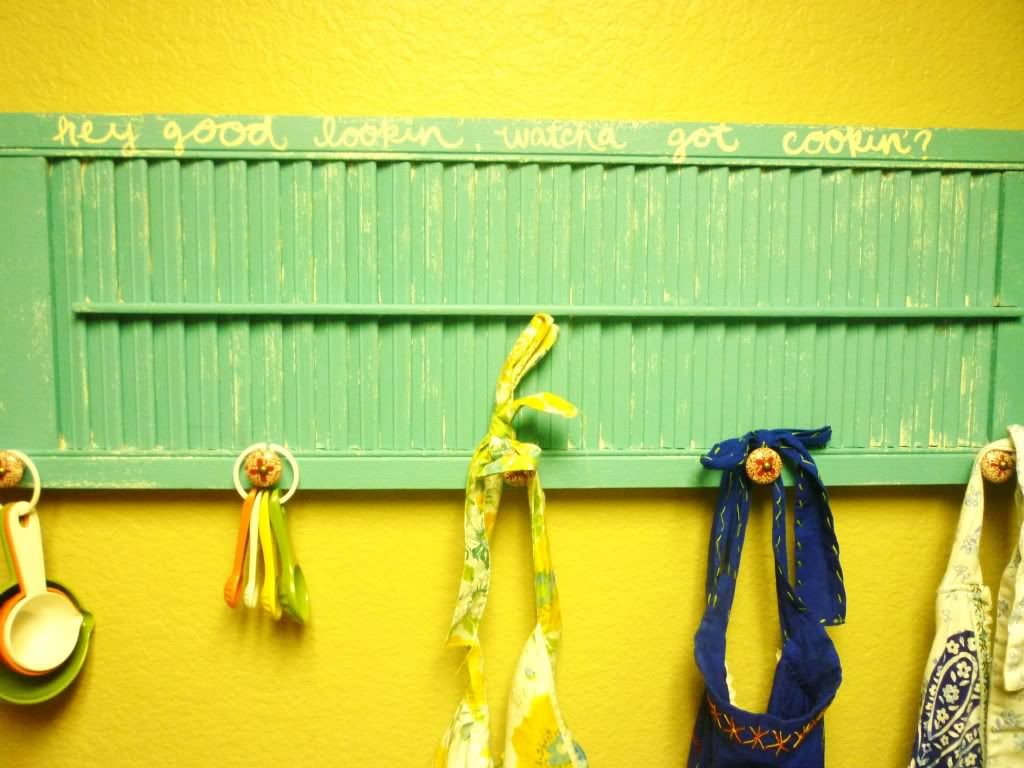
The first time, I didn't get the spacing quite right, so I had to erase and re-write. But once you get it right, you're ready to paint it on! It's easier than you think. I just squirted some basic ivory craft paint from Michael's onto a plate and used a fine paint brush to trace over my letters. It's best to do a thin coat, let dry, then go back over with a second coat.
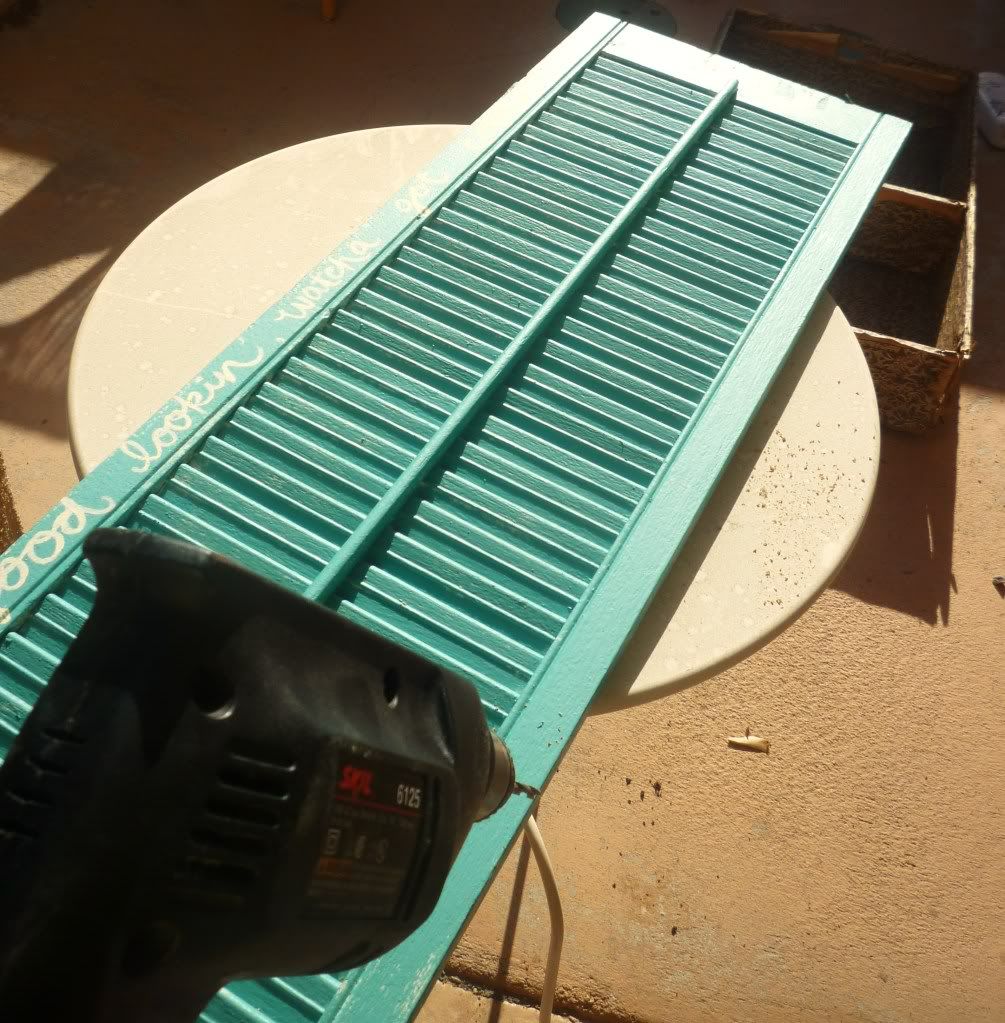
Step four: The knobs.
Measure out where you would like to place the knobs, and mark with pencil. Double check your measurements!
Next, you'll need to get drillin'. Don't be afraid of the drill. Honestly, I kind of was, but I'm still alive to write this post, so you will be too. You should probably wear some protective goggles. If you don't have those... at least put on some sunglasses.
Position the shutter on a stable surface and drill your holes. Obviously, make sure the part you are drilling into is hanging over your stable surface, or else your beloved stable surface is going to have a 3/16" drill hole in it.
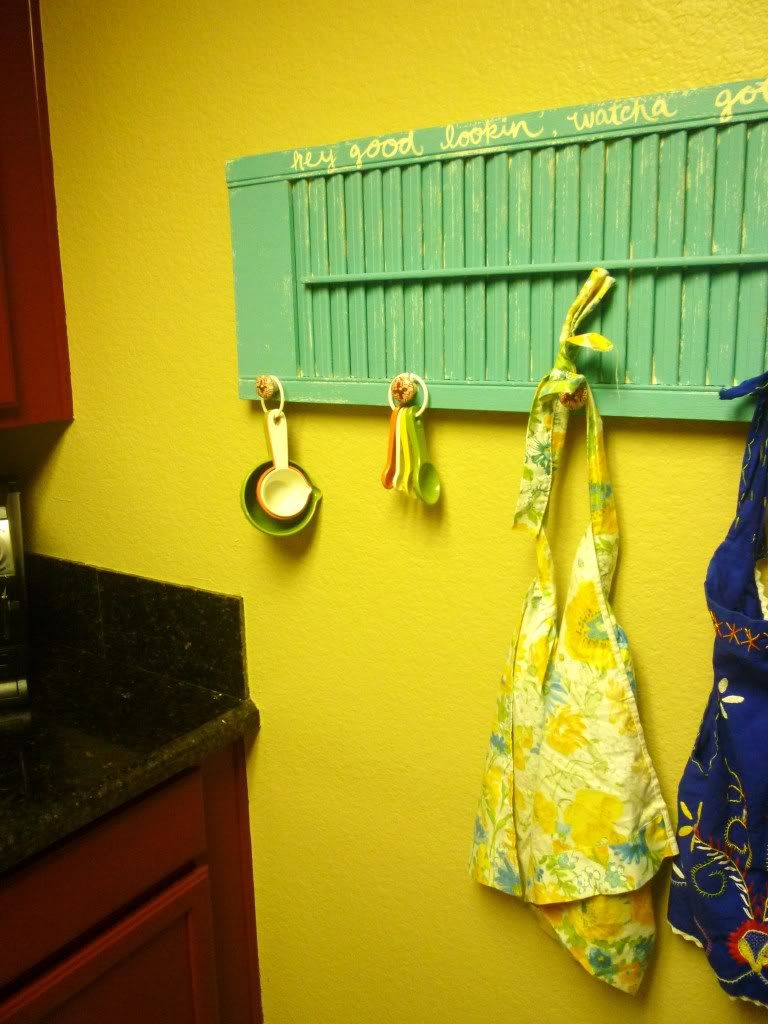
Screw your knobs into the holes you made, and you're done! Hang it up on the wall and admire your work.
linking up to:
10 comments:
Minnie Mouse apron...?
The Minnie Mouse CHRISTMAS apron will definitely make its way into the rotation after Thanksgiving. Promise.
Minnie Mouse apron?? Lovely Linds!!
I think you should update this post to say that it is being featured!!
Great stuff. Thanks for your tips!
@nightowl, thanks for commenting- I'm glad you like it! If you re-create it, send me a picture!
Love it! I started working on one tonight that I got for the same price. Great find! I didn't even think about using that side of it though, great idea. And I like the hooks too, I had a similar idea but for keys!
Kim, I'd love to see how yours turns out!
Love the fresh, new color... and the knobs are fun, too. Great job!
Thanks! I love the knobs too!
Post a Comment