
ANYWAY...let's talk about these muffins. As I mentioned in my Fall Wishlist post, I had misplaced what I considered to be the best pumpkin muffin recipe ever. But, lo and behold, I have the bestest friend ever who managed to wrangle in up for me (Thanks, Nikki!).
In years past, I've made these muffins and topped them with a cinnamon cream cheese frosting. But let's get real here, if you put frosting on a muffin, it really becomes a cupcake. Having seen these cream cheese filled muffins at Starbucks, I knew I needed to put the cinnamon cream cheese inside.
I experimented with 2 different fillings and about 5 million methods of actually getting the cream cheese into the muffin how I wanted, and I think I've finally found the perfect blend of prettiness (totally a word because I didn't just get the angry red zigzag lines under it after I typed it) and good consistency. I figured out the trick is making sure the cream cheese is super cold and pushed pretty far down into the muffin. Farther than you would think because it rises quite a bit during baking.
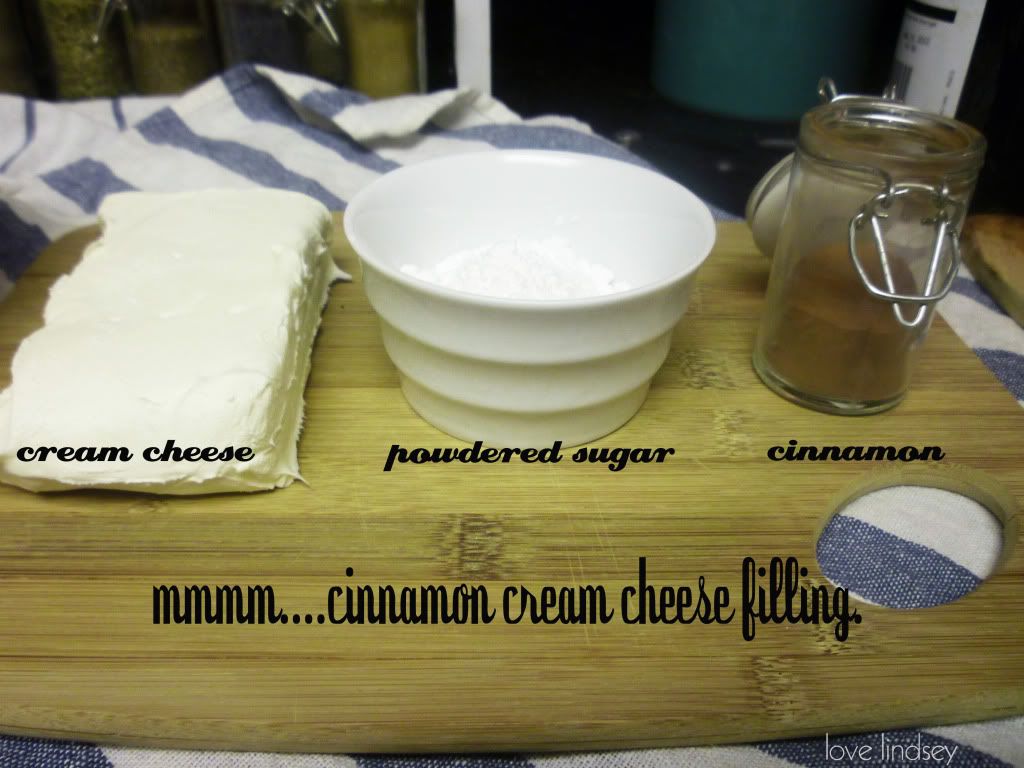
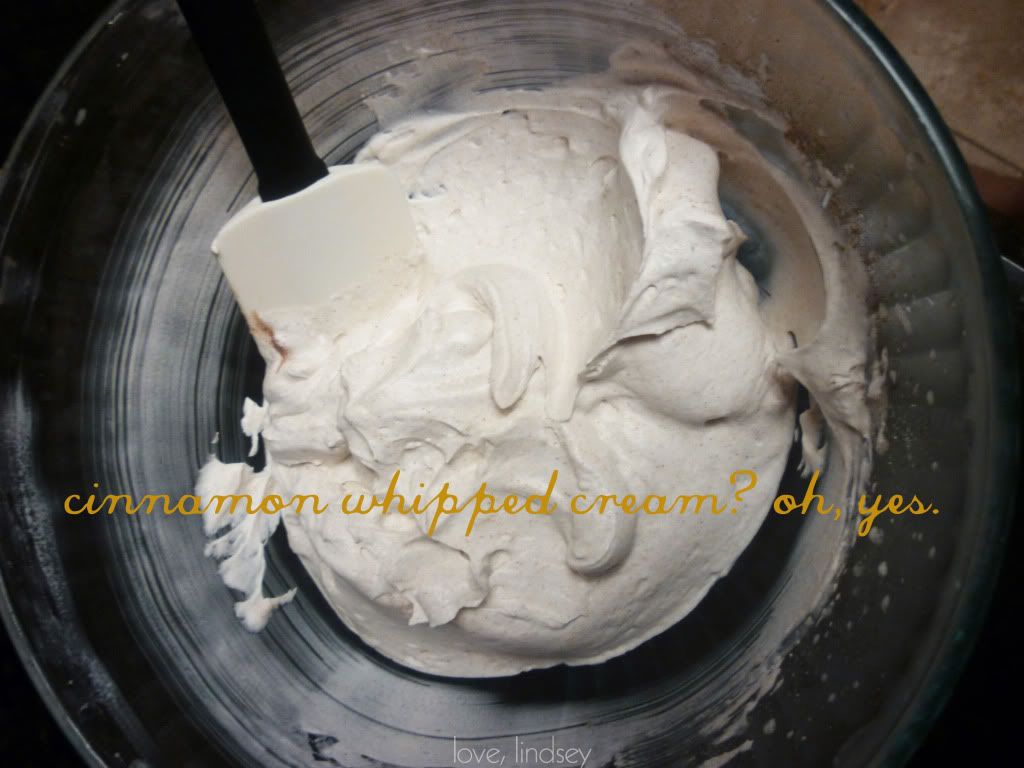
Basically, we start by whipping together the cream cheese, powdered sugar and cinnamon.
Next, we plop it on a piece of wax paper and do our best to get it in the shape of a log. Roll it up in the wax paper and stick it in the freezer for at least an hour.
Make that muffin batter. MMMM.

A little batter. A cream cheese disc. More batter. Oven time and eat!

Ok, here's the recipe:
Pumpkin Cinnamon Cream Cheese Muffins
{makes 2 dozen muffins}
Muffin Ingredients:
1 1/2 cups sugar
3 eggs
15 oz. can pure pumpkin (1 3/4 cups)
2 3/4 cups flour
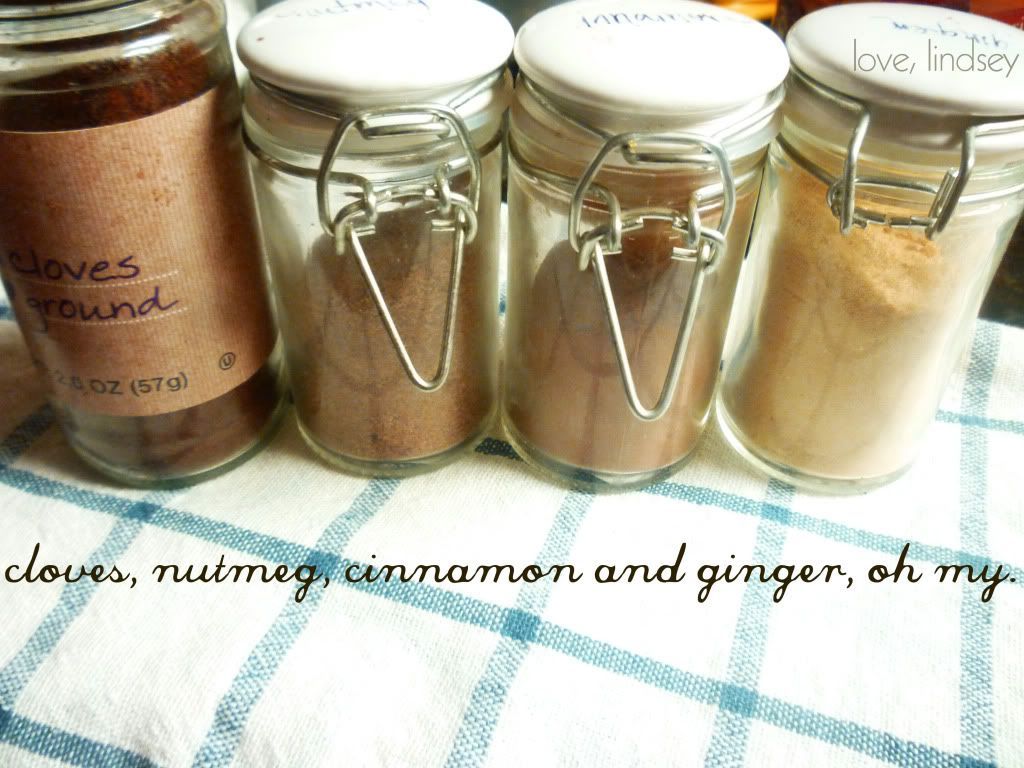
1 tsp. nutmeg
1/2tsp ginger
1 heaping tsp. salt
1 tsp. cinnamon
1/2 tsp. cloves
1 1/2 tsp. baking soda
Filling Ingredients:
8 oz cream cheese
1/2 cup powdered sugar
1 tsp. cinnamon
Directions:
Beat cream cheese, powdered sugar and cinnamon in medium bowl until combined. Place cream cheese mixture on wax paper and form into shape of a log. Roll up in wax paper, then wrap in aluminum foil for extra support. Place in freezer for 1-2 hours. Unwrap and use sharp knife to slice into 24 discs. Arrange on cutting board covered with wax paper and place back in freezer until ready to use.
Preheat oven to 350 degrees.Grease muffins tins or line with paper cups. In medium bowl, mix together sugar, oil, eggs and pumpkin. Set aside.
Mix the remaining dry ingredients together in a large bowl. Fold in wet ingredients to dry and mix gently just by hand until combined (overmixing will result in tough muffins)
Fill muffin cups 1/3 full. Press cold cream cheese disc in center. Add more batter to fill muffin cups 2/3-3/4 full. Bake for 17-21 minutes or until toothpick inserted in center comes out clean.
Linking up to:
Home Stories A to Z
Funky Junk Interiors


