
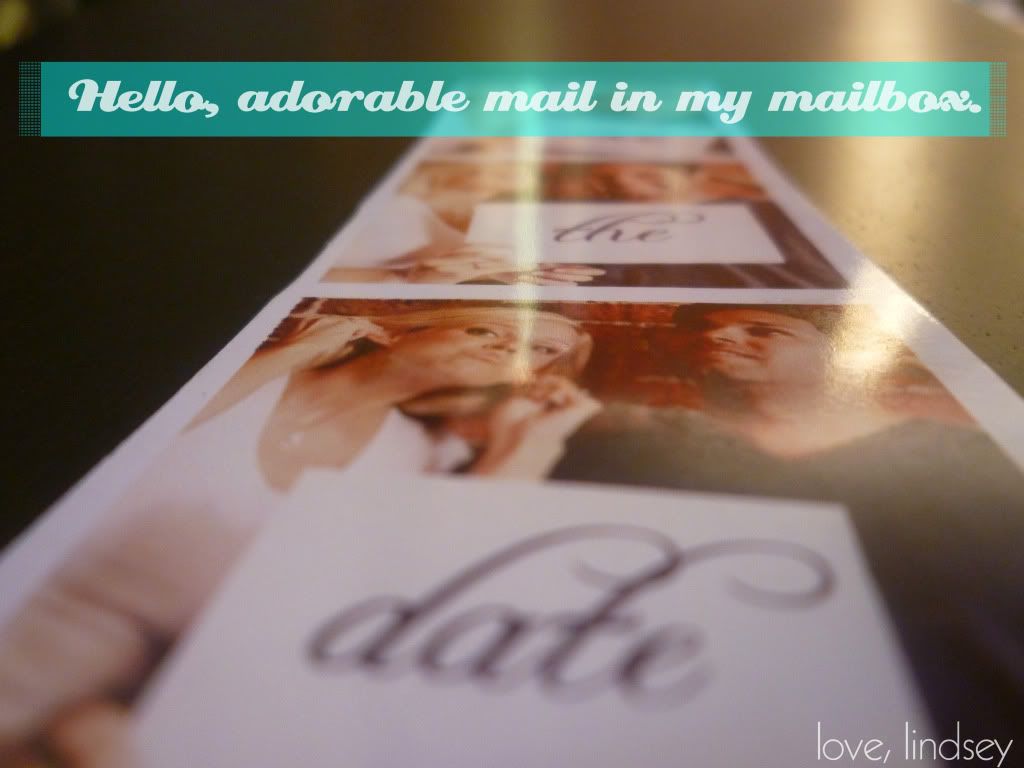
I loved them enough on their own, but when I found out that she made them at home, I about died.
Katie is the DIY queen. If only I had this blog last year when she threw her sister's bridal shower- you would have already known this. But let me tell you, it was impressive. Like I wanna punch you in the face because you're so darn creative impressive.
OK. Back to the save the dates. Once I got over the fact that she actually created these herself, I calmed down enough to ask her how she did it, and she was nice enough to give me (and you!) the details.
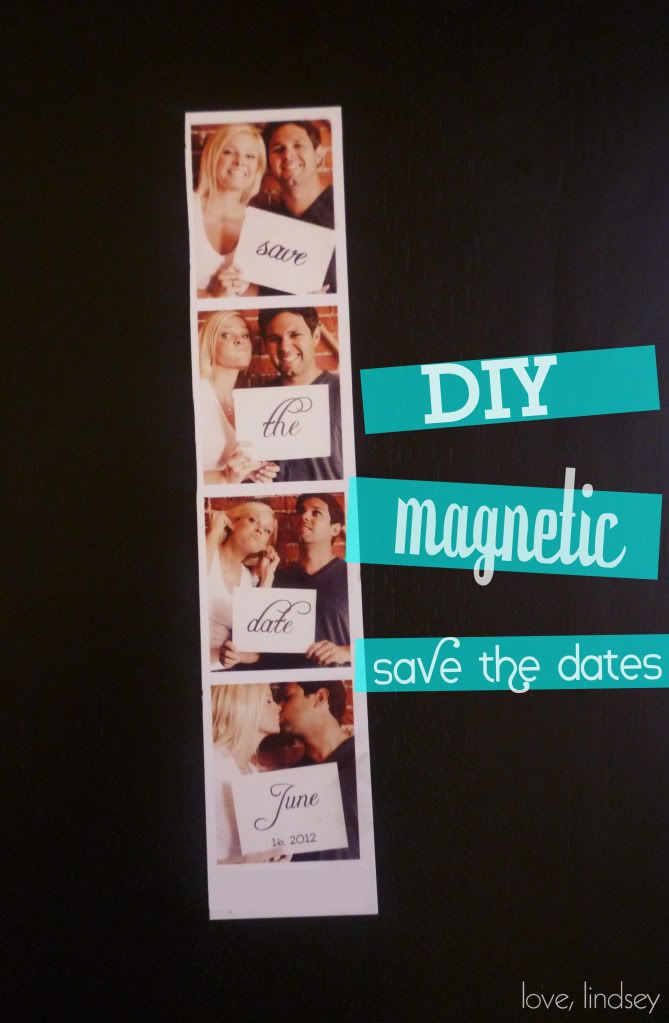
After selecting the perfect photos from her gorgeous Santa Barbara engagement session, she created the layout in Microsoft Publisher. You could also use Photoshop, or any other program that would allow you to manipulate photos and text easily. You'll want to fit as many save the dates on one page as possible. You can't see it in the photo because I used my
Next, she printed them out on magnetic paper. Apparently, you can find it easily at any major office supply store (who knew??). Staples sells them online here at $11.49/4 pack. Depending on how many you can fit on a page, you could save quite a bit compared to ordering magnetic save the dates from a professional printer.
Once printed, cut them out, stuff 'em in envelopes and you're ready mail! She did such a great job, huh? Can't wait until June 16th! The date is officially saved. {Probably an important thing to do, considering I'm a bridesmaid and all}
Oh, and when you're mailing them, you probably won't want to put them in those large blue metal mailboxes. Yeah, magnets stick to metal. Funny thing about that.
Linking up to:
funky junk interiors
Home Stories A to Z

4 comments:
this is adorable. and thank you for adding the mailbox disclaimer (i would have never thought of that!)
I love it and am honored considering I find you the most creative person I know! Just FYI...i was able to fit 6 strips on each sheet of magnet paper :)
Super, super cool!!!!!
I have to agree with Jami, if it weren't for the disclaimer I would have NEVER thought of that! And Katie, you are DEFINITELY one of the most creative people I know!!
Post a Comment