
I completed this project over a few sittings and I absolutely love the results.
Supplies Needed:
25 small or medium paper sacks
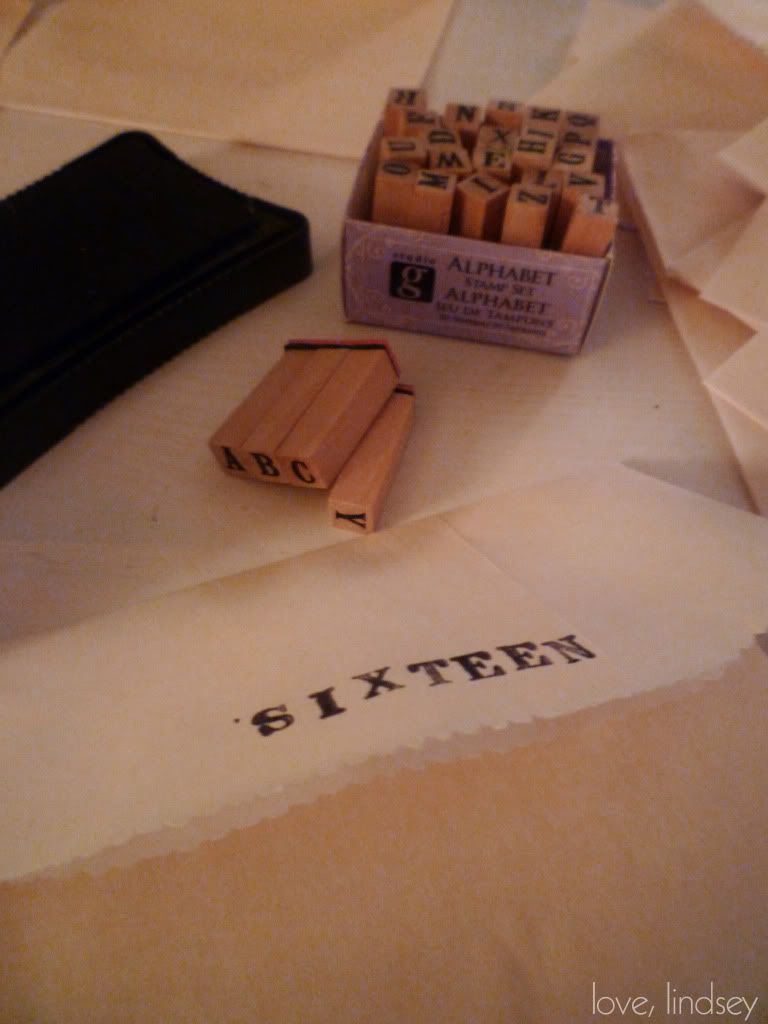
alphabet stamps
ink
1 open frame (make sure it's big enough to hold all of your sacks)
Ribbon or yarn of your choice, enough for 4 lengths of your frame
Hot Glue Gun, or other strong adhesive
25 clothespins
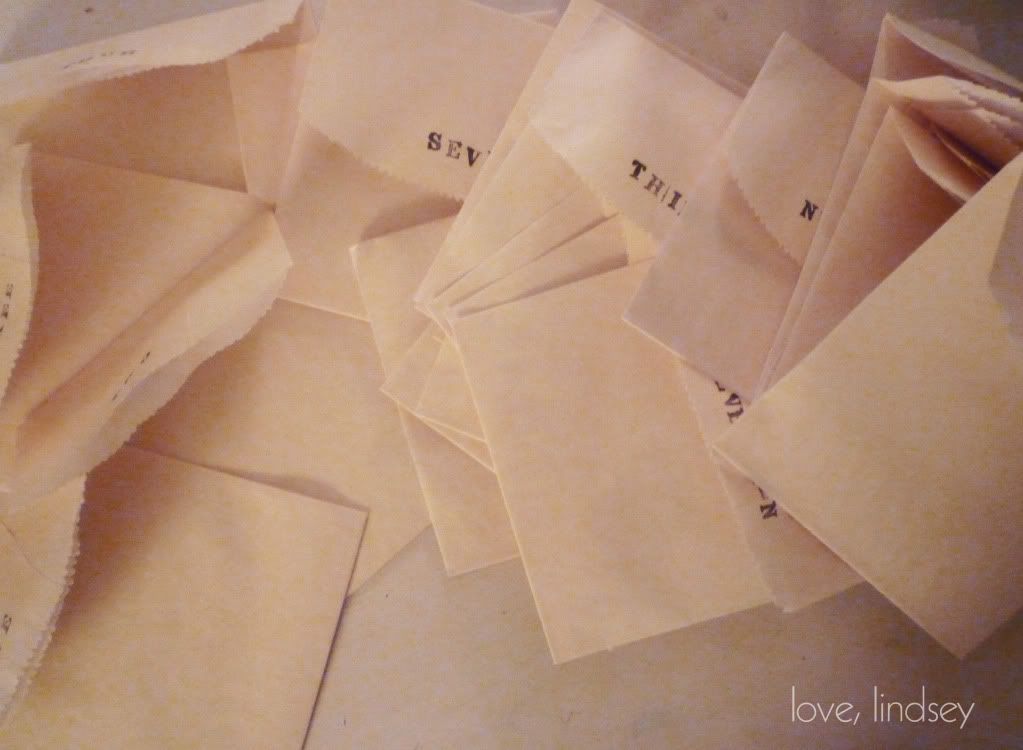
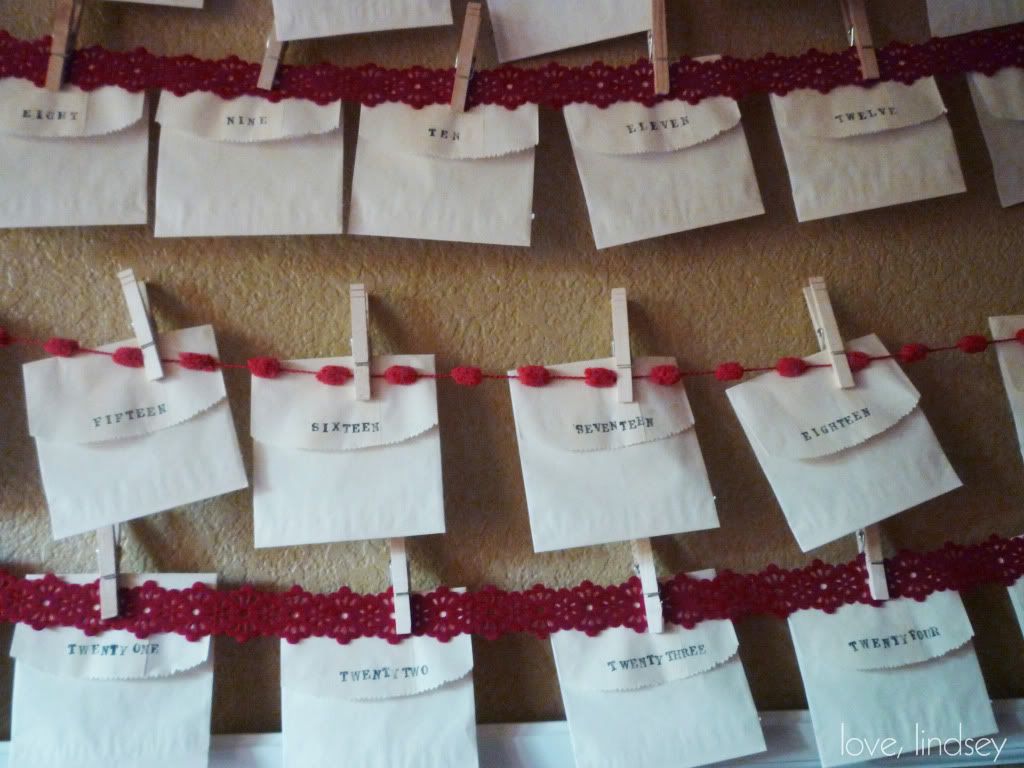
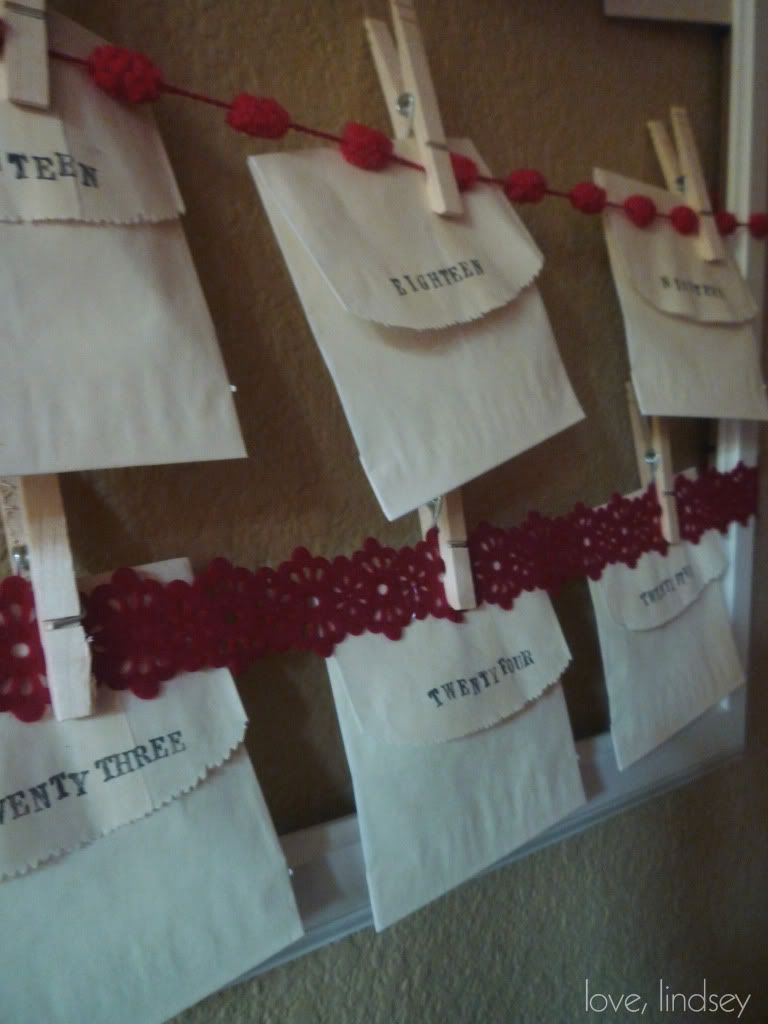
First, I started by folding all of the paper bags over to create an envelope of sorts. Then, I began stamping the paper bags with their numbers. If I had number stamps, I suppose I could have used them, but I like the look of the numbers all spelled out.
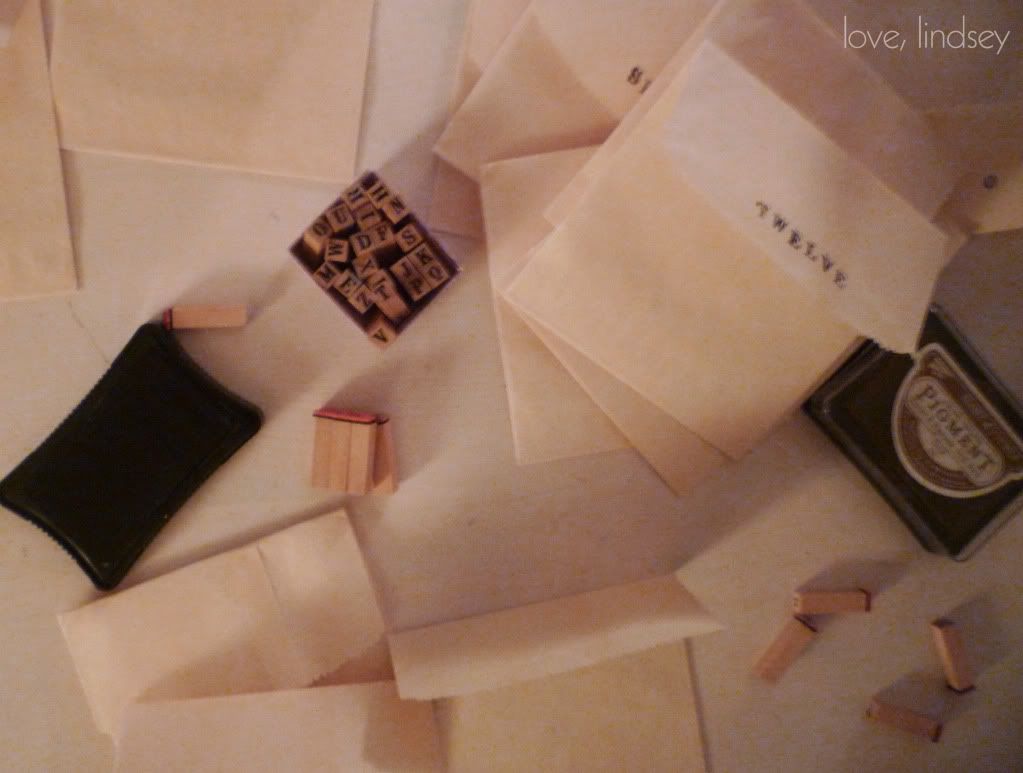
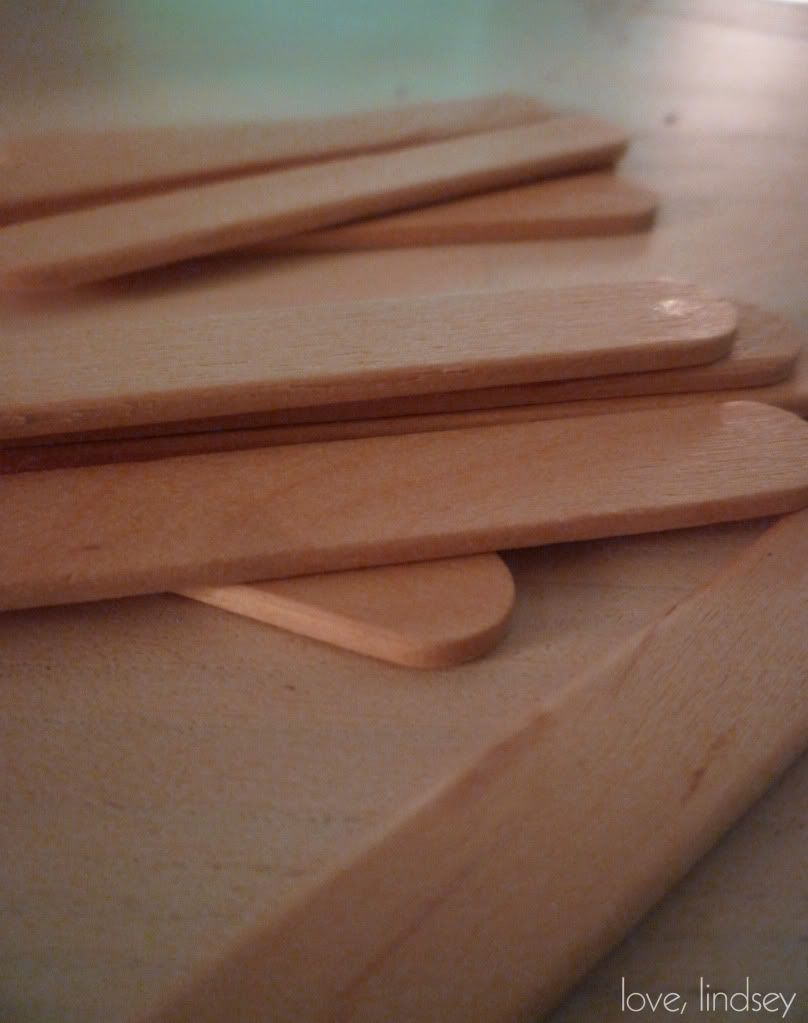
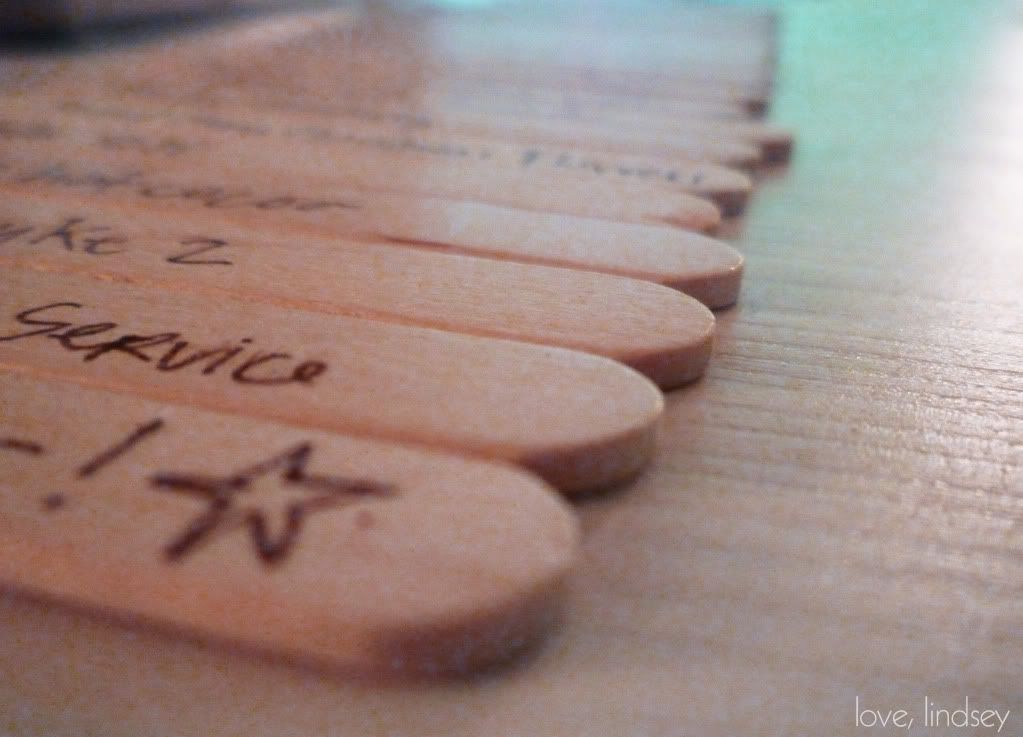
Next, I had to fill the bags. Instead of the usual candy, I used mini popsicle sticks to write fun Christmas-y things to do on each day. I included things like parties and events we plan to attend, readings from the Bible, movies to watch, treats to make, and a few other items.

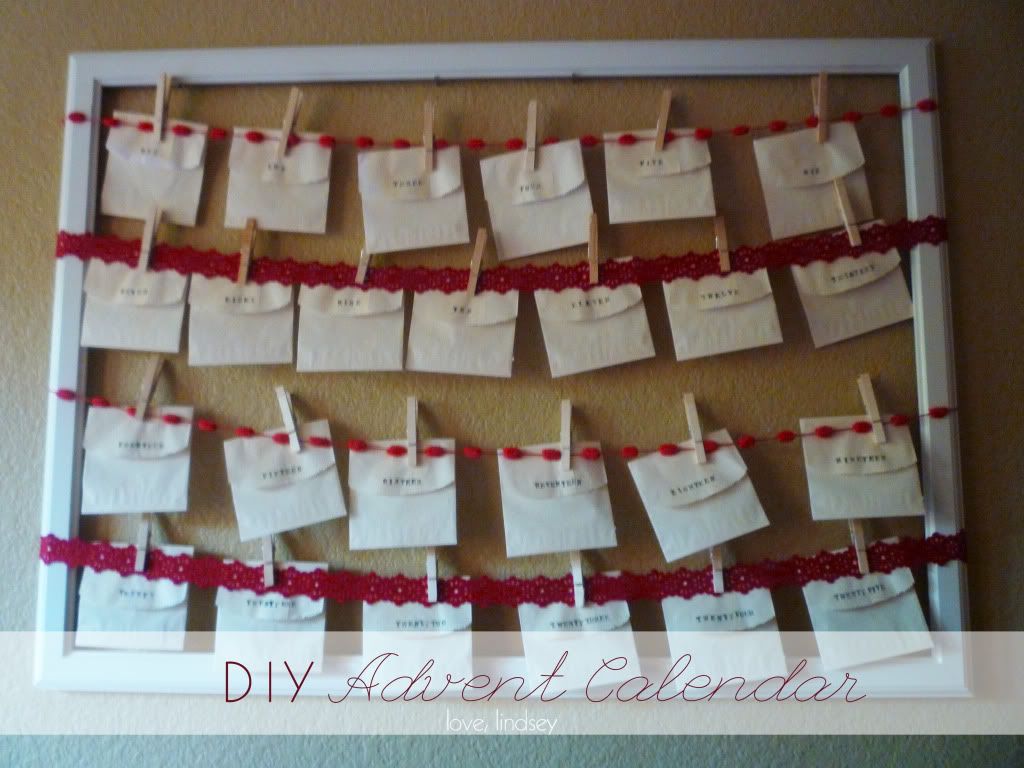
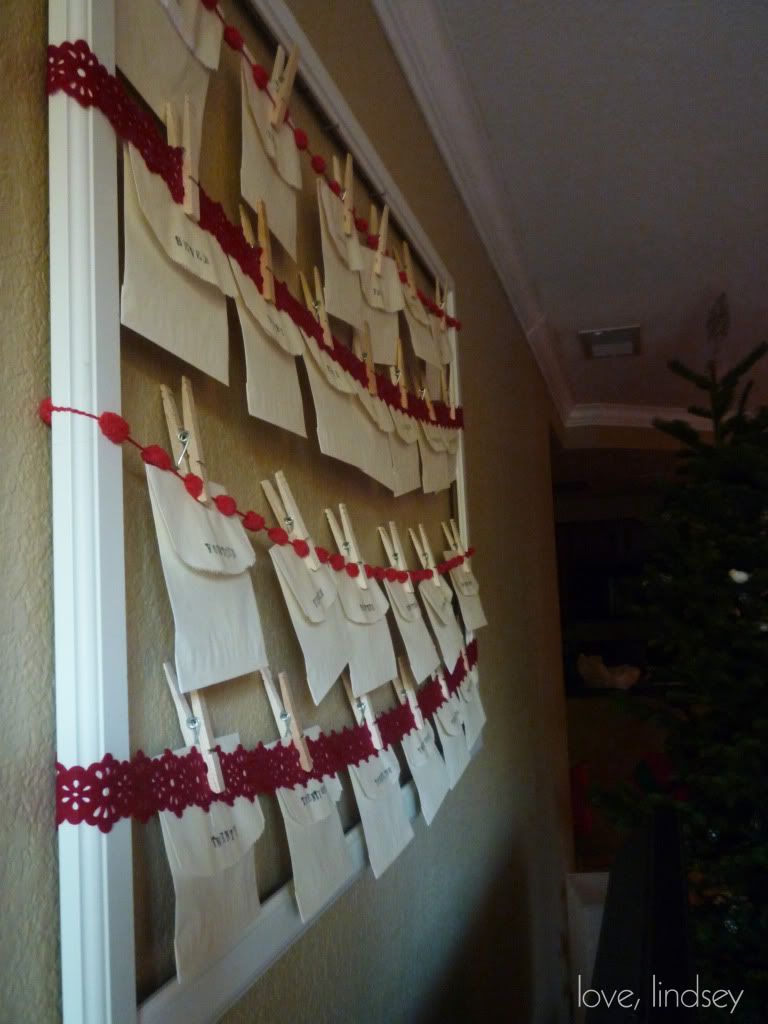
Now, it was time to prepare the frame by removing the glass (or plastic) and mat. The one I used is about 30x42". I found it at IKEA in the "As-Is" sections for 50% off. You can find the same one here. (I think it's a little pricey at full price though, so I would suggest getting your thrift store hunt on and finding one on the cheap!)

Once the frame was ready, I laid out my ribbon and yarn to make sure I liked how it looked. I chose to do 4 rows, but you can decide what will look best for your frame and sack size.
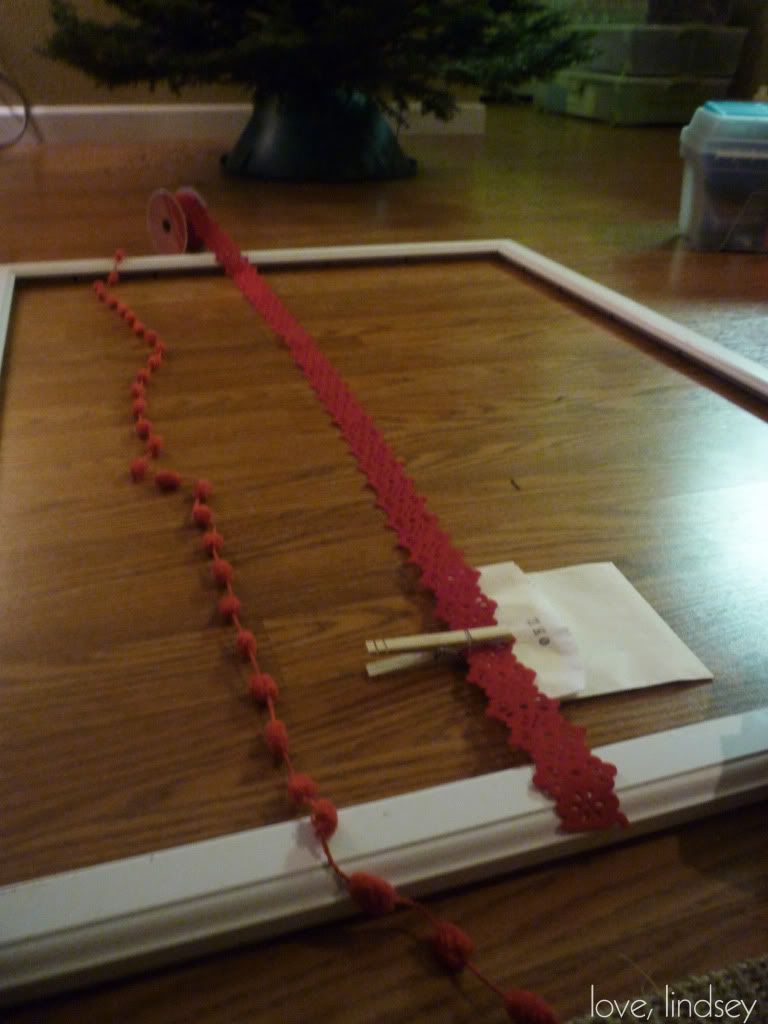
I decided to let the ribbon and yarn wrap around the front of the frame, so I cut it about 6 inches longer than the length of the frame to make sure I had enough to wrap. Once I was sure with the layout, I got to gluing. You want to make sure your yarn or ribbon is pulled very taut, otherwise it will sag too much when you add your bags.
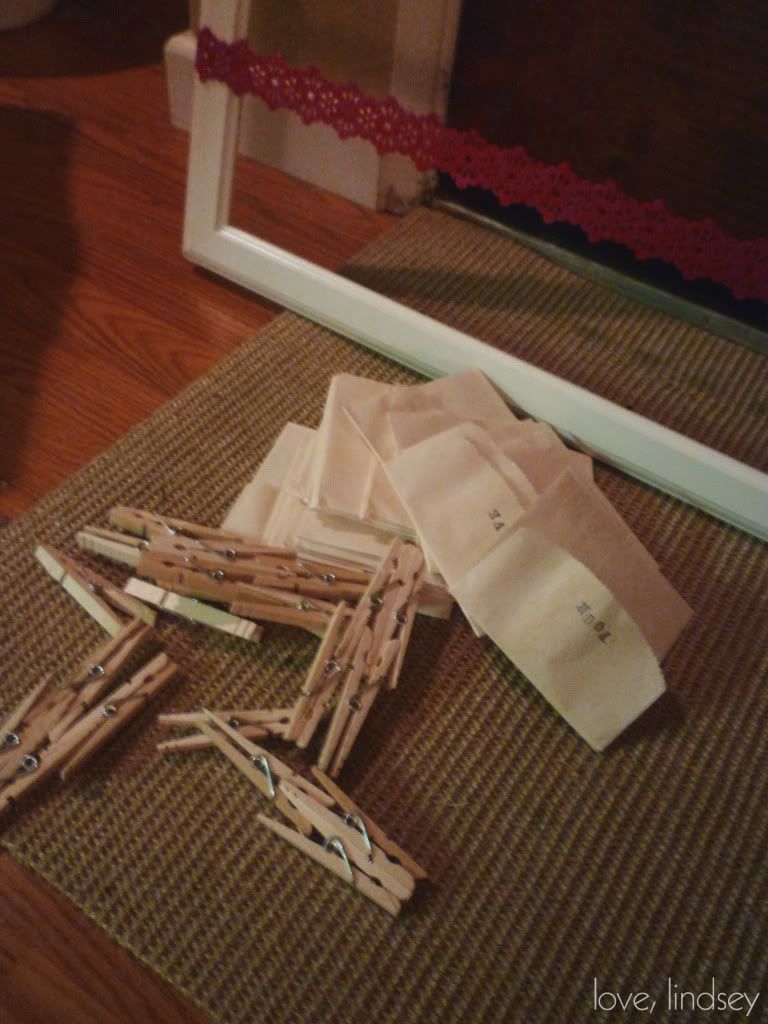
Now, you're ready to clothespin up your sacks. I put 6 on the first, third and forth rows and 7 on the second. And it's done!
Even if you don't have time to make an advent before December 1st, just start one late- who cares?!
Linking up:
Shabby Creek Cottage
Beneath My Heart
Home Stories A to Z


8 comments:
I love it! And I really like the tiny stamps- I totally have some of those that I scored in the dollar bin at Michael's but haven't used yet :)So cute!
I love it!!! So cute! I need to make one, I'm so lagging!
I knew this is what I saw in your pic last night! lol love it!
Great idea! Kiddo
Thanks!!!
This might be the cutest advent calendar I have seen. I may try this. Thanks for sharing!
That is awesome! I love advent calendars but not necessarily all the work involved...this look amazeballs!
Shannon
www.akadesign.ca
It's beautiful Lindsey! Thanks for posting your tutorial too - I've got it linked to my advent calendars post as well today!
Post a Comment