Pages

Showing posts with label recipe. Show all posts

Tuesday, February 21, 2012

Homemade Granola {Low-Fat & Super-Customizable!}

I learned how to make granola. And let me tell you- it's easy! My step mom gave me her recipe. My favorite part about it is how customizable it can be. Also, it uses apple sauce instead of oil making it a low fat treat. Score! We made a few batches- Vanilla Almond, Cranberry Walnut and Blueberry Almond.

You start by mixing all of your delicious ingredients together.


Then you spread it all out on a pan. And bake it.


Enjoy it. With some yogurt? Milk? Ice Cream? By itself? Up to you!


Homemade Low-Fat Granola
Ingredients
6 cups rolled oats
1 cup shredded coconut
3/4 cup nuts, your choice, sliced or chopped
1/2 cup brown sugar
1/4 cup sunflower seeds (optional)
1/4 cup flax seeds (optional)
1 cup grape nuts (optional)

1/2 cup honey
1/2 cup applesauce
1/3 cup water
1 1/2 tsp. vanilla extract

1 cup dried fruit (cranberries, blueberries, raisins...whatever sounds good!)

Preparation
Preheat oven to 350 degrees. Combine oats, coconut, nuts, brown sugar, seeds and cereal in large bowl. In small bowl or glass measuring cup, combine honey, applesauce, water and vanilla. Pour wet ingredients over dry and mix well to coat. Spread evenly on greased baking sheets or pans. Cook in preheated oven 20-35 minutes, stirring every 7-8 minutes or so. Remove from oven when slightly crisp. Stir in dried fruit. Granola will harden more once it cools. Allow to cool completely and store in airtight container. Makes about 10 cups.

 Once you have the main ingredients down, it's really up to you how you want to customize it. Feel like adding some pumpkin seeds? Why not? Dried apples & cinnamon? Ok! It's up to you.

Thursday, January 5, 2012

Sauteed Chicken Breasts with Creamy Chive Sauce

I wasn't planning on sharing this recipe with you. I really wasn't. Which is why you'll have to forgive me for the lack of and poor quality photos. But seriously, I took one bite and was like- wow. This is yummy. I must share.

I found the recipe on EatingWell.com. You can find the original recipe here.

Sauteed Chicken Breasts with Creamy Chive Sauce
{Serves 4}

Ingredients:
1 to 1 1/2 pounds boneless skinless chicken breasts (2-4 breasts depending on their size)
salt to taste
3 teaspoons olive oil, divided
1/4 cup + 1 tbsp. flour
2 large shallots, finely chopped
pepper to taste
1 3/4 cup chicken broth (or one 14 oz. can)
1/2 cup dry white wine
1/3 cup light sour cream
1 tbsp. dijon mustard
1/2 cup chopped chives or green onions
(1 tbsp corn starch)
(1 tbsp cold water)

Preparation:
Between layers of plastic wrap, use mallet to pound out chicken breasts to 1/2 inch thickness. Season both sides with salt, then dredge in flour.

Heat 2 teaspoons olive oil in large skillet over medium high heat and cook until golden brown on each side. Transfer to plate and cover.

Heat remaining 1 tsp of oil in the skillet and add shallots. Cook about 1-2 minutes. Then sprinkle with remaining 1 tbsp. flour and toss to coat.  Add in pepper, chicken broth and wine. Bring mixture to rapid boil, stirring frequently.

Reduce heat to low, add chicken breasts back in and simmer uncovered for 6 minutes, until chicken is no longer pink in center. Add in sour cream and dijon mustard. If sauce is not thick enough to your liking, whisk the corn starch and cold water in a separate dish and add to sauce. Stir in chives or green onions and serve immediately.

Linking up:
The 36th Avenue

Thursday, December 29, 2011

Goat Cheese, Bacon, Tomato & Spinach Scramble

This recipe simply came out of a breakfast craving. I wanted eggs. But not just regular eggs. So I looked in my fridge and this was what was there. And it certainly did the trick.


It starts with delicious bacon, sizzling and popping and getting all crispy and irresistable. Then the fluffy eggs. Throw in some red ripe juicy tomatoes, healthy spinach and creamy sweet goat cheese and you've got a delicious breakfast. Eat it with a perfectly toasted slice of sourdough and you're in heaven.


This is one of those recipes that Brandon was simply not interested in eating. He's not a fan of spinach, tomatoes, or goat cheese, so it certainly wasn't a surprise. It just explains why this recipe is written for one serving. Feel free to double, triple or ten-duple (totally not a word) it to suit your breakfast needs.

Ingredients
{serves one}
2 strips bacon
2 eggs
splash of milk
handful of baby spinach leaves
6-8 grape tomatoes, halved
1/2 oz. goat cheese, crumbled
salt & pepper to taste

Preparation
Cook strips of bacon in medium skillet. Once done, remove from pan and place them on some paper towels to allow the excess grease to drain. Dump the majority of the grease from the skillet, but do not wash it- the residual bacon grease will give the eggs some great flavor.
Beat eggs together with a splash of milk, salt & pepper and then pour into skillet. Cook on medium heat. Chop or crumble bacon. Once the eggs are almost done, toss in your tomatoes, spinach bacon and goat cheese. Toss until everything is heated through. Enjoy!


::::::::::::::::::::::::::::::
And don't forget, if you like this blog, please join.

....and while you're at it, Like it on Facebook!


Linking up:
Remodelaholic

Friday, December 2, 2011

Pepperollies

I saw these somewhere on Pinterest. Although I didn't pin them, so I can't really give you a source. I can tell you I definitely don't remember them being called "Pepperollies". Brandon spit that name out and I just about died with how perfect it is. He says he can't take much credit because he heard it somewhere before, but whatever, I think he is a food naming genius. I did google "pepperollies" and what came up was more of a pinwheel pepperoni creation, but I don't care.

Have you guessed yet that this recipe has something to do with crescent rolls? (Maybe one day Pillsbury will let me write a cook book for them. OR beg me to stop with the crescent roll ridiculousness)

This one is E-A-S-Y. Although I'm pretty sure I always say that, don't I? I say it because it's true, people! Anyone can make these. Your 8 year old can make them. Or you can make them and act like they were super hard to make so your family bows down to you as the Queen/King of all things deliciously packed into warm, flaky, buttery goodness. Enough of the hyperbole; let's get down to business.


Unroll those triangles of dough magic. Top with 3-4 slices of pepperoni. Add 1/2 stick of string cheese. 

Roll it on up. 

Bake it.  Let cool so you don't burn the crap out of your mouth. Dip in pizza sauce (my favorite is muir glen organics pizza sauce- it comes in a can :) or ranch or both. Eat 'em with a salad for dinner. You get 3 1/2. Your husband gets 4 1/2. You know, so you can say that he ate more than you. Totally hypothetical.

Pepperollies
{makes 8}


Ingredients:
8 oz. package of crescent rolls
3 oz. pepperoni
4 sticks string cheese, cut in half
Ranch dressing and/or pizza sauce for dipping

Preparation:
Preheat oven to 375 degrees. Unroll and separate crescent rolls onto ungreased cookie sheet. Top each triangle of dough with 3-4 slices of pepperoni. Place one 1/2 of string cheese stick on top. Roll up each crescent roll. Manipulate the dough so everything is all tucked in. Bake for 10-12 minutes, until golden. Let cool for a few minutes. Serve with Ranch dressing or pizza sauce.

Linking up:
Remodelaholic
Home Stories A toZ

Monday, November 21, 2011

Lattice Topped Gala & Granny Smith Apple Pie

Good morning and Happy Monday! I was a crafting maniac this weekend getting some crafts done for Creating Christmas week. Pretty sure my entire apartment has a light dusting of glitter on every surface.  My husband calls it a mess. I like to call it festive.

Moving on...I had some pies to make last week/this weekend. Brandon had a Thanksgiving potluck at work and we also volunteered to bring one to church for  a turkey/pie drive they had going on, so I had my work cut out for me. Now, I normally prefer to make my own pie crusts, but with three pies to make  I just wasn't feeling the pie crust making love. {Yes, I said THREE pies- did you really think I was going to make two pies that were going straight out of our home and not make one for us to eat!?}.

So I opted for the pre-made refrigerated pie crusts by Pillsbury. They were pretty awesome! Super easy to work with and tasty too. I think I may have just ruined myself for ever making a homemade crust again. Especially because Brandon said this was my "best pie yet". I'm going to go ahead and say it's because the apple pie filling was soooooo amazing. Which, I have to say, it really was. I paired sweet gala apples with tart, crisp granny smiths and the result was delicious.
I really want a slice now. Unfortunately, as I write this post, the pie is long gone. It's quick disappearance just proves how delicious it is. So delicious that one might be tempted to eat a slice for breakfast. Not like I did that or anything. I mean, who eats pie for breakfast? Definitely not me....(I hope you can picture the guilty look on my face as I type this)


Ok, onto the lattice. I love love love lattice pie crusts. I just think they're so pretty. And they're really not as hard as they look. Wanna learn how to make one? You got it! Keep reading. Don't care about the lattice part and just want to apple pie recipe? Scroll on down.

First, you'll need to prepare your bottom crust and filling according to the recipe. I indicate how to do it for my apple pie, below, but you can translate these lattice instructions to use on any pie that requires a top crust.

So you need to roll out the dough to a 13" round. Refrigerated or homemade is just fine. Next, cut the dough into 18 semi-even strips. Accuracy isn't of extreme importance. I think slight imperfections in size make for a cute pie :)

Now, take every other strip and lay them parallel to one another across your filled pie.

Fold every other strip in half back upon itself.


Take another strip and lay it in the center of the pie perpendicular and just past the folded over strips.


Unfold the strips that you folded back upon themselves.

Now, fold back upon themselves the other strips that you left flat the first time. Take another strip and lay it just beyond the folded edges.

 Unfold the strips just like you did before. Repeat until you have woven 5 strips. Next, repeat on the other side of the pie until you have woven all strips.

Trim lattice strips to about 1/4" overhang and tuck under buttom crust. Crimp or flute edges and bake pie as directed in recipe.

Gala & Granny Smith Apple Pie
{Adapted slightly from Joy of Cooking : makes one 9-inch pie}

Ingredients:
1 pie crust recipe for 9-inch double crust pie, or two refrigerated pie crusts
3 large gala apples, peeled, cored & sliced 1/4" thick
3 large granny smith apples, peeled, cored & sliced 1/4" thick
3/4 cup sugar
2 tbsp. flour
1/2 tsp. cinnamon
1/8 tsp. salt
2 tbsp. unsalted butter, cut into small chunks
extra cinnamon and sugar for top of pie

Preparation:
Preheat oven to 425 degrees. Line a 9-inch pie plate with one pie crust, or half of dough. Meanwhile, toss apples, sugar, flour, cinnamon and salt together in large bowl. Let rest in bowl for at least 15 minutes, stirring occasionally, to allow apples to soften. Pour filling into crust. Dot with butter. Cover pie with upper crust. (For lattice instructions, see above). Sprinkle with sugar and cinnamon. Place on cookie sheet. Bake in preheated for oven for 30 minutes. Reduce oven to 350 degrees and cook for 15-20 minutes more. Cover edge of pie crust with aluminum foil if it browns too quickly. Remove from oven and cool completely on rack.

Linking up to:
The Girl Creative
Home Stories A to Z
Remodelaholic
Crafty, Scrappy, Happy

Monday, November 14, 2011

Here we go again with the crescent rolls

Hello, Monday friends! I hope your weekend was fantastic and that you're savoring every bit of Fall. San Diego had a day of rain on Saturday, but Sunday was bright and sunny. I can't decide which I love more- rain or sun, so having both in one weekend is a major score!

Ok, so as you may have already figured out with the title of this post, we're working with crescent rolls again. I really just can't get enough. I hope you feel the same! They are so simple and I feel like the possibilities are endless. And lucky for you, I just bought a pack from Costco (currently $2.50 off with their coupon!), so I see more creations in our future.

Today's recipe is actually one I've been making for a while. My stepmom got it from a friend and it really couldn't be easier. It's perfect for Fall mornings or when you're craving some sweet cinnamon apple goodness.

Just a few ingredients
Peeled, cored and sliced apples

Sprinkled with cinnamon sugar. 

Rolled up. More cinnamon sugar. Baked until golden brown.
Yum.


Apple Cinnamon Crescent Rolls
{makes 8}

Ingredients:
8 oz. package of crescent rolls
1 tart apple, peeled, cored and cut into thin pieces 
Cinnamon
Sugar

Preparation:
Preheat oven to 375 degrees. Separate crescent rolls along perforated lines. Top with a few apples, some cinnamon and sugar. You may need to manipulate the dough a bit around the apples to make sure everything is covered and tucked in. Once rolled up, sprinkles with additional cinnamon and sugar. Repeat for all 8 pieces. Cook in preheated oven for 10-13 minutes, or until golden brown.
----------------
Link Parties:
Home Stories A to Z
Remodelholic
Crafty Scrappy Happy
The Girl Creative

Monday, November 7, 2011

Apple Goat Cheese Bites with a Salty Honey Drizzle


Hello, friends! Hope your weekend was amazing and full of goodness. Mine was full of spray paint, chicken wire, house hunting and homemade beer. We managed to look at nine homes on Sunday and boy are we exhausted/overwhelmed/excited. {More on some of those other things later this week}

Ok, onto the food. This came out of a bad day at work and a serious craving for something sweet and salty. And, you're in luck because this recipe is easy as pie. Actually, it's way easier than pie. 1. Who came up with that phrase? 2. Are they talking about eating pie? Because if so, I agree, eating pie is REAL easy. If they are talking about making it, then they're just wrong.

As you can see from the picture below, you're only going to need four ingredients. Oh, and some salt too. So, five actually.

If you happen to have one of these contraptions, awesome. Your life is getting easier and easier. If you don't, you'll be just fine. What is this contraption you say? Well it's an apple peeler corer slicer (oooh. so many functions). You just pop the apple on, crank a handle and it does it all.

Since it's fall, now is a good time to buy one. I got mine last year at Marshalls for $10, but I've also seen them at Bed Bath & Beyond online here. Like I said though, if you don't have one, you'll be fine. Just peel the apple and cut it into thin pieces.

Crescent roll, apples chunks, goat cheese. Roll it up.

Bake it. Drizzle with honey. Sprinkle with salt.

Resist the urge to eat 5 in one sitting like I did. But know that if you do, I totally don't judge you. Who can resist the gooey creamy sweet goat cheese, crisp tart apples, flaky pastry and sweet and salty honey drizzle? Not me.

Apple Goat Cheese Bites with a Salty Honey Drizzle
{makes 8}

Ingredients:
8 oz. package of crescent rolls
1 tart apple, peeled, cored and cut into thin pieces 
2 oz. goat cheese, crumbles
honey
kosher salt

Preparation:
Preheat oven to 375 degrees. Separate crescent rolls along perforated lines. Top with a few apples, 1/8th of the goat cheese and roll up. You may need to manipulate the dough a bit around the apples to make sure everything is covered and tucked in. Repeat for all 8 pieces. Cook in preheated oven for 10-13 minutes, or until golden brown. Let cool slightly on pan. Remove from pan and place onto serving plate. Drizzle lightly with honey and sprinkle with salt.

linking up to:
Home Stories A to Z

Remodelaholic

Thursday, October 27, 2011

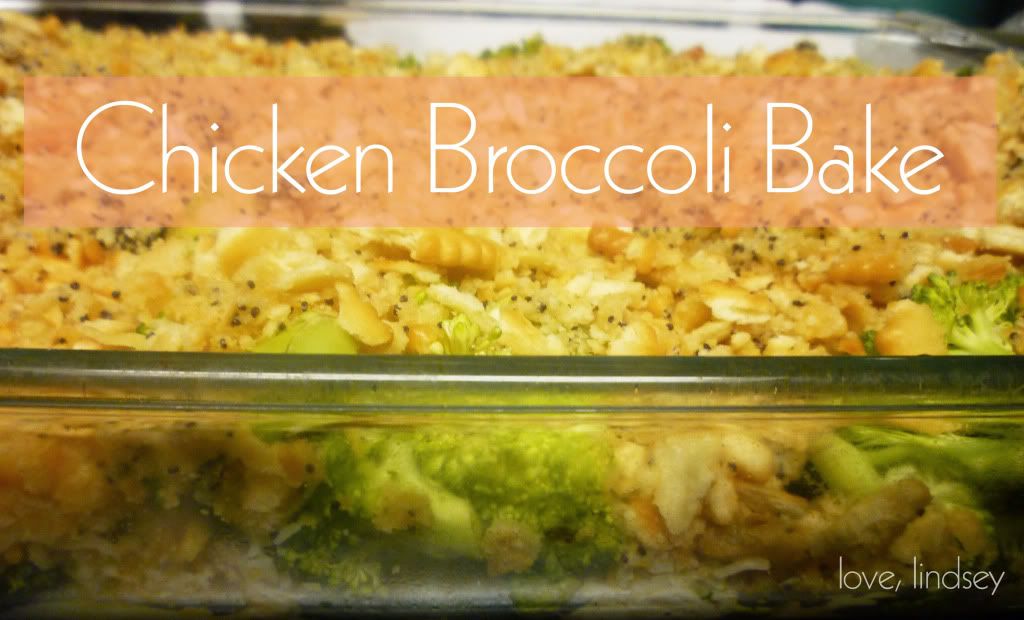
Chicken Broccoli Bake

I came across this pin on pinterest and knew I had to make it. I love myself a good casserole, and I especially liked this one because it didn't require any canned soups or other highly processed ingredients.

It all starts with some fresh broccoli, chicken and a creamy cheesy sauce, topped off with a buttery cracker and poppy seed mix. Tell me that doesn't sound delicious.
This would be a great recipe to make ahead and then pop in the oven at dinner time.

Now, you can go get the original recipe here from Get off Your Butt and Bake. I did make a few minor changes, though, so my recipe is below. But let's be honest, the credit for this delicious recipe, really belongs to Jonna from the aforementioned (ooh. big word) blog.

Chicken Broccoli Bake
{serves 4-6}

Ingredients:
3/4 lb fresh broccoli, blanched, or steamed for 2 minutes
2 large chicken breasts, cooked and diced
3 cups shredded cheese, divided (cheddar would be great, but I just used what I had on hand)
2/3 cup unsalted butter, melted, divided in half
1/4 cup. cornstarch, dissolved in 1/2 cup COLD Water
1/3 cup Chicken Broth
1/4 tsp salt
1/4 tsp pepper
2 Cups milk
50 Ritz crackers (about 1 1/3 tubes), crushed
1 tbsp poppy seeds
Preparation:

Preheat oven to 350 degrees. Grease 13 x 9 pan and layer chicken and broccoli in pan.

Combine corn starch, chicken broth, 1/3 cup of the melted butter, salt, pepper and milk in saucepan and cook over medium heat, stirring constantly. Continue to cook until sauce has thickened. Reduce heat to low and stir in 1 1/2 cups of cheese until melted. Pour sauce over chicken and broccoli. Top with remaining cheese.

Mix together remaining 1/3 cup melted butter, poppy seeds and crushed crackers. Sprinkle over entire mixture.
Bake for about 30 minutes. Serve and enjoy!

To reheat any leftovers, cover pan with aluminum foil and bake in 350 degree oven for about 20 minutes, or until warm. I would not recommend reheating in the microwave.

Linking up to:
funky junk interiors

Remodelaholic

Monday, October 24, 2011

Whole Wheat Pumpkin Waffles w/ Cinnamon Whipped Cream

Oh wow. These are good. Like really good. And the whipped cream is a must. I'm kind of on a pumpkin craze right now, so watch out. I think the fact that I know pumpkin is seasonal makes me want to get as much as I can in. Seriously, I grab a can of pumpkin pretty much every time I'm at the store. Don't judge me.

In my quest for a pumpkin waffle recipe, I cam across this one at a blog named solely for the pumpkin waffle. They called it the ultimate, so I figured I'd better give it a try. Leave it to me to change it though. I really wanted some whole wheat goodness in there, so this is my variation. It's a bit of work, but is well worth it.

We start with lots of yummy spices mixed into a delicious batter.

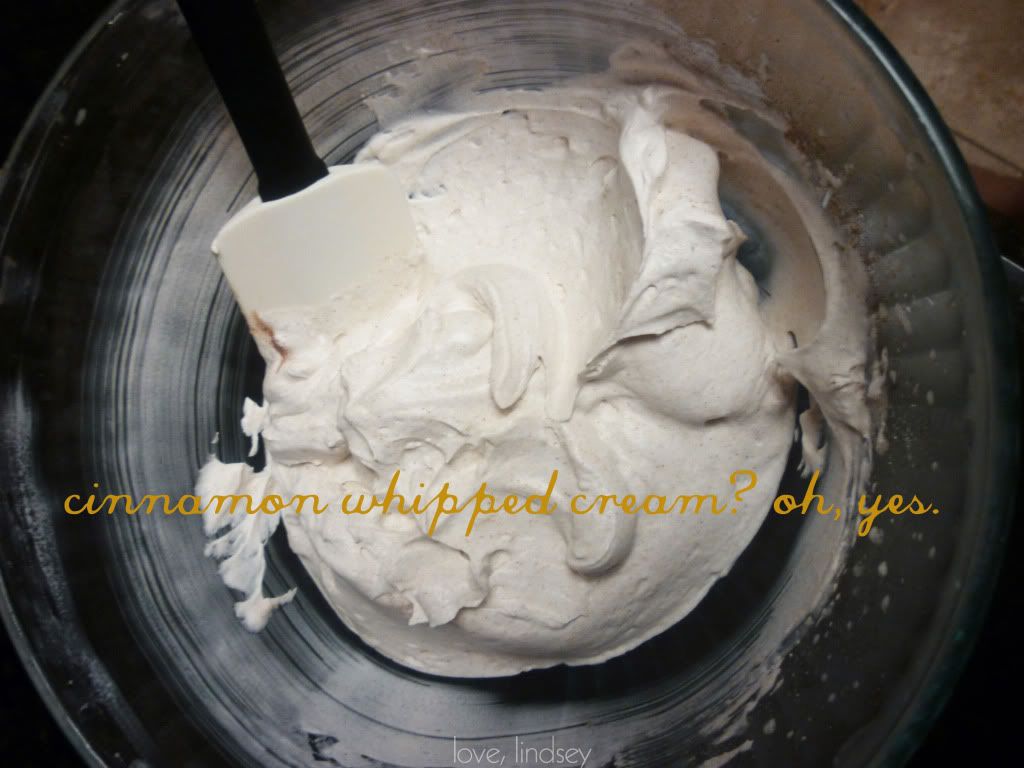
And some glorious whipped cream

Put em together and you've got autumn heaven for breakfast.


Whole Wheat Pumpkin Waffles
{Makes 6-8 standard or 4 Belgian waffles}
Ingredients:
1/4 cup light brown sugar
3 Tbsp. cornstarch
3/4 cup whole wheat flour
1/2 cup all-purpose flour
1 1/2 tsp. baking powder
1 tsp. salt
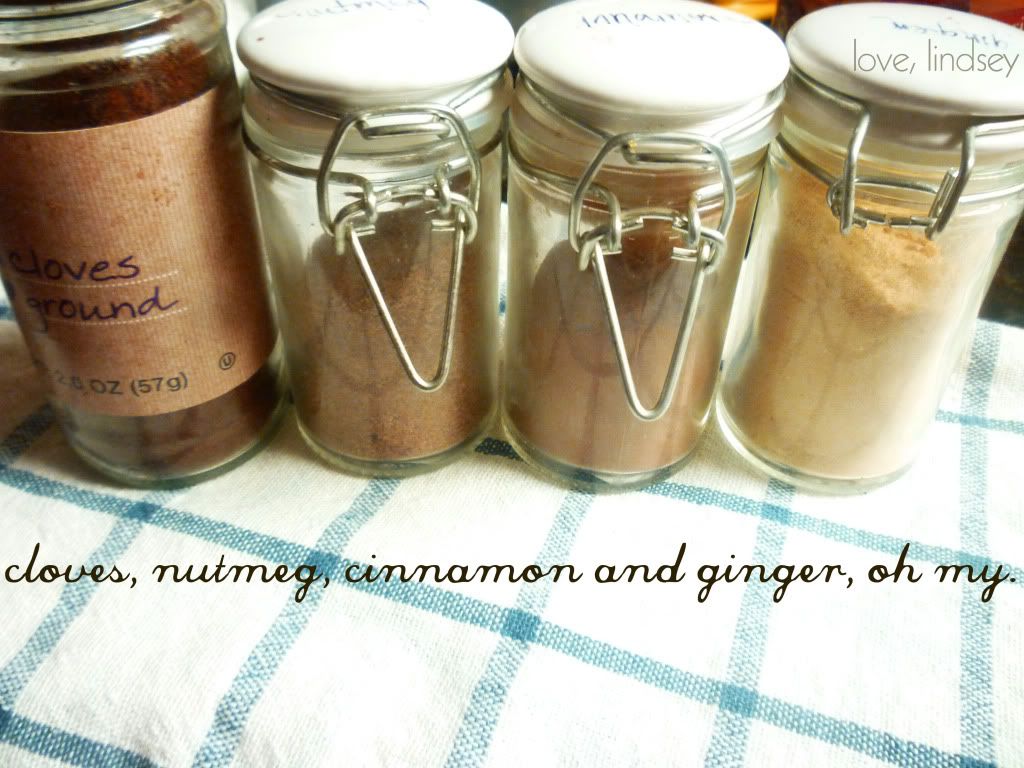
1/4 tsp. cloves
1/4 tsp.nutmeg
1 3/4 tsp. cinnamon
2 tsp. ginger
2 eggs, separated
1 cup milk
1 cup canned pumpkin
4 tbsp unsalted butter, melted

Preparation:
Combine brown sugar, cornstarch, flours, baking powder, salt and spices in large bowl and whisk together well.

In a separate bowl, combine eggs yolks, milk, canned pumpkin and melted butter. Once well combined, add pumpkin mixture into dry ingredients. Mix lightly- lumps are ok.

In medium bowl, beat egg whites with electric mixer on high until stiff peaks form. Fold egg whites into batter.

Cook waffles on preheated waffle iron, set to desired temperature.Top with cinnamon whipped cream, recipe below.


Cinnamon Whipped Cream
{Makes about 2 cups}
Ingredients:
1 cup cold heavy cream
2 tbsp sugar
1 tsp cinnamon

Preparation:
Place medium bowl and mixer whisks in freezer for 5-10 minutes. This is especially important if your kitchen is rather warm.

Beat heavy cream on medium high speed until well-thickened. Don't beat too much though, or you'll end up with butter. Add in sugar and cinnamon and beat on low just until combined.
  
Linking up to:
Home Stories A to Z
Funky Junk Interiors

Tuesday, October 11, 2011

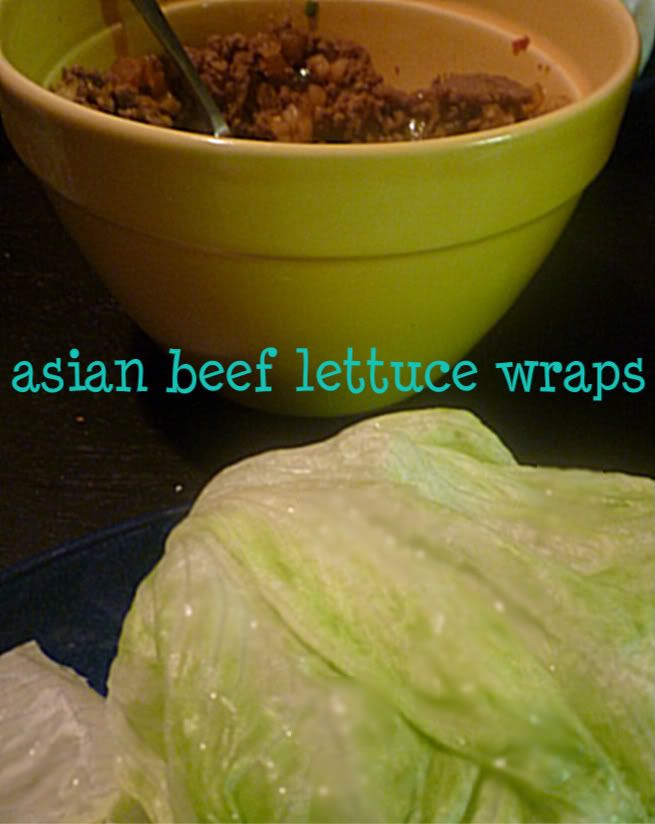
Asian Beef Lettuce Wraps

Sometimes you have a craving and it NEEDS to be satiated. And sometimes, if you're crazy like me, you crave things you've never actually eaten before. In my case, I was seriously craving lettuce wraps from PF Changs, except I wanted ones made with beef. Kind of off considering I could seriously go days on end without eating meat if it weren't for my husband :) But sometimes you just roll with it.
This recipe is by no means a copy cat- just my concoction that I came up with in the kitchen. Let me tell you, it turned out pretty tasty.

Asian Beef Lettuce Wraps
{Serves 4}
Ingredients
1 head iceburg lettuce
1 lb. extra lean ground beef
1/2 medium onion, finely diced
2 cloved garlic, minced
1 tbsp. fresh ginger, minced
1/4 cup sliced green onions
1 can water chestnuts, finely diced
3 tbsp. low sodium soy sauce
3 tbsp. sweet chili sauce
2 tbsp. teriyaki sauce (I like trader joe's soyaki)

Preparation
The most time consuming part of this recipe will be prepping all of your ingredients, so make sure to do that first to save your sanity. Carefully separate leaves from head of lettuce, wash and set aside on paper towel to dry.

Next, brown ground beef in large skillet. Once browned, drain most of the remaining fat and transfer ground beef to another bowl. Do not rinse out your skillet- you'll want that tiny amount of fat to cook the veggies in.

Add onion, garlic and ginger to skillet and cook over medium heat until onions are soft. Add in green onions, water chestnuts and all sauces. Cook over medium low for 3-4 minutes. Add in cooked ground beef and let the entire mixture simmer on low for about 5 minutes, stirring occassionally.

 To serve, spoon mixture into your lettuce cups, roll up and enjoy.


Thursday, October 6, 2011

Sick Soup

I'm currently surrounded my an ever-growing pile of used kleenex. Being sick is really no fun. I think being on airplanes just does it to me.

Anyway, when I'm sick, all I want is Sick Soup. Now, that's not the official title, it's actually Avgolemono, but it's the soup I always want when I'm sick so that's the name it gets in my house.

It's actually easy enough to make for yourself even when you're sick, but somehow it tastes better when someone else makes it for you. It's creamy and lemony and has enough flavor that you can still actually taste it even when your tastebuds have decided to all but stop working (WHY does that happen when you're sick??)

Anyway, here it is folks. No pictures because, well, I haven't gotten off my butt to make it yet.

Avgolemono aka Sick Soup
{serves 4}
Ingredients
6 cups chicken stock
1/2 cup uncooked orzo pasta
3 eggs
1 lemon
1 tbsp. cold water
salt & pepper

Preparation
Bring chicken stock to boil over high heat in large saucepan. Add in orzo and cook for about 5 minutes. Remove from heat. In a separate bowl beat eggs until frothy, add juice from lemon and water. Caerfully add one ladle full of the hot chicken broth/orzo mixture to the eggs to temper them. Next, add the entire egg mixture into the saucepan and still well. Season with salt and pepper and serve.

(I would imagine this probably tastes REALLY delicious if you use fresh chicken stock, bur when you're sick, who has time for that?? I use pre-packaged chicken stock and it tastes just fine to me :)

Recipe slightly adapted from: Allrecipes

Tuesday, September 20, 2011

Caprese Sandwich

I am in love with caprese. Seriously in love. Tomatoes, mozzarella, basil and olive oil. So simple, yet so delicious. In a quest to make it in sandwich form, I created this:

Caprese Sandwich
Ingredients
2 slices sourdough bread
Prepared pesto
Mayonnaise
Fresh mozzarella, sliced into medallions
Red ripe, juicy tomatoes, sliced
salt & pepper, to taste.

Preparation
Lightly toast bread. Spread each slice with mayonnaise, then prepared pesto (I like the kind from Trader Joe's). Next, layer tomatoes, then mozzarella and a little salt and pepper on one of the slices of bread. Top it all off with the other slice and you're set for some caprese sandwich deliciousness. Because the bread is toasted, this will hold up pretty well until lunch time if you decide to make it in the a.m. and take it to go.
Enjoy!


Thursday, September 1, 2011

Salad Goodness

Joy the Baker might be my favorite baking blog. Scratch that. Joy the Baker most definititely is my favorite baking blog. I pretty much want to immediately make every single one of her recipes. Also, she has an awesome podcast that really brightens up my commute. I really want to be friends with her in real life. Does that make me creepy? Maybe.

Moving on... I made this salad from her blog. Salad from a baking blog? Yes. Go.with.it. It's healthy and delicious. The husband won't eat it, but that doesn't mean much. I've been eating it for lunch all week and it is awesome. Quinoa, black beans, mangoes.

Intrigued? I thought so. Head over here for the recipe

 .

Monday, August 15, 2011

Creamy Pasta with Sausage, Tomatoes and Greens

This is one of those dinners that was born out of pure chance.

I had leftover sausage and marscapone cheese. They desperately needed to be used. The result? This deliciousness. I made it up as I went, which even I'm impressed by. {if you ask my mom, she'll say this a talent I get from her}
{serves four}
Ingredients:
1/2 lb pasta (I used gemelli, but rotini, fusili or penne would work well too)
1/2 cup reserved pasta water
1 tbsp. olive oil
1/2 medium onion, coarsely chopped
1 clove garlic, minced
1/4 cup chopped red pepper
1/2 lb. mild italian sausage
1/2 cup shredded parmesan
4 oz. marscapone cheese
handful of cherry tomatoes, halved
2 cups spinach/arugula mix (using one or the other would work as well)
salt & pepper to taste

Preparation:
Bring large pot of salted water to a boil. Cook pasta according to package directions. Remember to reserve about 1/2 cup of the pasta water for the sauce.

Meanwhile, heat olive oil in large saute pan over medium heat. Add onions and garlic. Remove sausage from casing and crumble into pan. Cook for 5 minutes. Add bell peppers. Continue to cook, stirring occasionally until onions are translucent.

Next, add marscapone, parmesan and 1/4 cup of the reserved pasta water to the pan. Stir together until well blended, then bring to a boil, stirring often. Lower heat and let simmer for approx 5 minutes, or until desired consistency. (tip: if the sauce is too dry, add a little more pasta water. too watery? cook for longer or use some corn starch).

Add in cooked pasta, tomatoes, spinach, arugula, salt and pepper. Cover with lid for about one minute to allow greens to wilt slightly. And you're done!

Serve topped with shredded parmesan.