Pages

Showing posts with label thrifting. Show all posts

Sunday, August 28, 2011

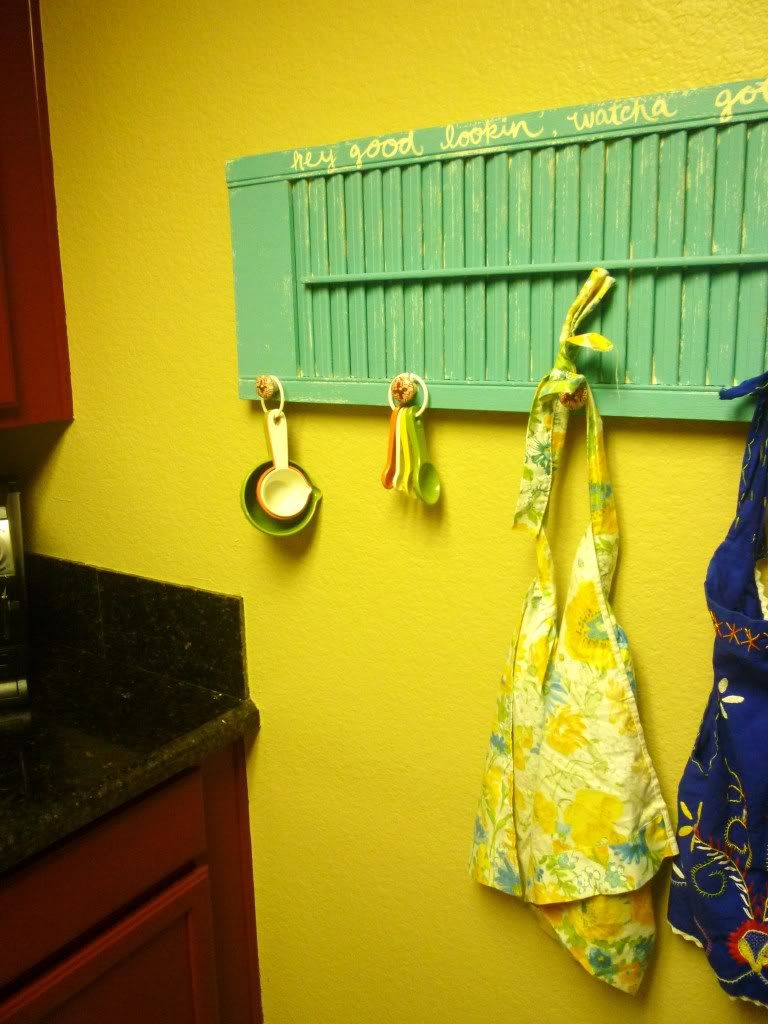
Shutter Kitchen Rack

As I may have mentioned before, I'm not the quickest when it comes to completeing my projects. "Not the quickest" is actually putting it mildly.

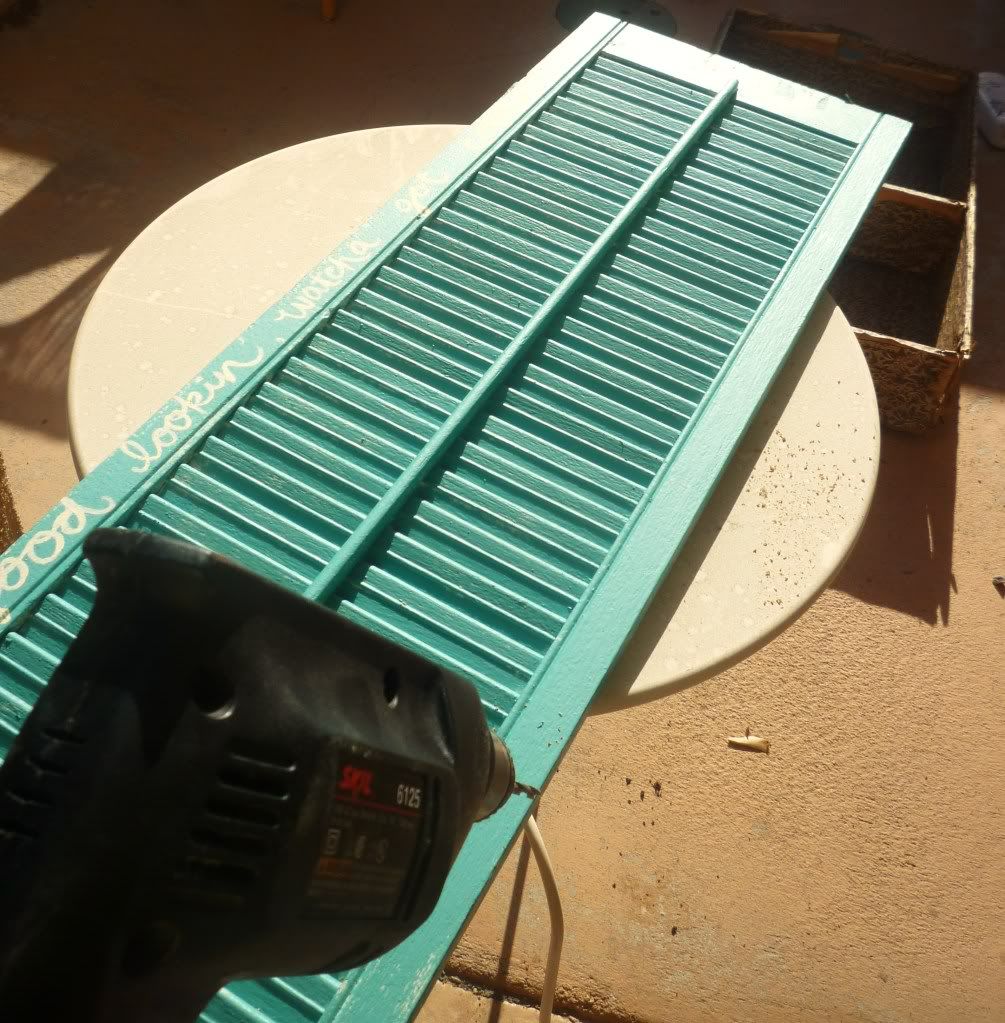
Take this shutter, for example:
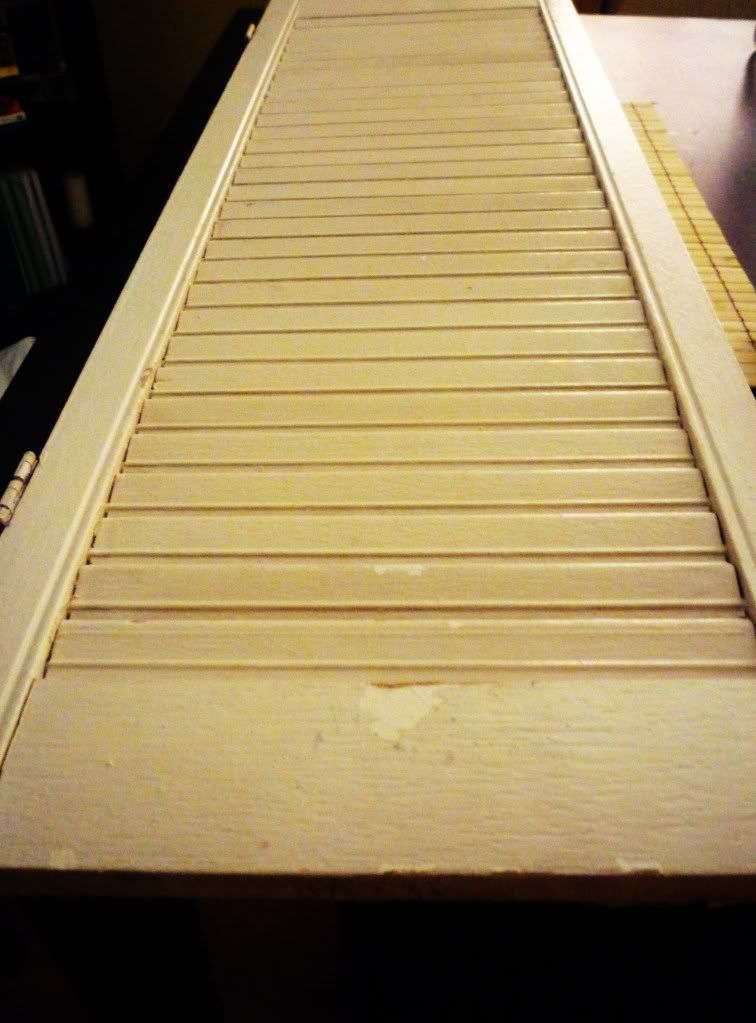
I have had this shutter for well over a year...maybe even two. I bought it at the thrift store for 95 cents. It's made three moves with me. This is craziness. But somewhere deep down I knew it had some seriously great potential.

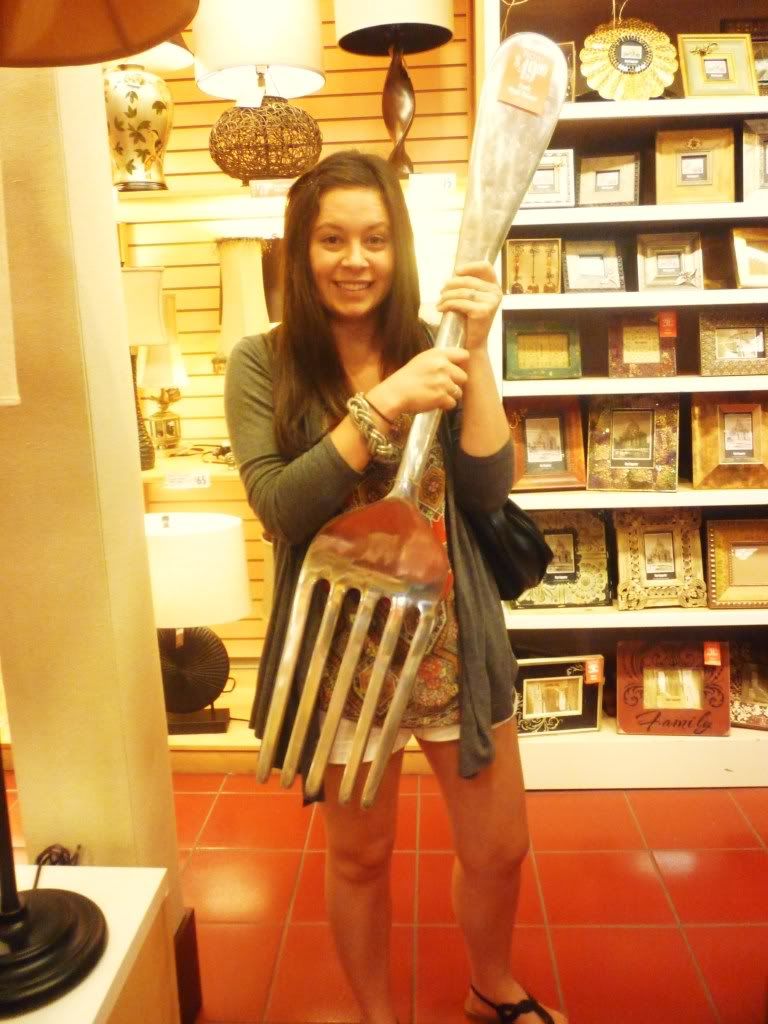
Well, I finally decided to tackle it. I saw these shutter hooks from Pier1 and felt the inspiration bug hit. I needed something to fill up some blank space on my kitchen wall, and I also needed somewhere to hang at least a few of my many aprons (I have a slight obession with love for aprons). I am not necessarily in love with a lot of things about my kitchen: the cabinet color, the wall color, the color of the appliances, the counter top. So ya, pretty much everything. But such is life when you are a renter. I needed something to pretty it up and make me a littler happier to be in there, so I got to work!

If you want to re-create this project, you'll need:
  • one  shutter (or similarly sized piece of wood)
  • paint brushes (1 medium size, 1 very small, fine) 
  • latex paint, any color
  • craft paint, contrasting color (for lettering)
  • 3-5 small knobs or hooks (mine are from world market)
  • drill, 3/16 drill bit (if using standard cabinet knobs)
Obviously, a shutter might be hard to come by. Keep an eye out at thrift stores, on craigslist, or at the Habitat for Humanity Restore (if you have one near you :) If you can't find one, you could certainly create this project using a simple piece of wood.

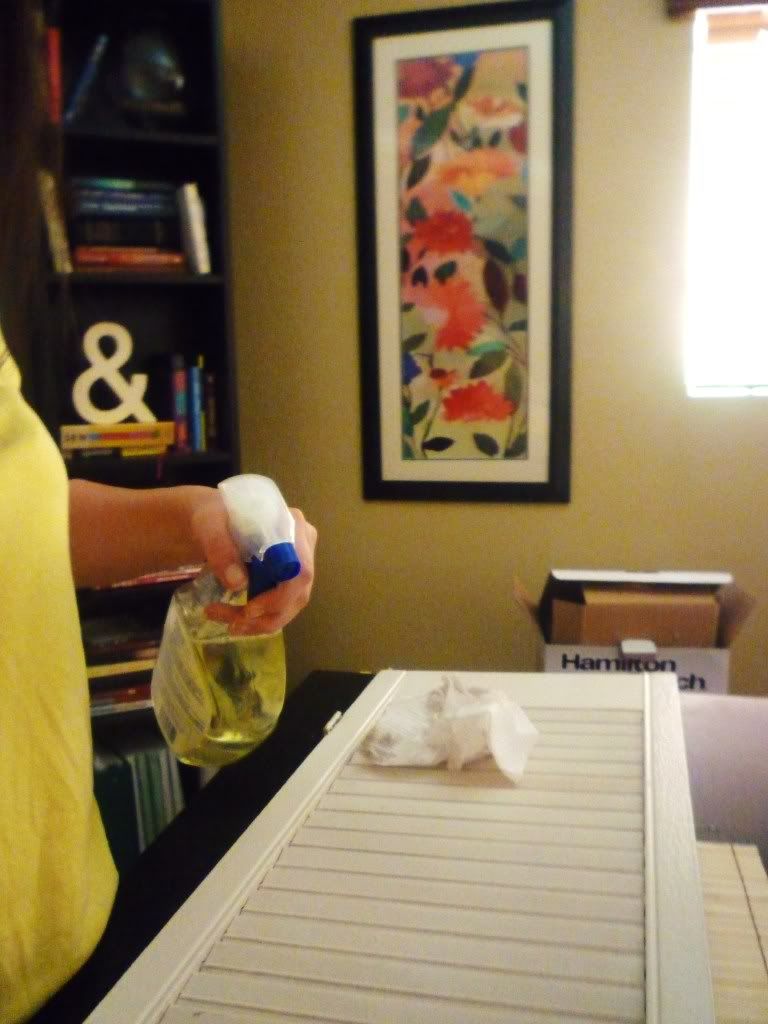
Step one: clean that dirty shutter. I just used some basic cleaning spray and paper towels. LOTS of paper towels. That sucker was dir-tay.
Step two: paint! Tip: Home Depot sells small samples of their paints which are perfect for small projects. The colors are many and the price is right. I got my sample of behr paint/primer for less than $4. Usually, I end up buying a quart, which is just wayyyy more than I need. And another great part about the samples is that they have screw on tops, instead of the typical pop off ones. Makes for easier storage!
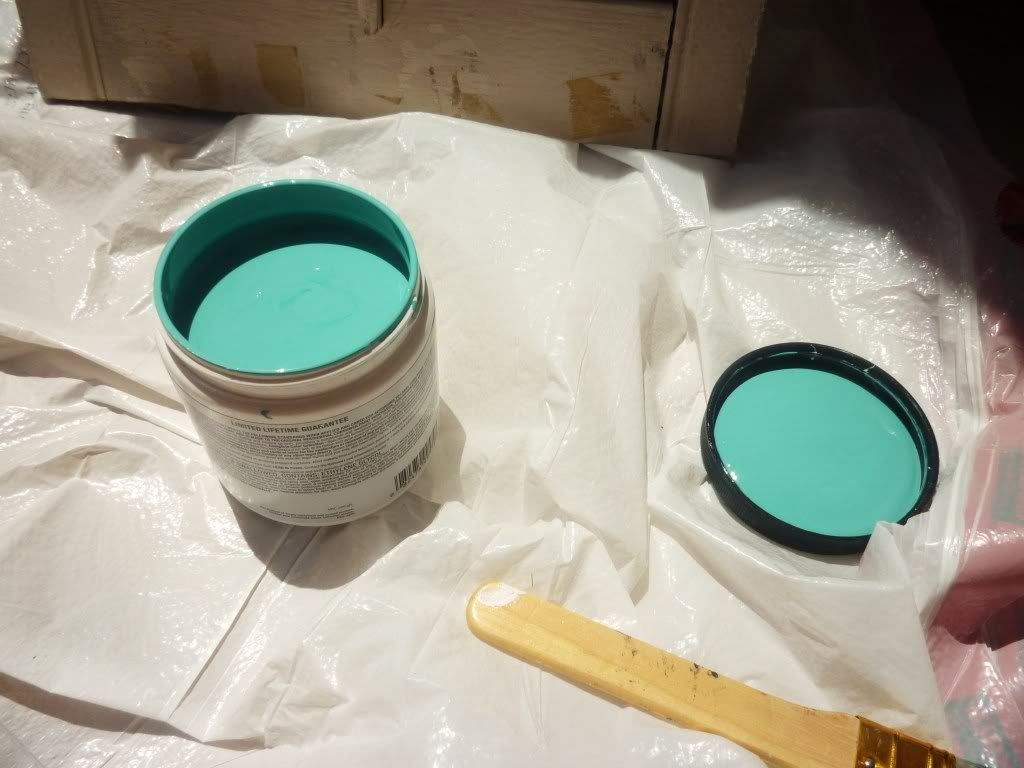
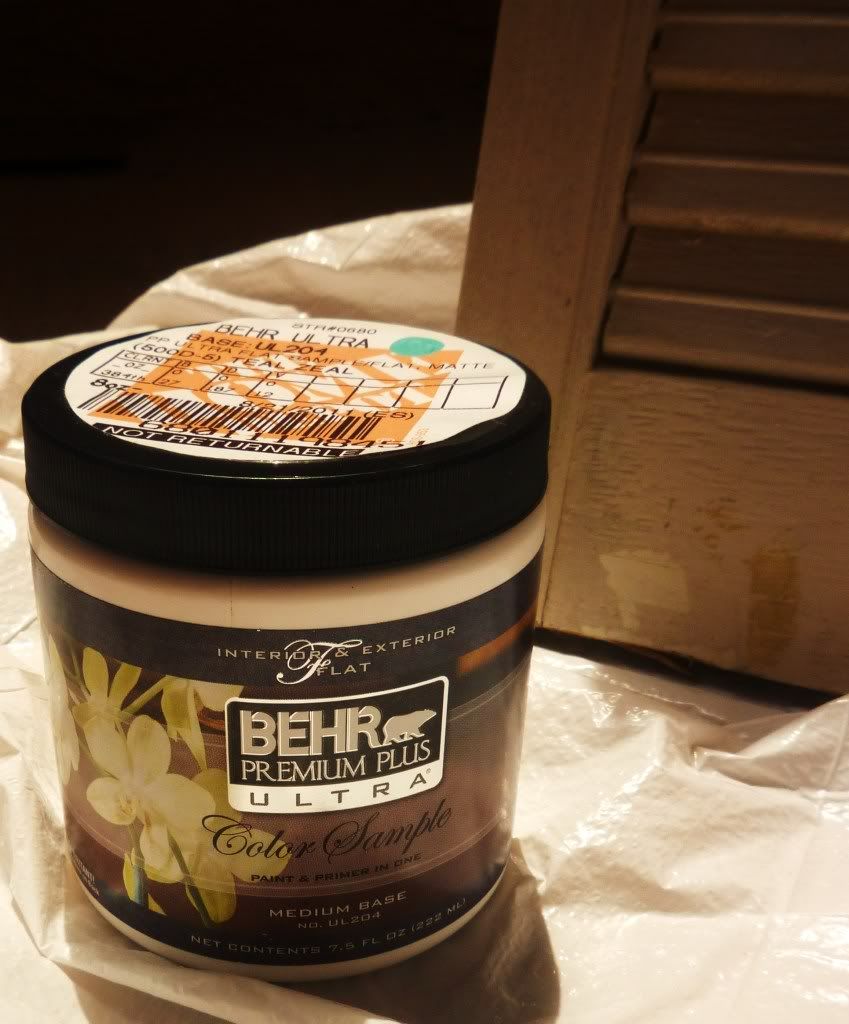
I knew I wanted the shutter to have a distressed look, so I wasn't overly concerned about getting into every nook and cranny of those shutters. That was probably a good thing, because I definitely would have made myself crazy trying to get complete coverage. I only painted one side because I knew it would be hanging on the wall. Why do more work than you need to??

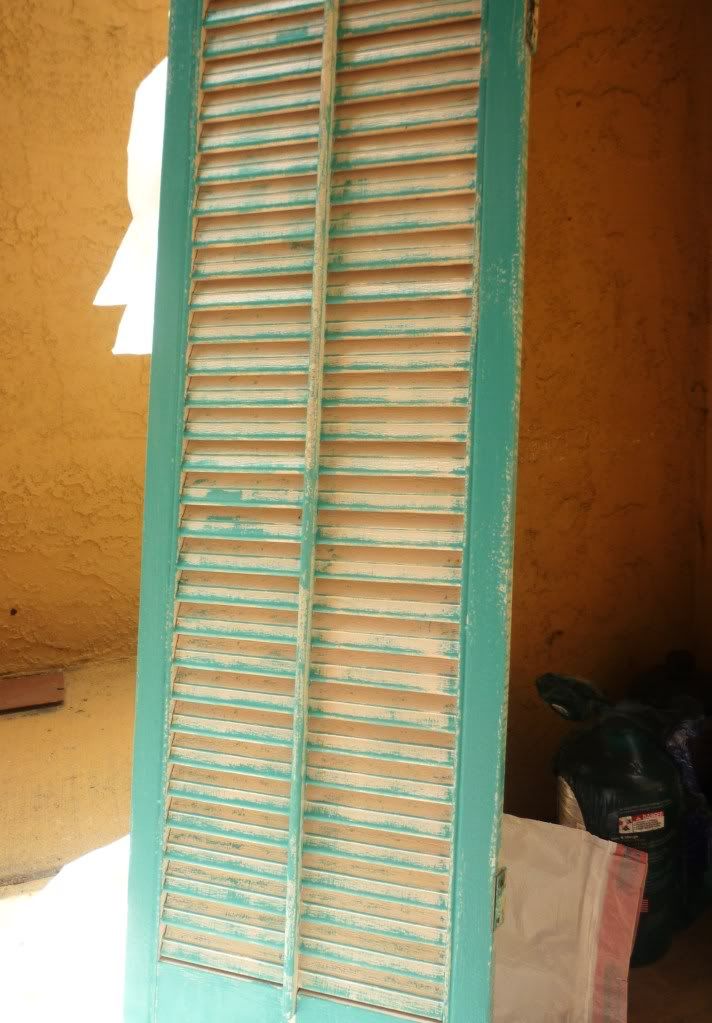
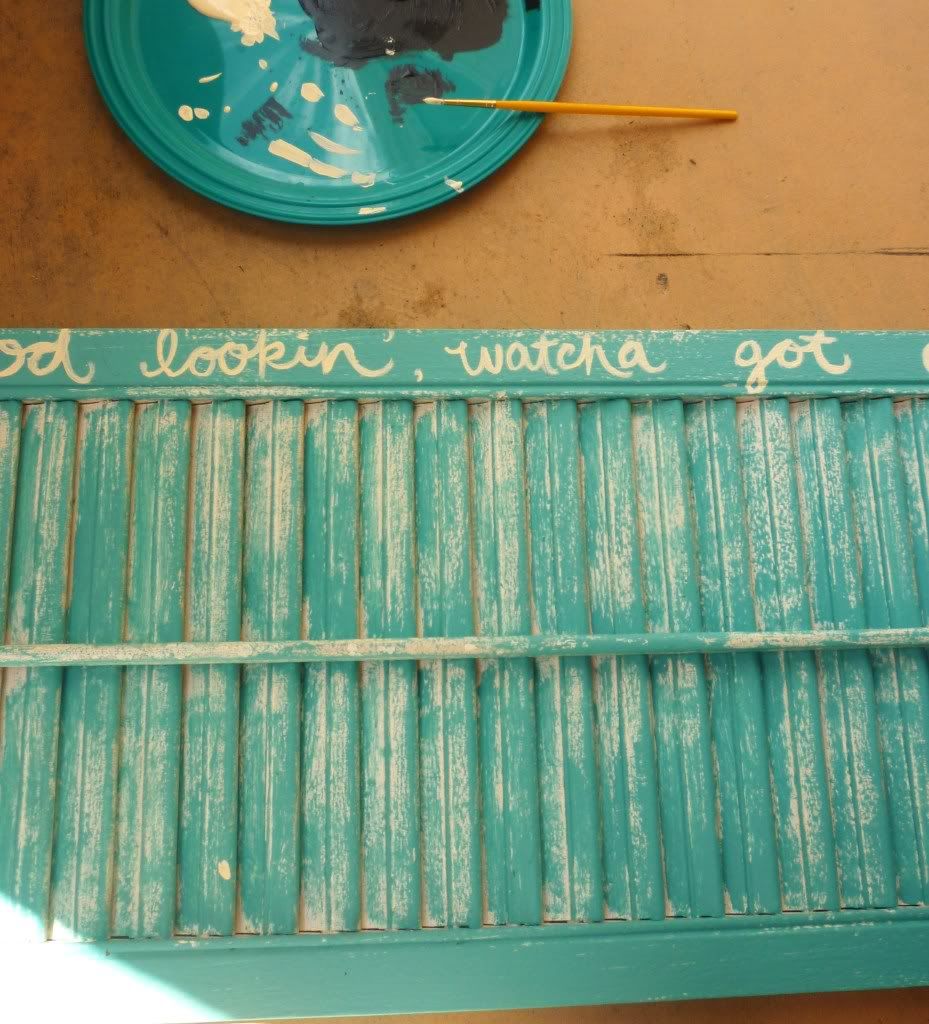
Step three: The quote. After paint dries, write out your quote in pencil. I chose "hey good lookin', watcha got cookin?", but the possibilities are endless. You could easily put a non-kitchen themed quote on this and place it in your entry way, a bedroom, the bathroom, etc...

The first time, I didn't get the spacing quite right, so I had to erase and re-write. But once you get it right, you're ready to paint it on! It's easier than you think. I just squirted some basic ivory craft paint from Michael's onto a plate and used a fine paint brush to trace over my letters. It's best to do a thin coat, let dry, then go back over with a second coat.
Step four: The knobs.
Measure out where you would like to place the knobs, and mark with pencil. Double check your measurements!

Next, you'll need to get drillin'. Don't be afraid of the drill. Honestly, I kind of was, but I'm still alive to write this post, so you will be too. You should probably wear some protective goggles. If you don't have those... at least put on some sunglasses.

Position the shutter on a stable surface and drill your holes. Obviously, make sure the part you are drilling into is hanging over your stable surface, or else your beloved stable surface is going to have a 3/16" drill hole in it.
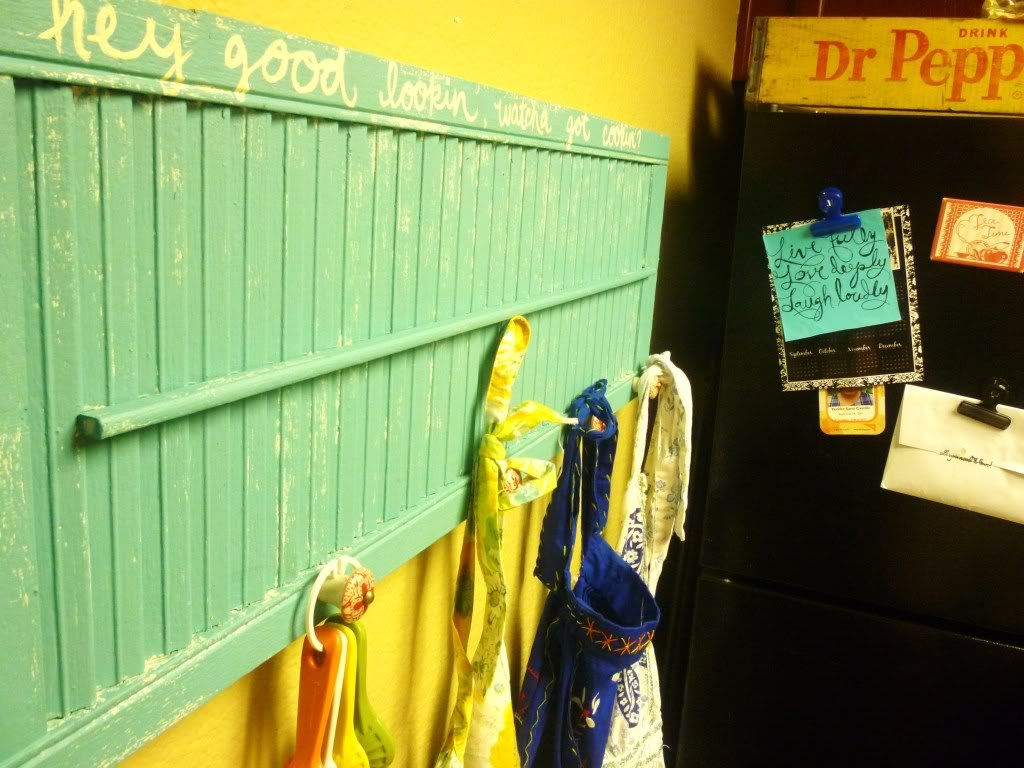
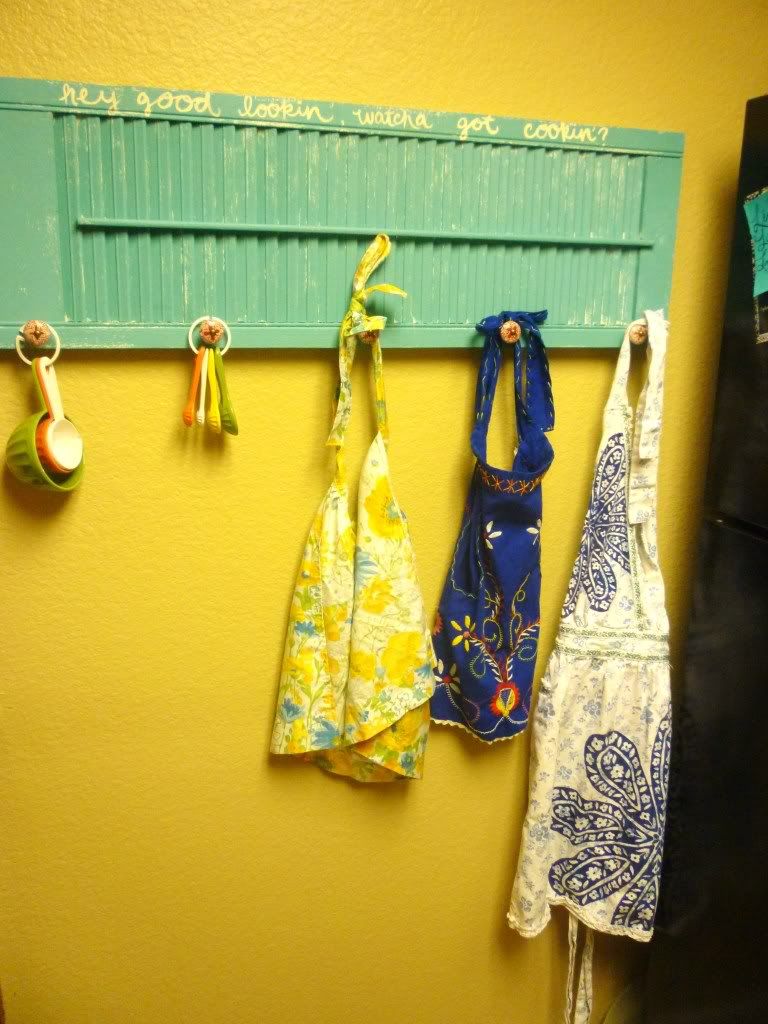
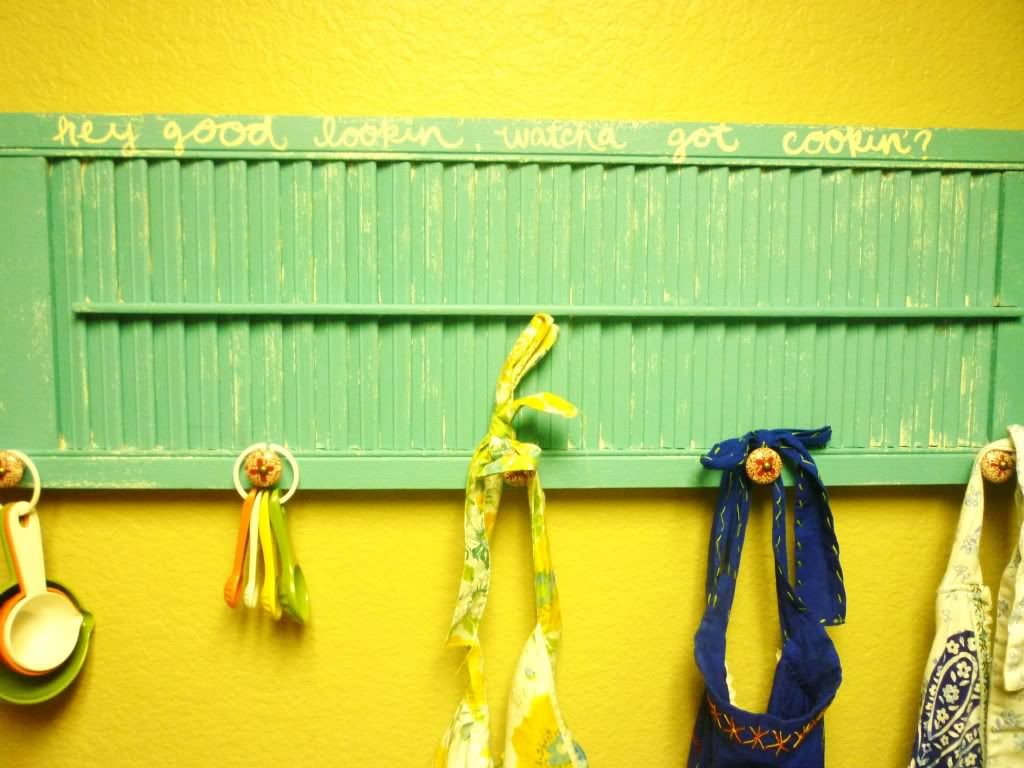
Screw your knobs into the holes you made, and you're done! Hang it up on the wall and admire your work.
linking up to:

Monday, August 22, 2011

Treasure Hunting

Two weekends ago, my friend Nicole came down from Pasadena for a weekend visit. Our favorite thing to do together? Shop! Thrifting, to be exact :) We managed to mix in a few other non-thrift stores too, of course.

This time, I pretty much shopped vicariously through Nicole. Most of my thrift store finds need a little love and turn into projects. Unfortunately, my vision can sometime be greater than my drive and I take my sweet time getting around to actually completing a project. So, I'm trying to finish up the projects I already have going at home before I bring home new ones.

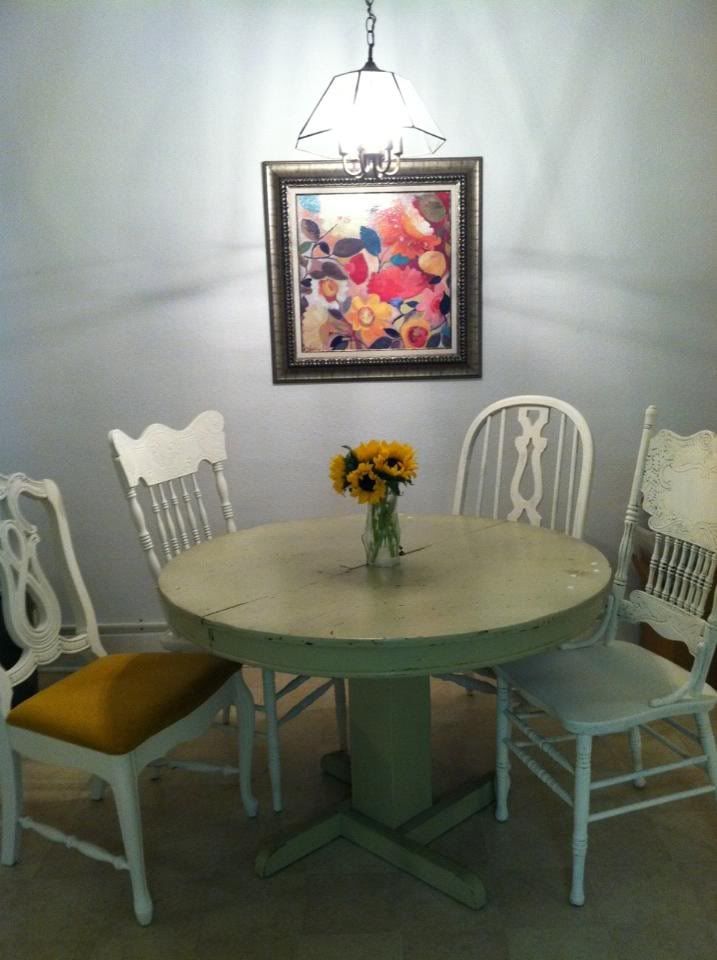
Anyway... Nicole was on a hunt for some items for her new apartment. Most specifically, 3 mismatched chairs for her dining room. The plan was to paint them all white, to go with her green table, giving the room an eclectic, yet still pulled-together feel.

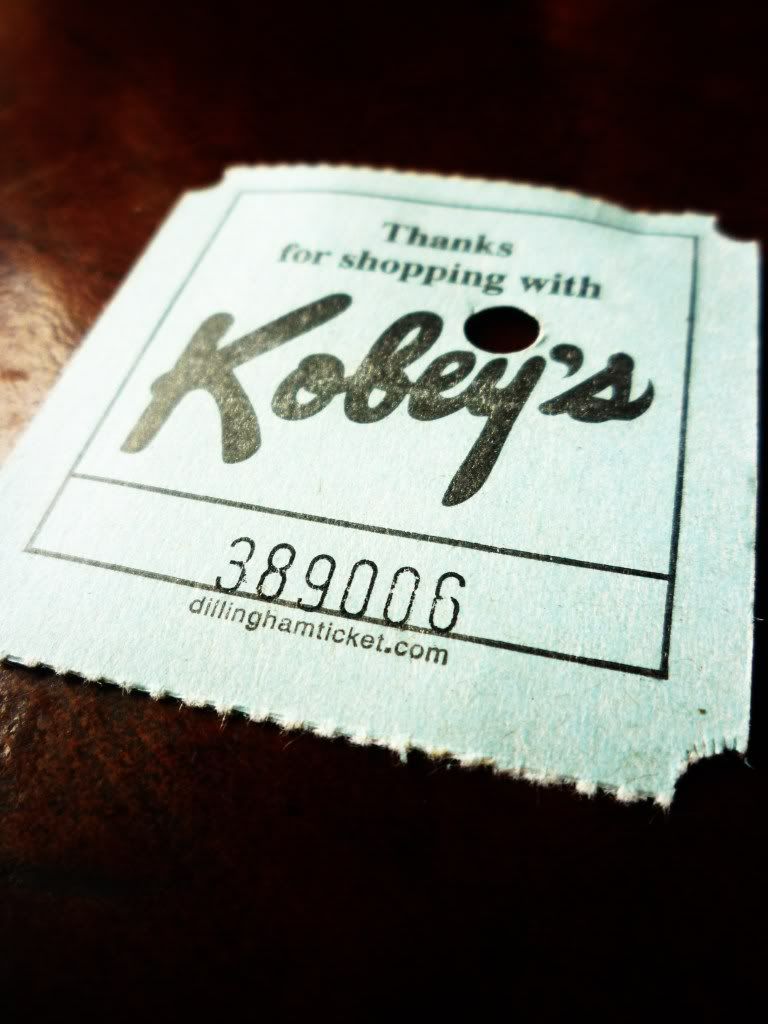
So, we started the day off at Kobey's swap meet. Despite the fact that I've lived in San Diego for YEARS, I've never been there!


At first, it didn't look too promising. We were hoping for some vintage thrifty furniture finds, but seemed to be walking by endless booths of cell phone covers and knock off purses. But, we rounded a corner and found gold! Holy moly, I have no idea how I resisted all the great finds.

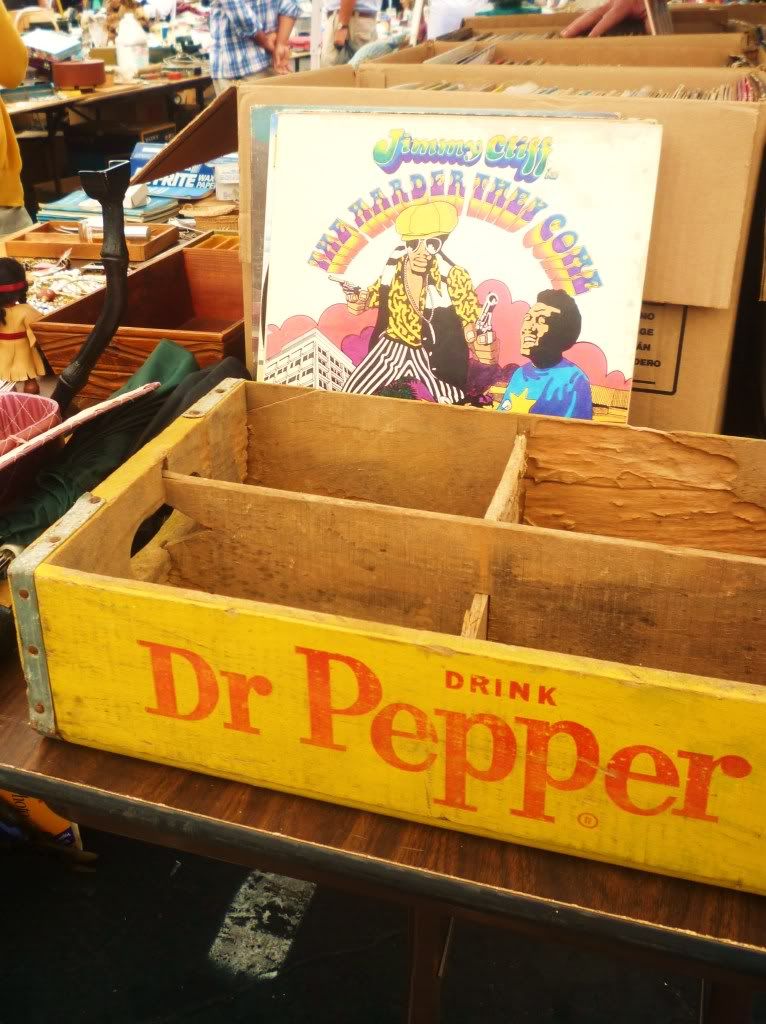
There was one item I just couldn't resist though. I've been wanting a vintage soda crate for who knows how long and looky what I found! For $5!

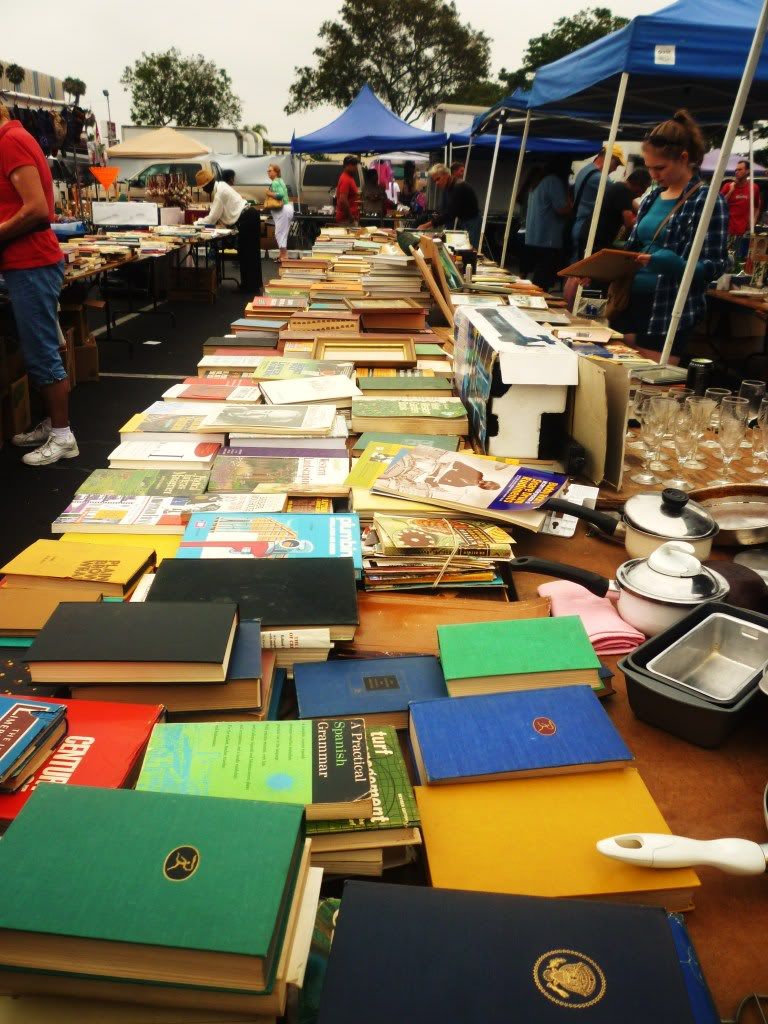
At the same vendor, we found these colorful books for Nicole's apartment. Love it!


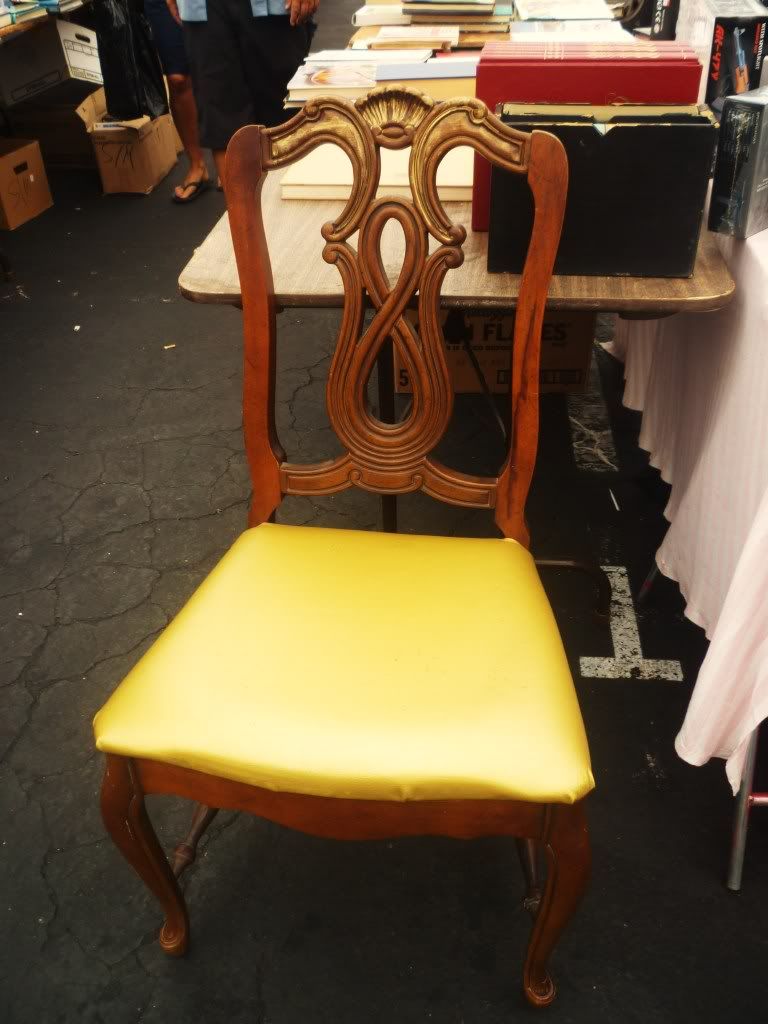
Chair #1 found! A little white paint and a recovered cushion and it will be perfect!

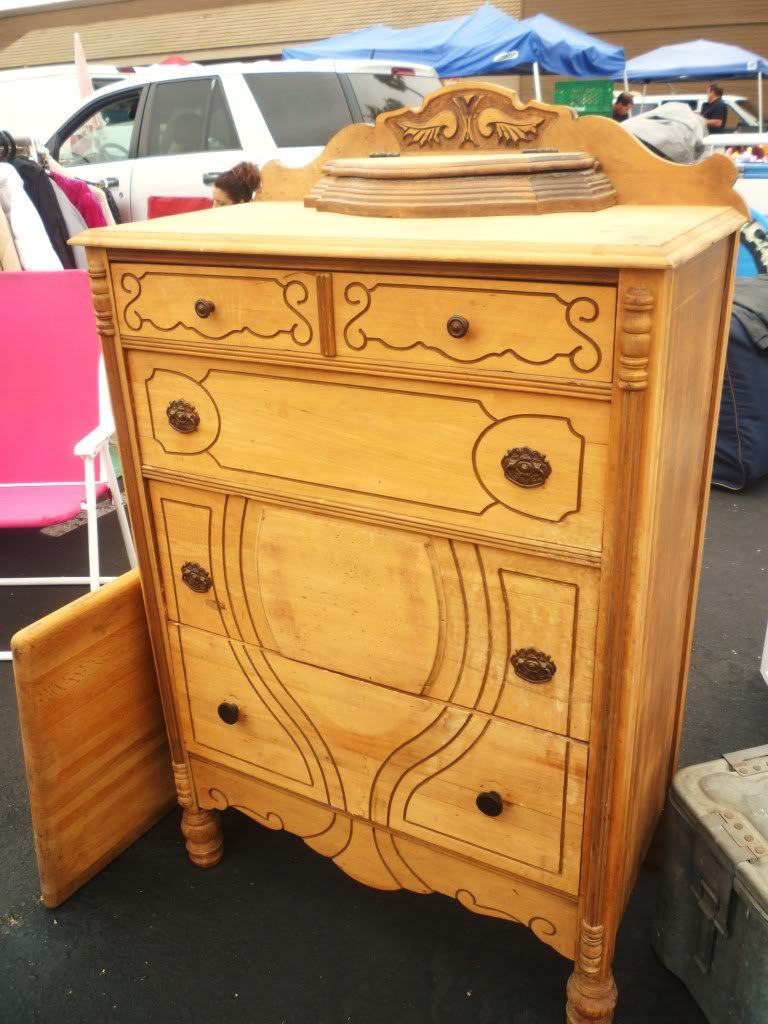
I love the lines and detail of the dresser. It was unfininshed and so ready for a coat of fun, bright paint.

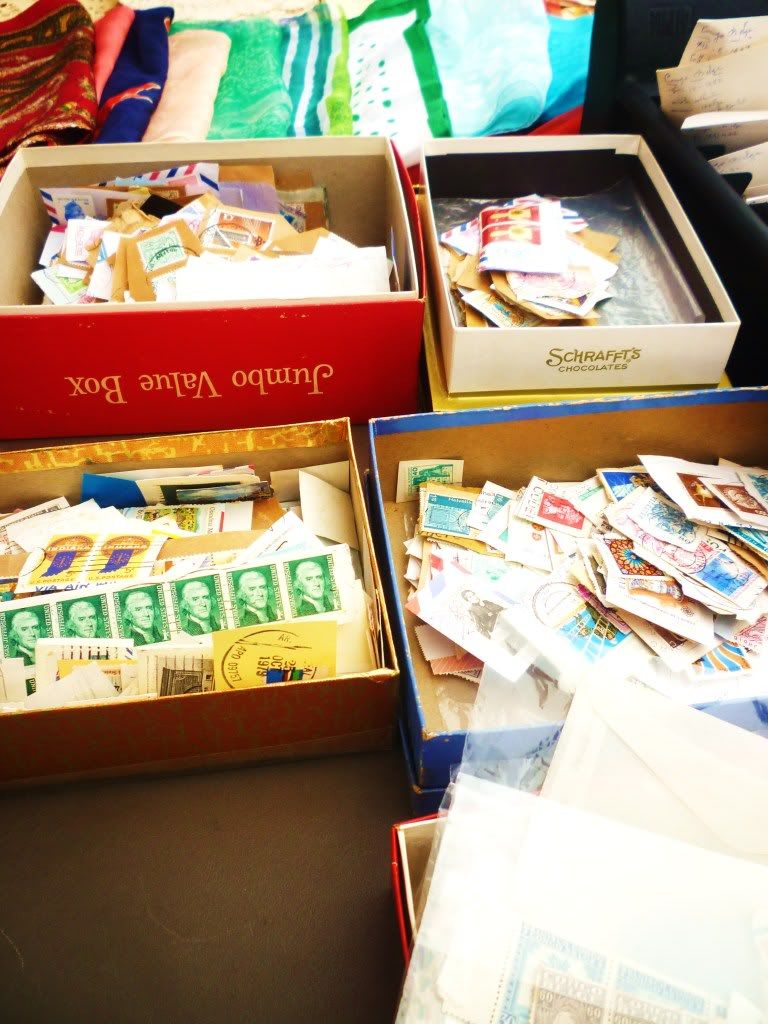
Boxes of vintage stamps. I've seen brides use these for wedding invitations and they look amazing.

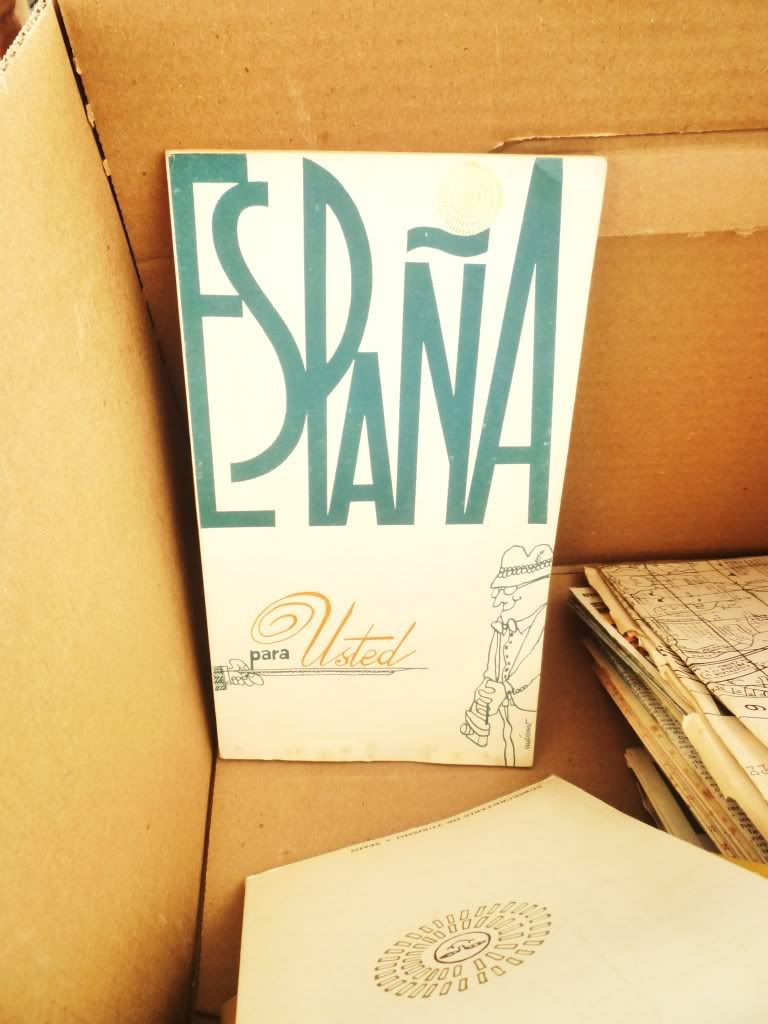
 I loved these two books. I really should have bought them. I have no idea what they were about (besides the obvious- Spain), but I loved the covers and that there was one in English and one in Spanish

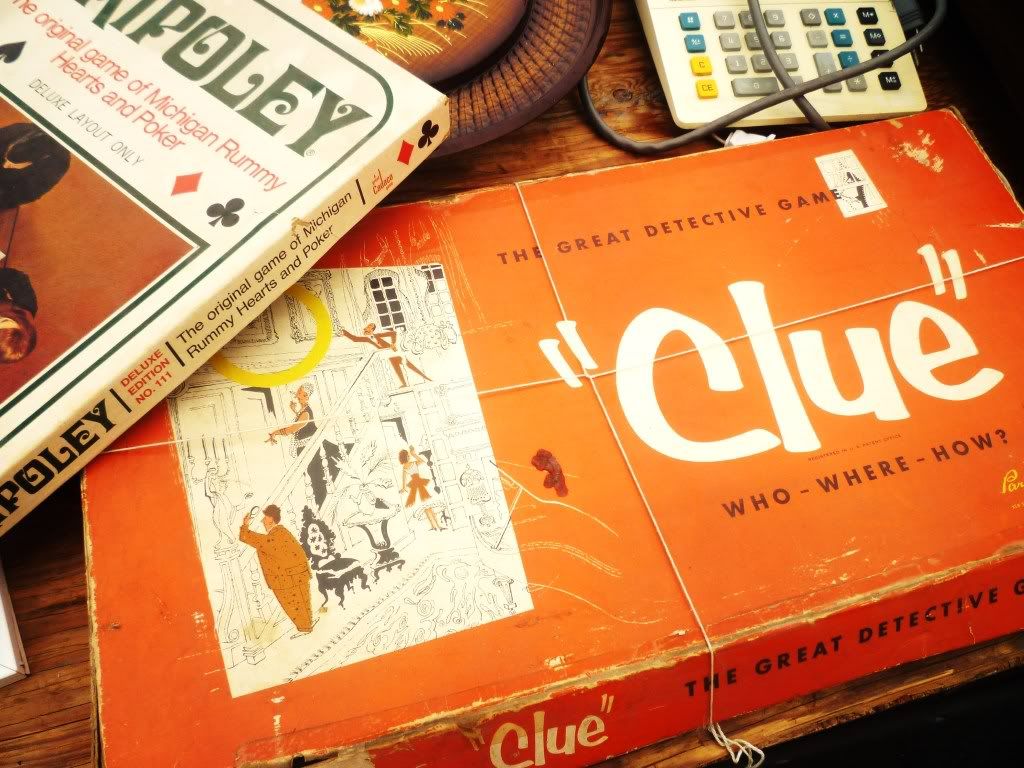
Vintage game of Clue. I wonder if it had all the pieces?


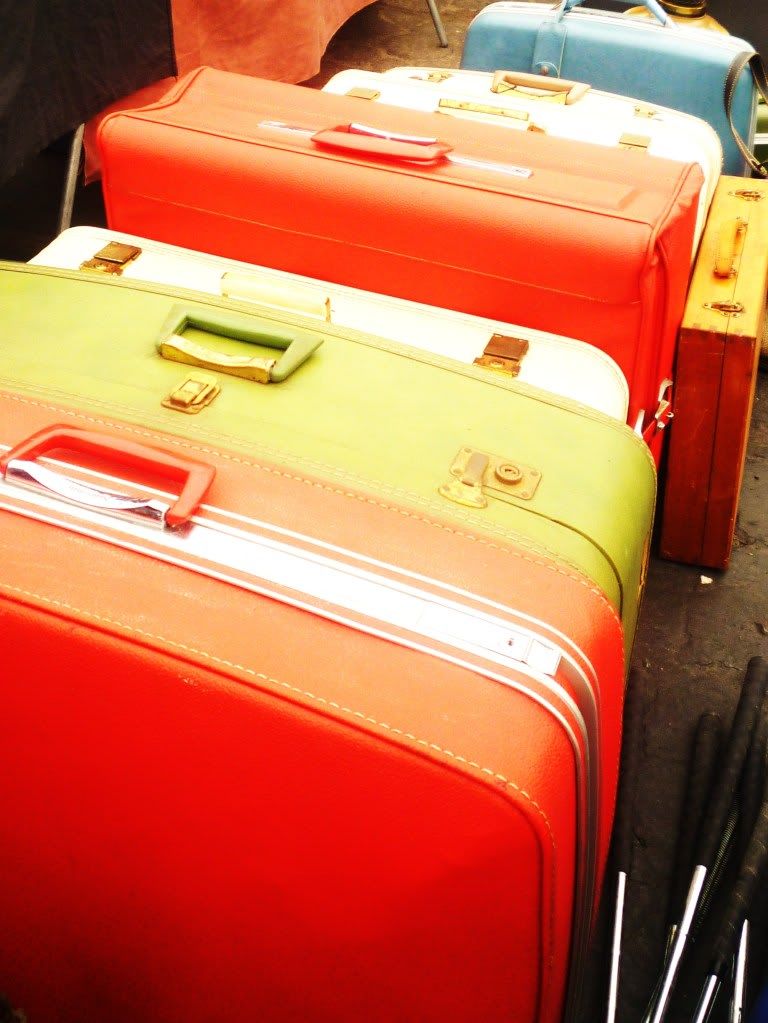
I loved all of these suitcases. I saw a photo recently of  vintage suitcases stacked in a guest room as a nightstand. If we had a guestroom, I SO would have snatched a few of these up
.


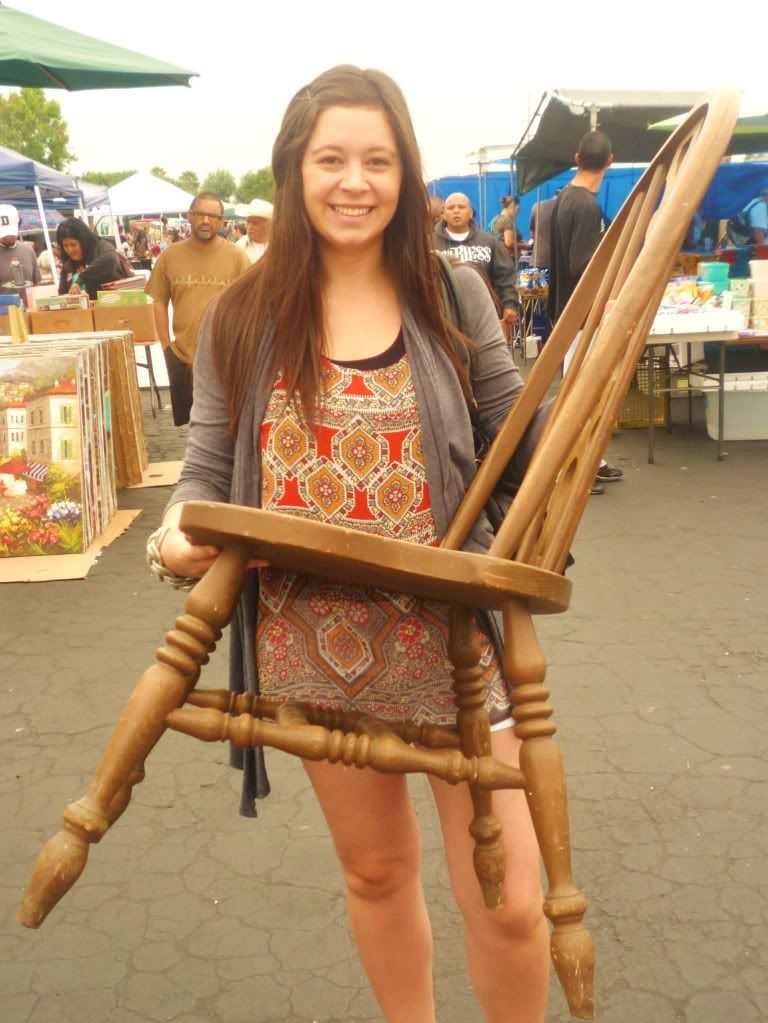
Chair #2. Found!


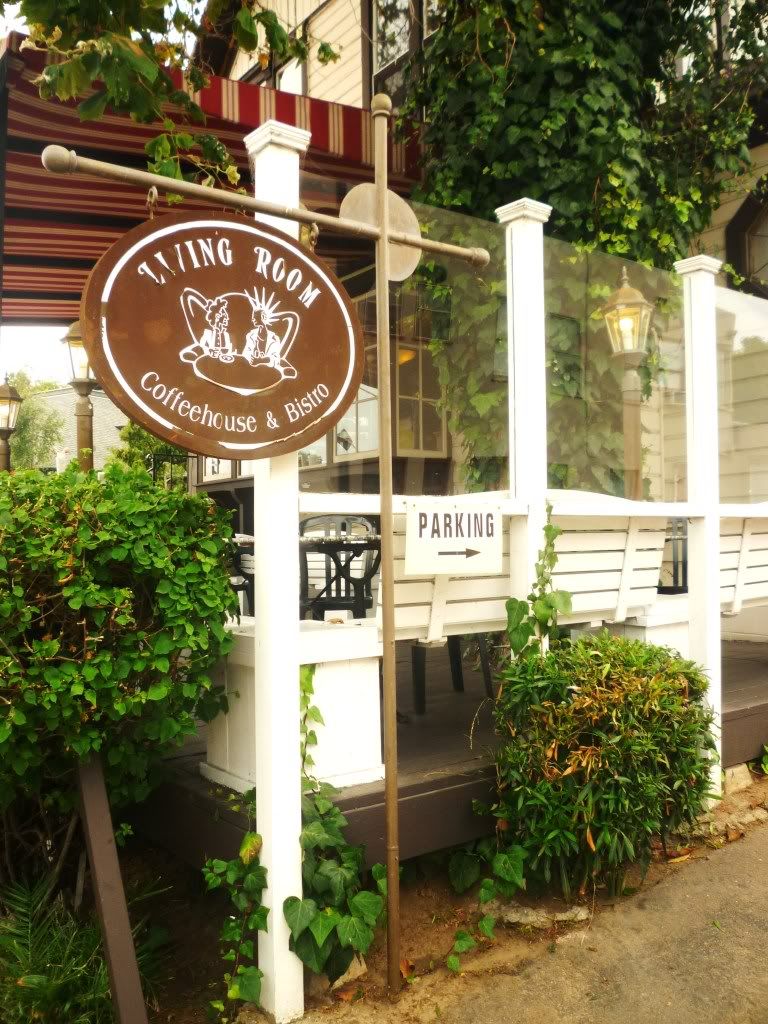
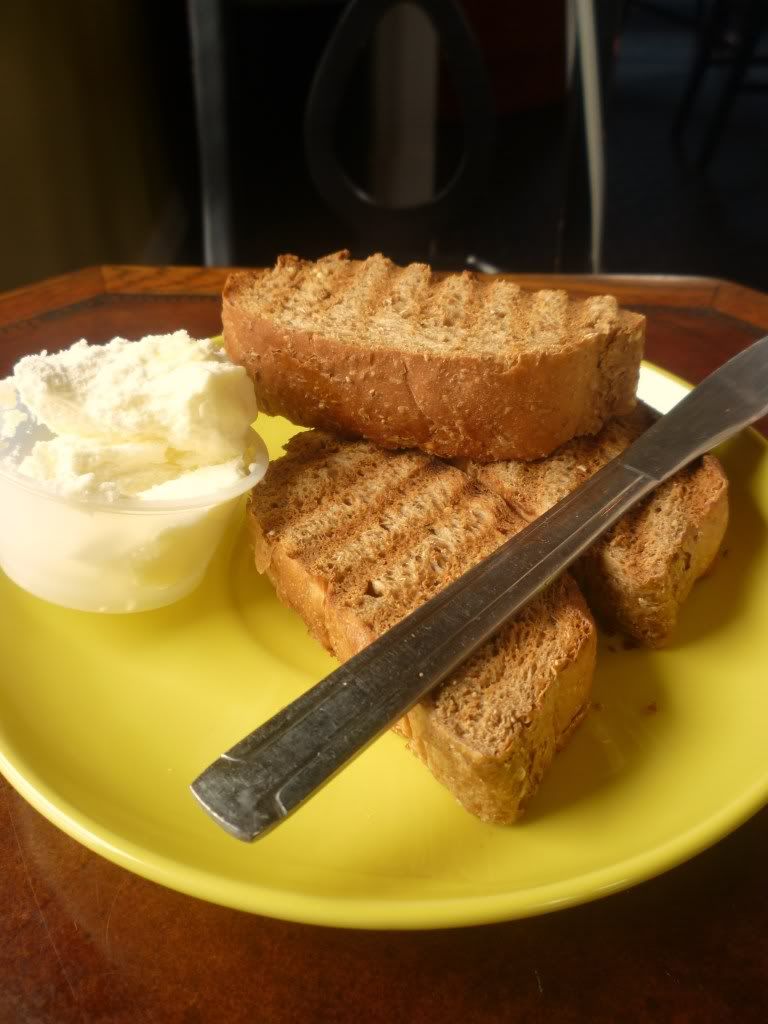
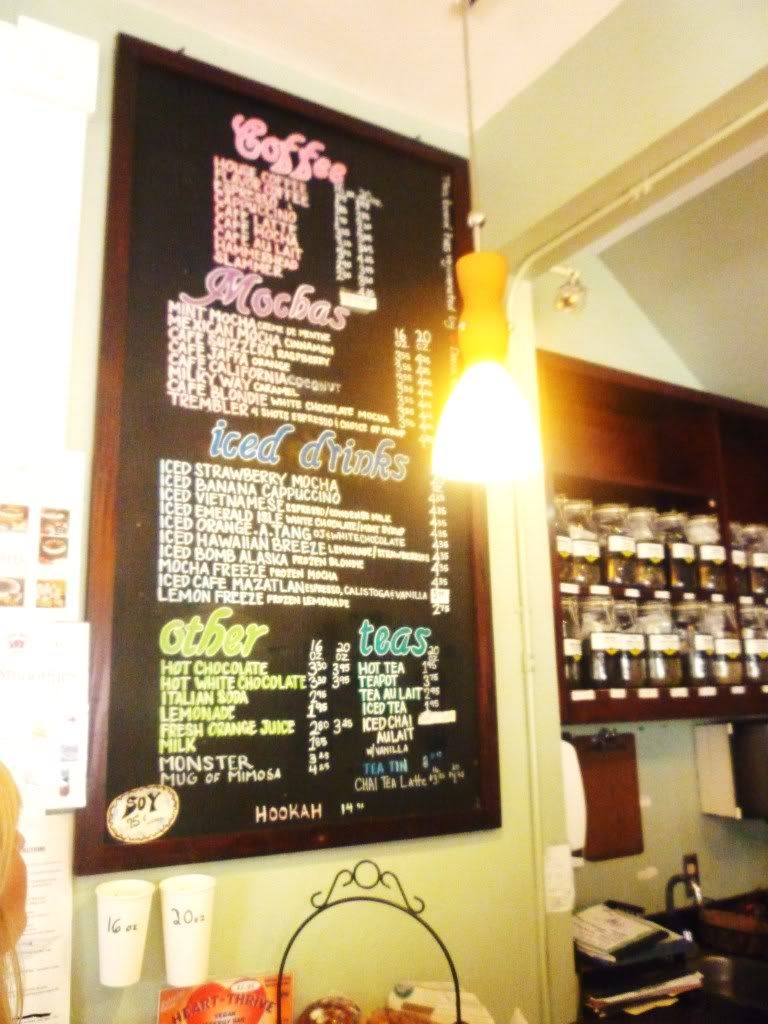
Needing som re-fueling, we headed to The Living Room in Point Loma for a quick latte and bite to eat. 


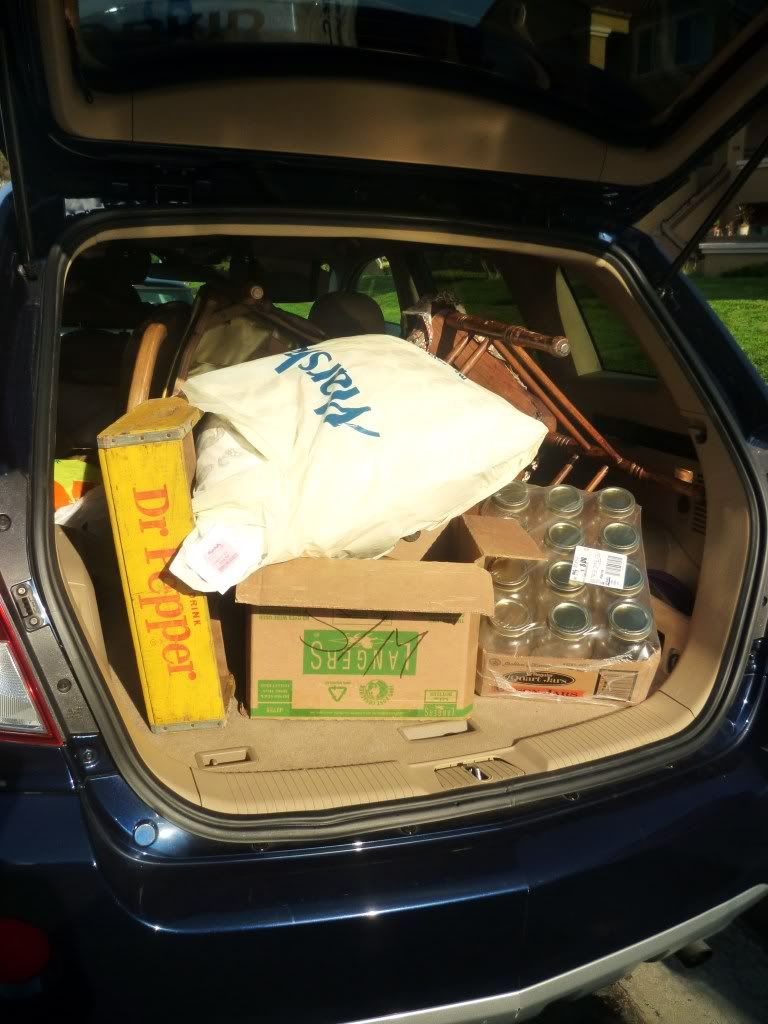
I think by that time I had camera fatugue, because the pictures are lacking, but we managed to make it to Amvets, Big Lots, Goodwill, The Rock Thrift Store, Salvation Army (where chair #3 was found!), Pier One, World Market, Ross & Marshalls. Whew! That was one long day, resulting in one VERY full car...

And since it took me a whole week and a half to get around to this post, Nicole actually was able to refinish her chairs! Doesn't it look great?


I need some of that motivation she has. If I had purchased these, it would have taken me AT LEAST a month to get around to buying the paint, and who knows when I would have completed the project. Oh, well.