Pages

Showing posts with label dollar store. Show all posts

Tuesday, October 25, 2011

Painted Pumpkins

Last week, Brandon and I were invited over to our friends Jami and James' house for an evening of pumpkin painting. In the past, I've always carved pumpkins, but frankly, that's a lot of work and I'm always just a little bit afraid that I'm going to cut off my finger.

Anyway, it was a great night full of good friends, hot cider, pumpkin beer, crockpot mac and cheese, and chocolate chip banana bread. Oh, and painting pumpkins of course.
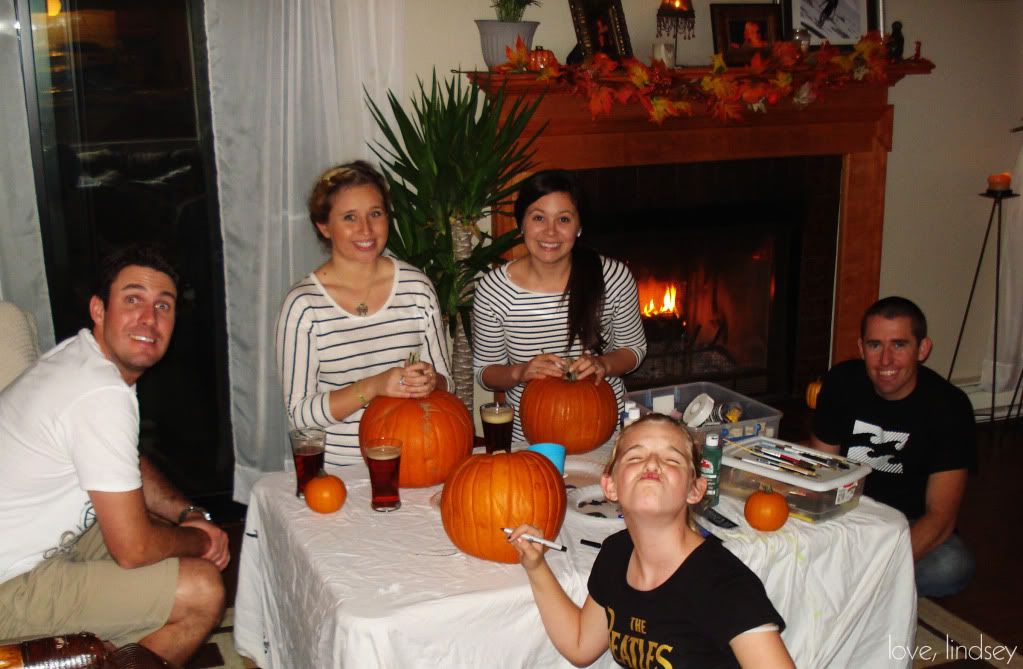
{there are about a million things I love about this picture- from some of the awesome faces, to the fact that Nikki and I pretty much are dressed as twins.}


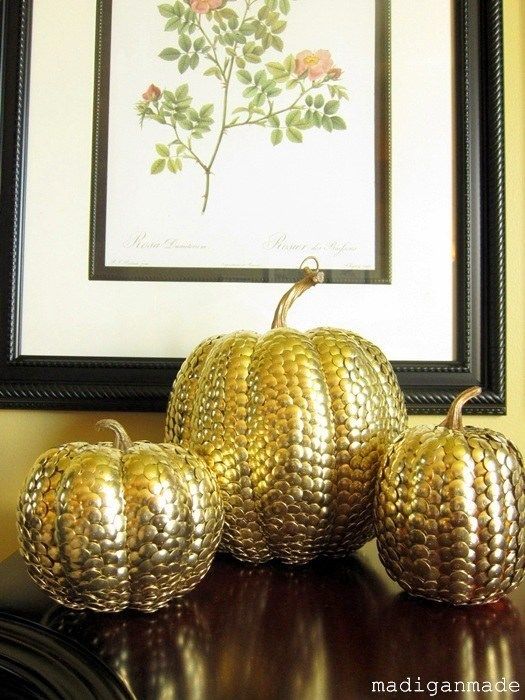
We had a lot of creativity going on in that room- from a Charlie Brown pumpkin, to a spider web one, they all turned out great. Inspired by these pumpkins from Madigan Made, I decided to do a little gold thumbtack bedazzling.
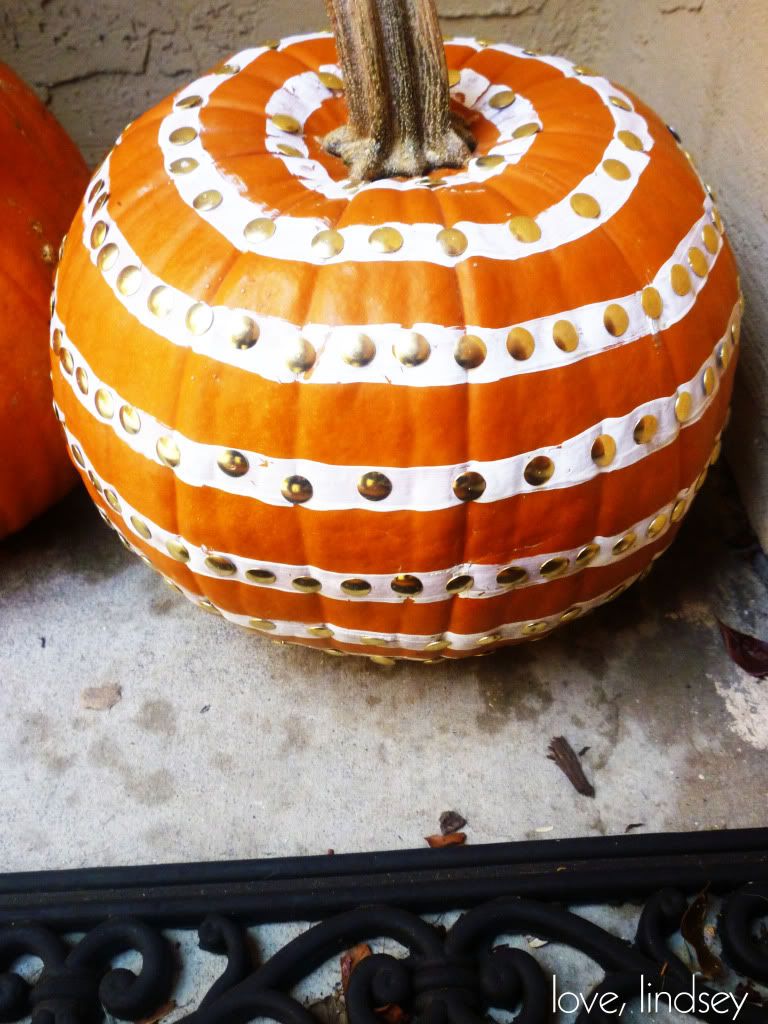
I simply freehand painted horizontal white stripes. If you wanted something a little more precise, this is where painters tape might come in handy. After making my way around once, I painted a second layer on each of the stripes. Then, I let it all dry slightly and started in with the thumbtacks. For this pumpkin, I used all but about 20 in the pack of 300 (tip: go buy them at the dollar store).

Here's the result:

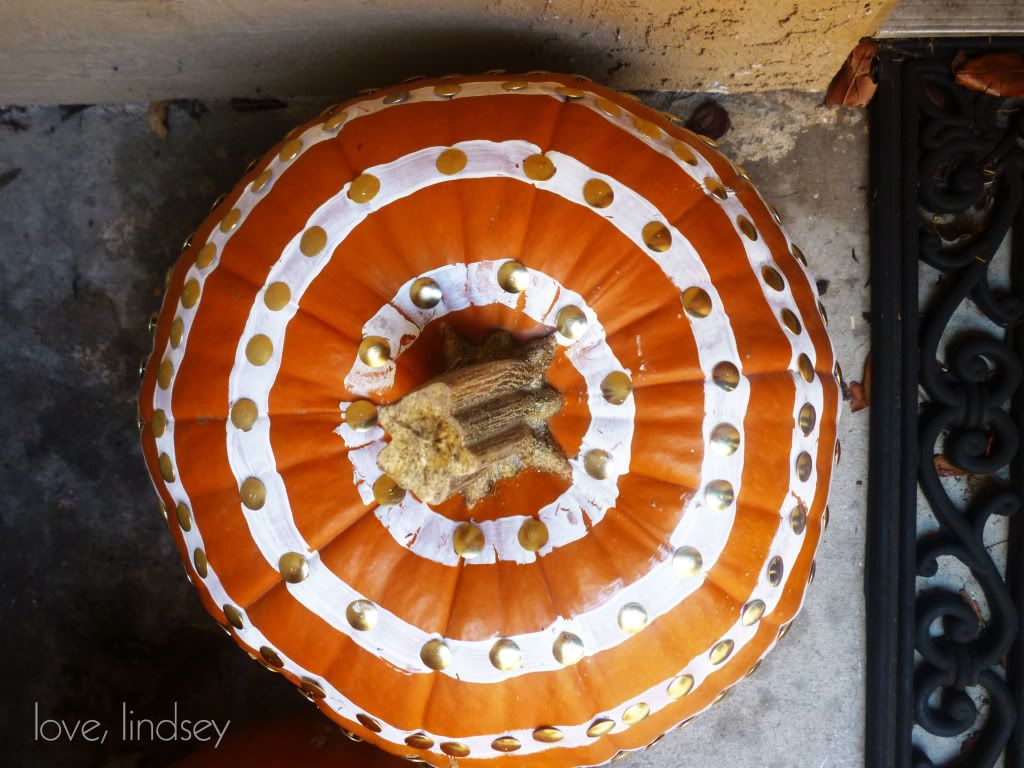
Top view!
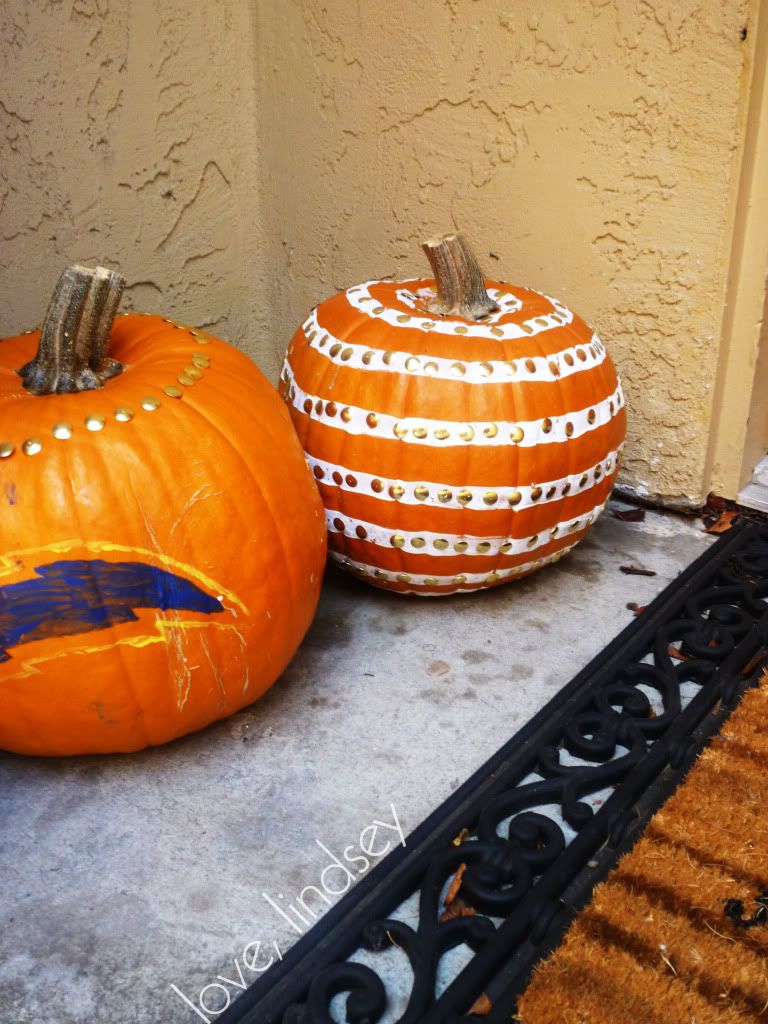
And here we are, next to the husband's Chargers pumpkin that I "ruined" by bedazzling it. If you ask me, I only improved its beauty and made it coordinate better with my stripey thumbtack creation.
Like it? I love it!

Linking up to:
Home Stories A to Z 
funky junk interiors
 

Monday, October 17, 2011

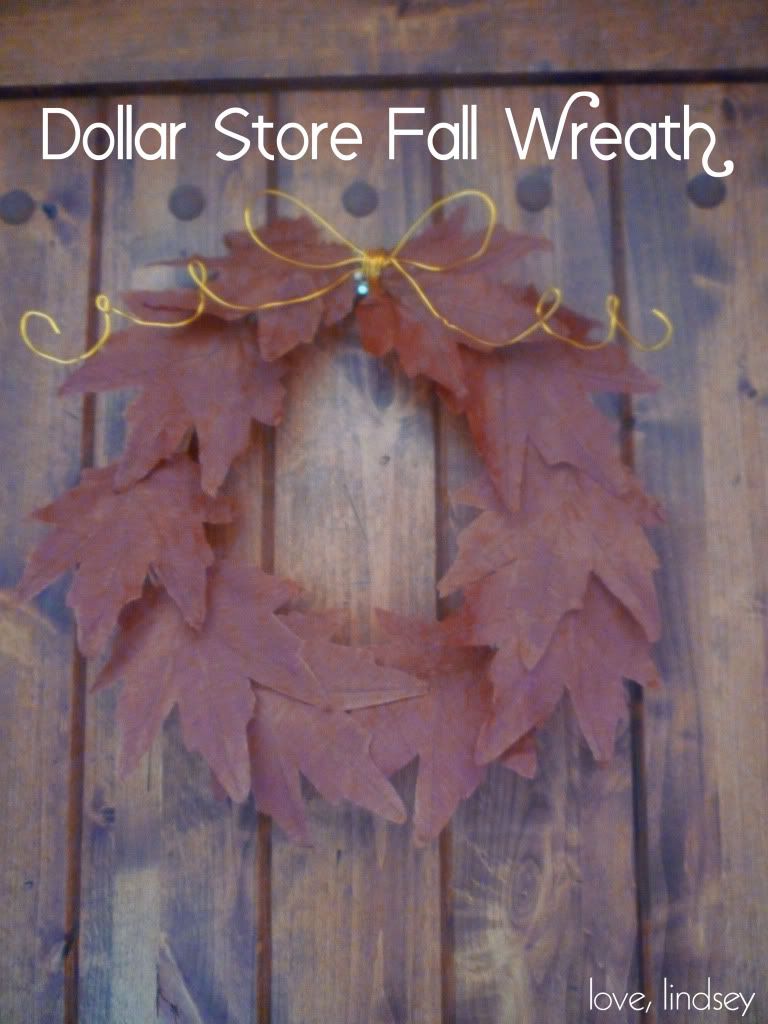
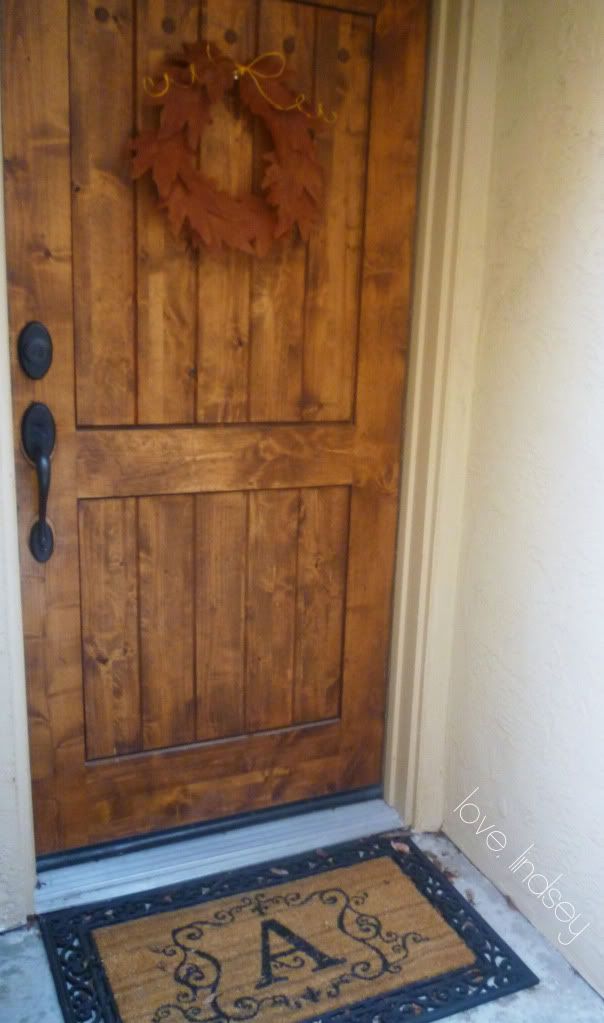
Simple Dollar Store Fall Wreath

Yup, that's right, we're getting all kinds of thrifty around here and making a wreath with only dollar store supplies. You'd be surprised what kind of goodness (and crap) you can get for a dollar.

Last weekend I decided to make a dollar store stop and see what my mind could dream up. I got lucky and found some pretty great stuff!

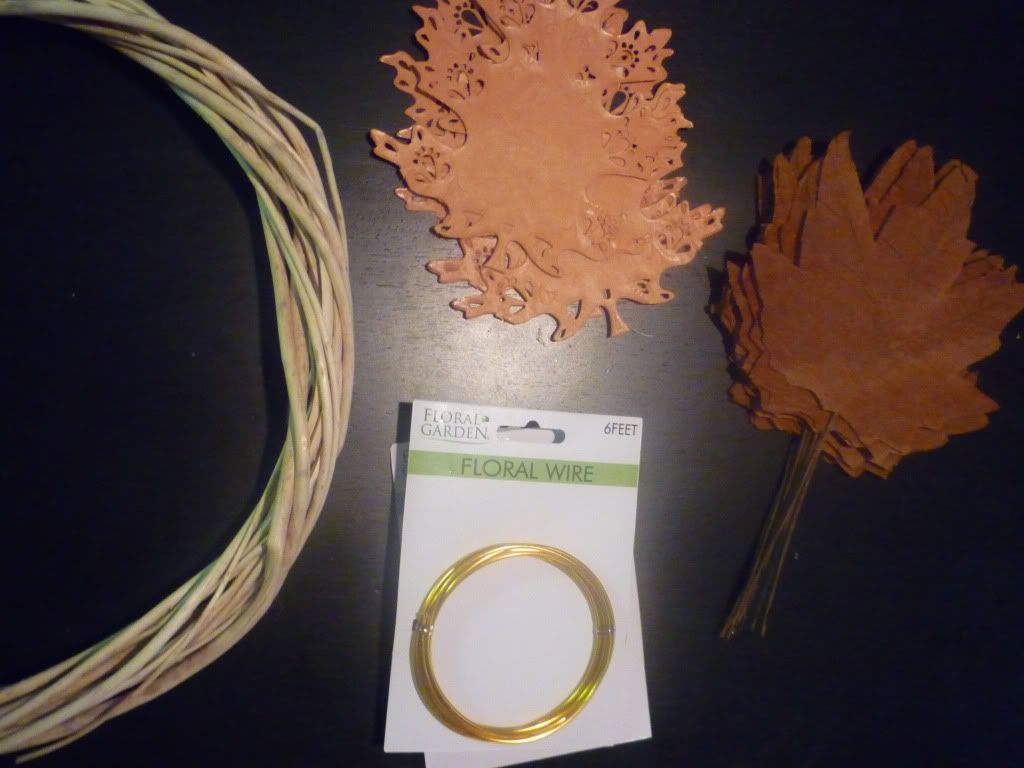
I started off with a simple willow wreath, some paper leaves with wire stems and some floral wire. I ended up not using the leaf doilies in the picture below, but I'm sure they'll get used for something soon. (please excuse the kind of awful photo)


This project is super duper easy. The leaves came in a package of ten, so I decided I would need five on each side of the wreath. I started from the bottom and worked up and out to the sides so the leaves would overlap and the entire wreath would have a balanced, symmetrical feel. Since the leaves have wire stems, all you need to do is weave the stems through the willow to secure.

Once all the leaves were on, I used the floral wire to make a bow. Floral wire is really easy to bend, so just go ahead and play around with it to make the shape you want. To make the ends of the bow loop the way I did, I just wrapped them around my finger a bit.

Next, I used the remaining floral wire to attach the bow to the wreath. Just wrap away. And that's it. You're done. Not bad for $3, huh?


Linking up to:
Home Stories A to Z
funky junk interiors
Beneath My Heart