Pages

Showing posts with label chalkboard. Show all posts

Tuesday, September 13, 2011

Espresso Can

It started with this:

I don't know when it started, but recently I've acquired the inability to throw away containers. Maybe it's my obsession with organization. Maybe it's the fact that I see potential in what others might call trash. Whatever it is, something deep down made me keep this empty container of Trader Joe's Quick Cook Steel Cut Oats. When I saved it, I had no idea what I wanted to do with it.

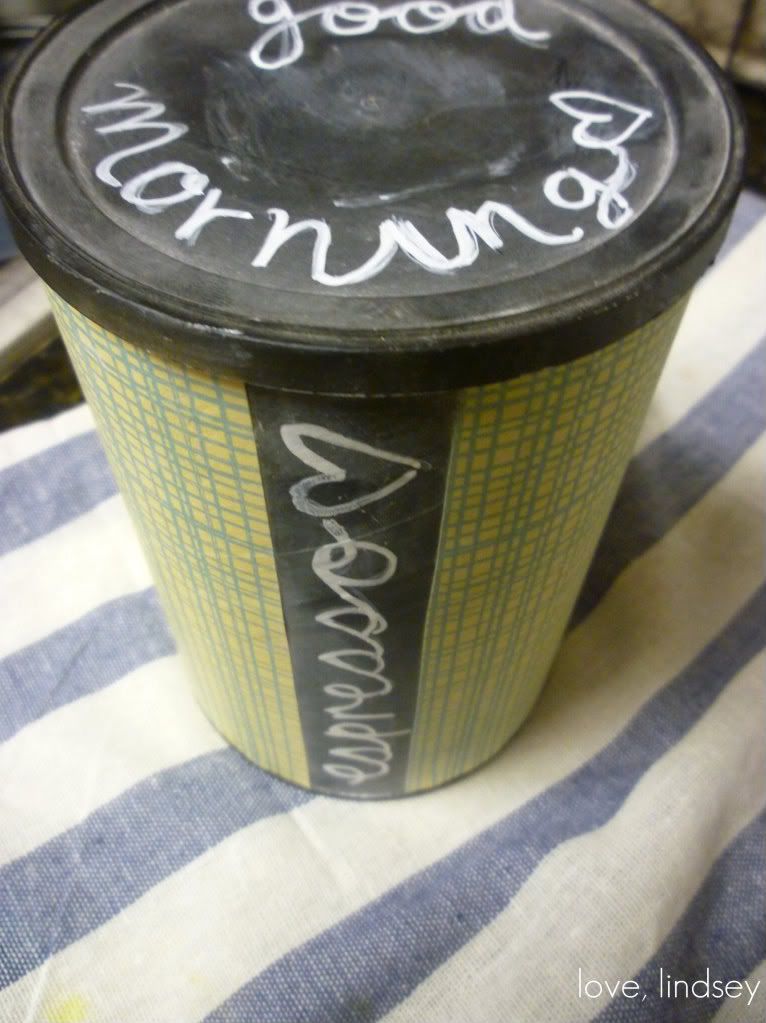
But, of course, the day came and I needed that container. What ever would I have done if I had thrown it away like any normal person would have?? What exactly did I need it for? To store my espresso! Of course, I couldn't have an espresso container with a steel cut oats label, so this little can got a makeover. 

First, I peeled off the paper label. It came off surprisingly easy. 

Next, I selected some scrapbook paper to cover the canister. I measured it, and unfortunately it wouldn't wrap all the way around the can. So what's a girl to do? Use some chalkboard paint!

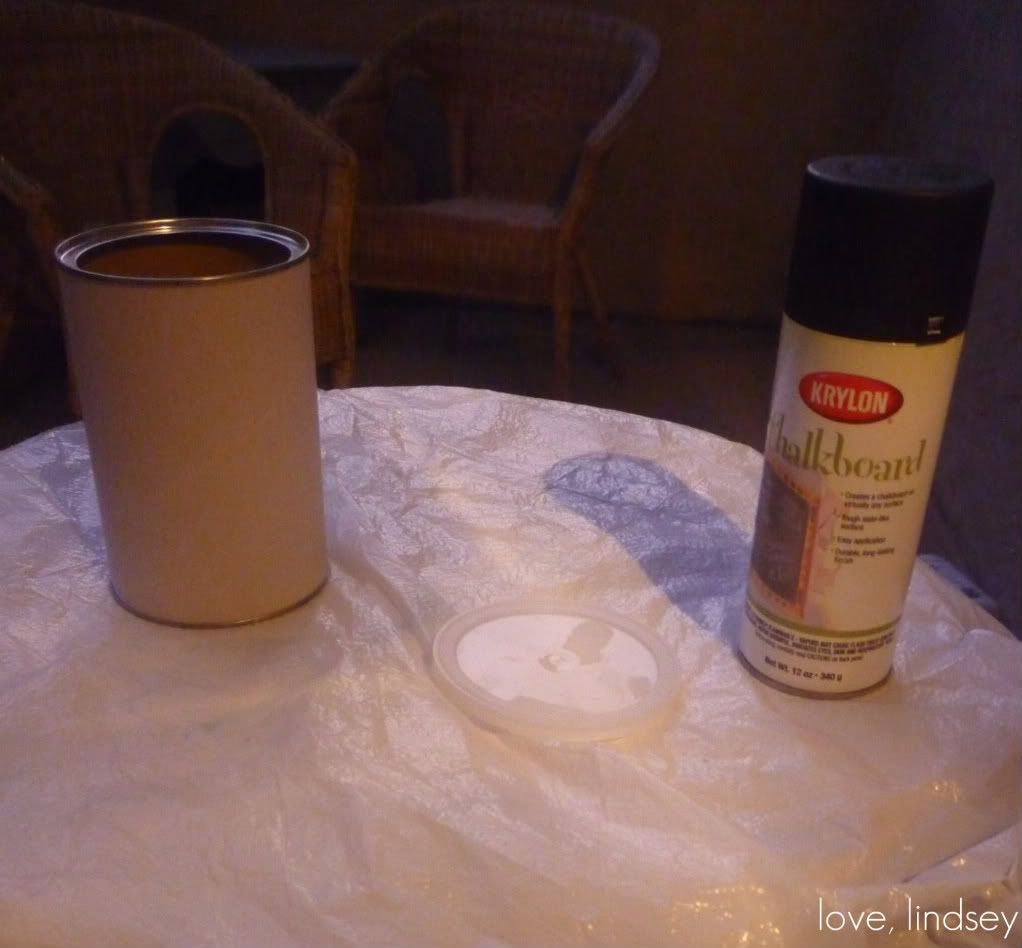
This time, I used the spray stuff. It's great for a super even finish. I took the canister and sprayed a small strip of paint down the side. No need to be exact, you just want to make sure you cover enough space to accommodate the gap in the paper.. I also gave the lid a couple of quick coats of paint.
Once dry, you're ready to affix the paper. I used glue dots, but you could also use a glue stick, a glue gun or whatever sort of adhesive you've got on hand. You don't need to use adhesive on the entire thing, just a little on the vertical edges is enough.

Now you can write! I decided to use a chalk ink pen (found at Michael's) since I'll be grabbing the canister often and don't want the chalk to rub off easily. 

And we're done. Cute, huh?

linking up to:

Tuesday, September 6, 2011

Sign Redo

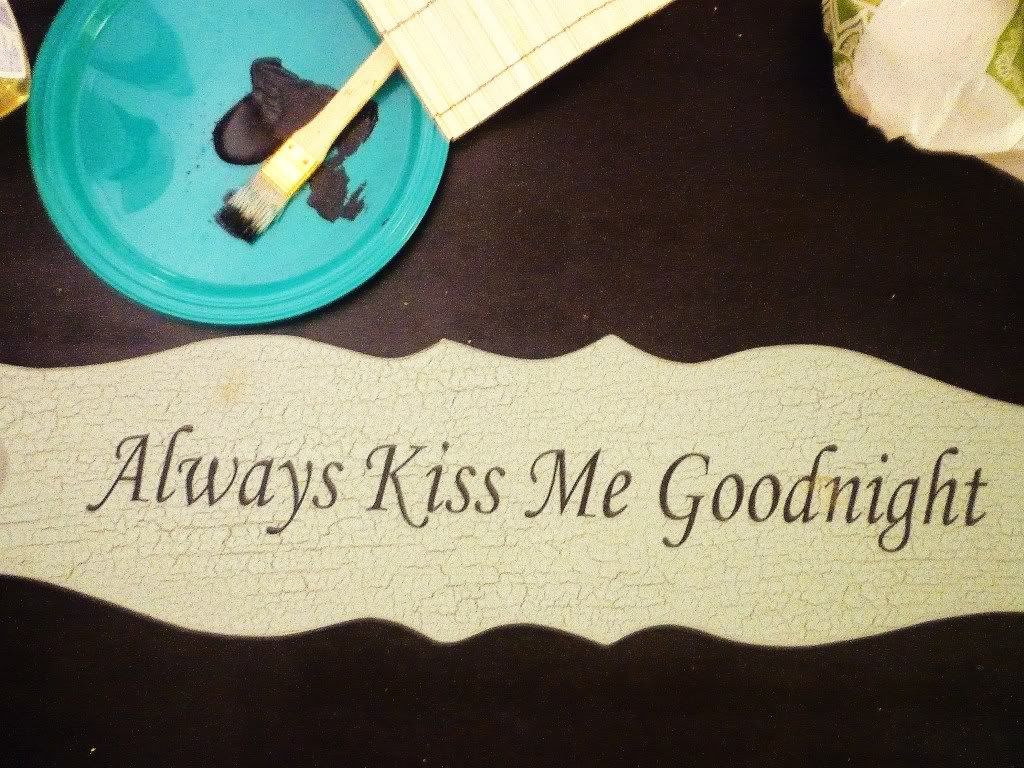
I went shopping at Ross (what a surprise) and came across a wood sign. I loved the color. I loved the shape. I loved the $5.99 price tag.  But I didn't really love what it said. Well, it wasn't so much what it said, more that I just wasn't a huge fan of the font. It was okaaaaay, but just not exactly what I wanted. I still threw it in my cart though... I had plans.
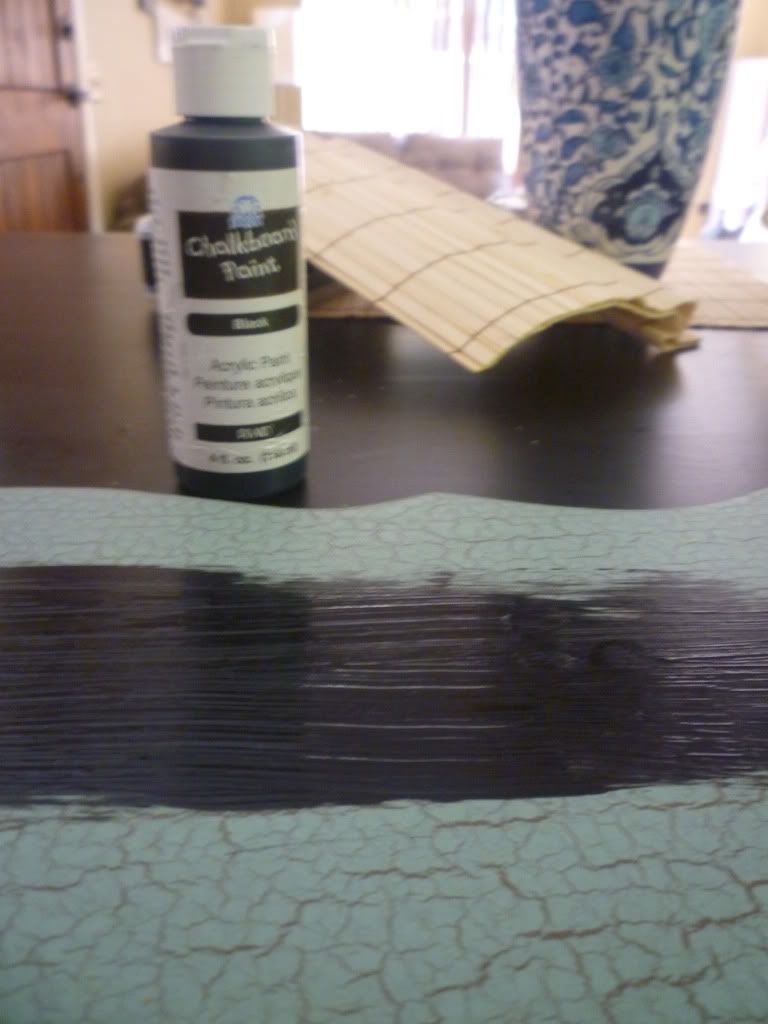
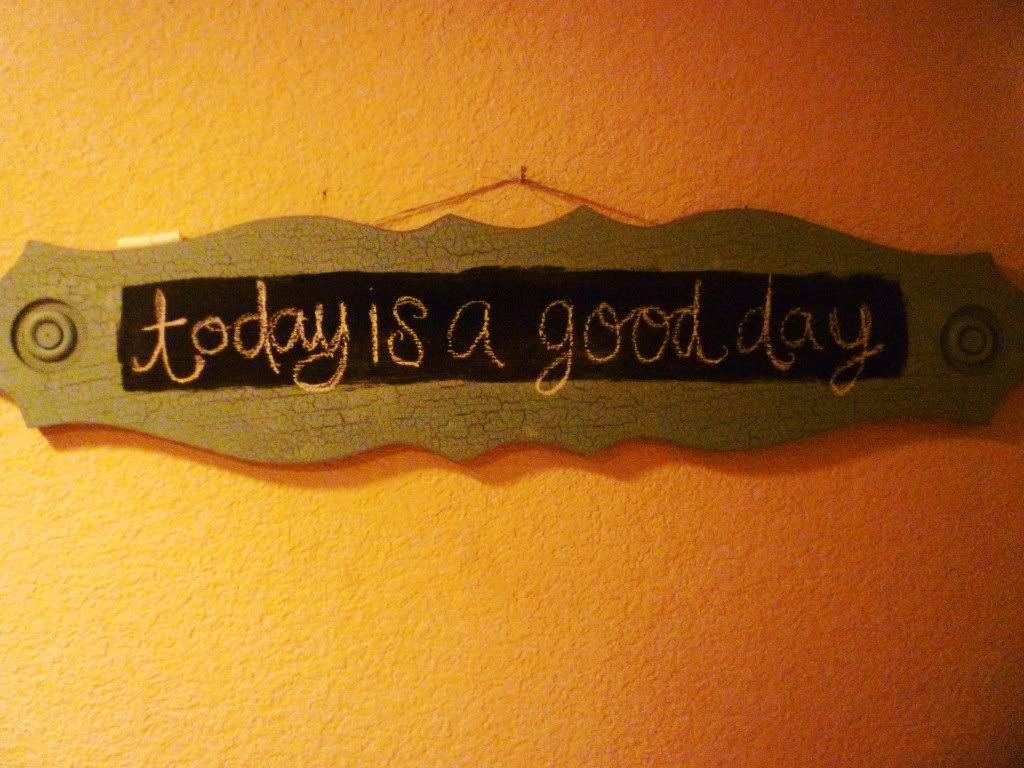
See where I'm going with this? Yup. I made it a chalkboard sign. With a few coats of chalkboard paint, I turned  a sign I thought was so-so, into something I LOVE.
Now, I realize I'm not the first person to give something new life with chalkboard paint, but I really just can't get enough of the stuff. It can make just about anything a functional chalkboard and is such a quick project that anyone can tackle. I love the feel a chalkboard can bring to a space, and that what you write on it isn't permanent, so you can change it up as much as you like.
It turned out great, huh? I have it hanging in the hall near our bathroom, so it's one of the very first things I see in the morning.

Quick tip #1: You need to "season" your chalkboard before use. After the paint has thoroughly dried, rub the entire surface with the side of a piece of chalk, then erase. If you don't, your chalkboard will forever (at least faintly) display whatever you first wrote on it. Trust me when I say this... I made many chalkboards for my wedding that I thought I could re-purpose post-wedding. Because I didn't prepare them correctly, I now have random signs that say "guest book", and "lemonade"...Lesson learned? Make sure you read the directions on the label of your paint.

Quick tip #2: If you want your chalkboard to display a saying that doesn't rub off as easily, try using chalk ink pens (you can find them at Michael's). They're not permanent, but they require a damp rag to wipe clean, so occasional bumps, or perhaps little hands won't mess up your work of art like they would traditional chalk.