
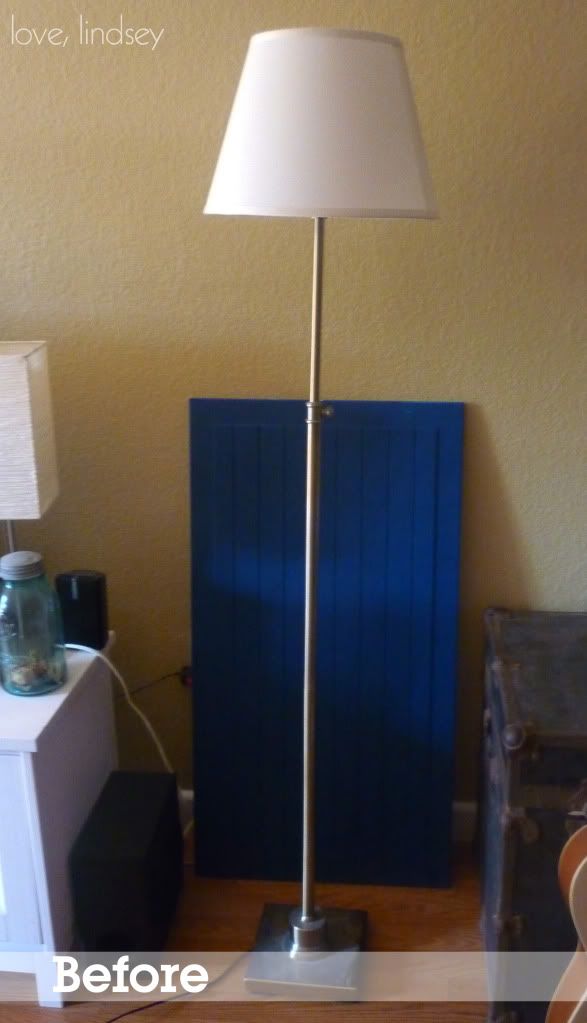
We bought this lamp just after we got married last year mostly because we really just needed a light source in our bedroom. We went to store after store trying to find a floor lamp that didn't cost a bajillion dollars that we could both agree on. And somehow we ended up with one that neither of us liked too much. I think we were both tired of having to turn on the closet light and squint to find things in our room post-sundown. Luckily, it was pretty cheap, so I feel no guilt about completely changing it.
I started off by removing the shade and light bulb and taping off the light bulb socket. Then I got to work painting. I picked up this trigger attachment for less than $3 at Home Depot, and boy was that a good choice. It really helps you get a more even finish and my finger didn't get nearly as tired. It fits on all spray paint cans and I will definitely be using it over and over again. I highly recommend picking one up if you have any spray paint projects in your future.

We both agreed we didn't really like the shape of the shade and wanted something that was more of a drum shade instead. I ended up finding a great one at Walmart for about $15 (although I'm sure it was like $14.97 or something like that since all of their prices seem to end in .97). I had originally intended to paint a pattern directly on the shade with a stencil. But after a few trips to Michaels and not being able to find a stencil I liked I decided against that route. I was staring at it for a quite a while, when I had an idea. How about chicken wire??! Brandon reluctantly agreed in one of those "I'm going to trust your vision, but I think you're a little insane" moments.
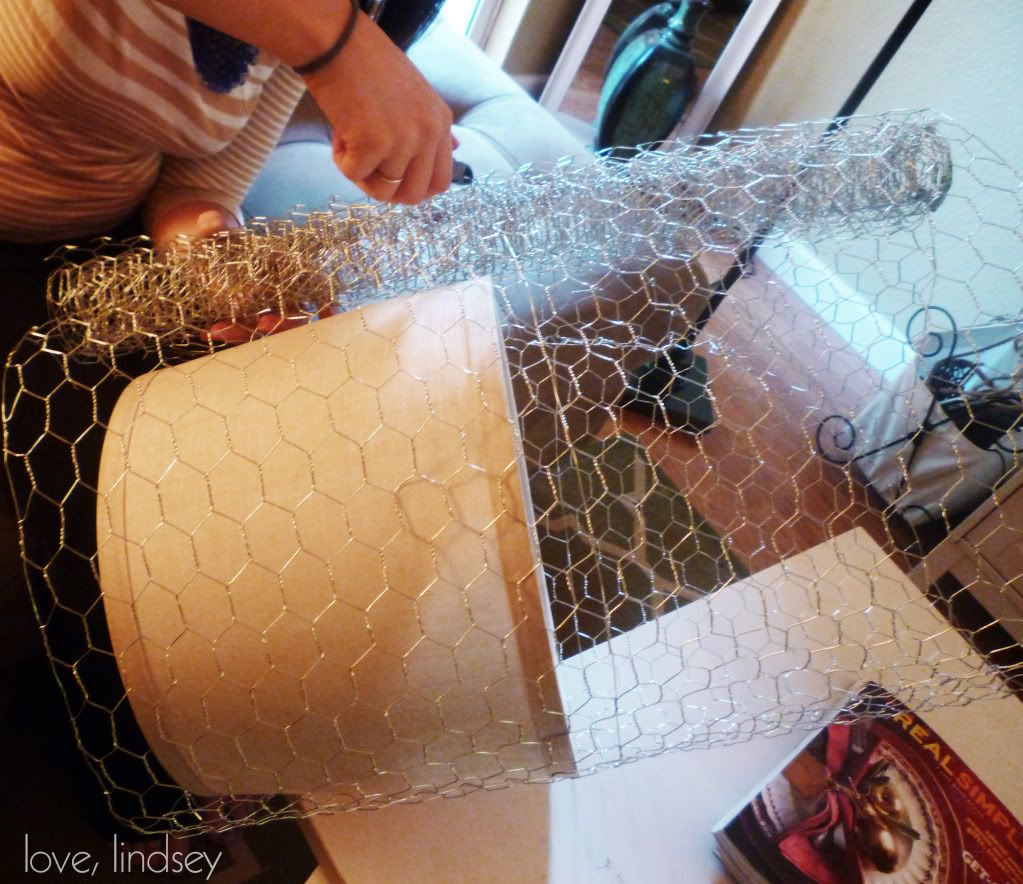
Chicken wire is a little stubborn to work with. Gloves probably would have been a good thing to have on hand (literally!) because I'm pretty sure I scratched myself at least a few times. I loosely measured the amount of wire I needed and then spraypainted it the same oil rubbed bronze as the base. Once dry, I got to work. Unfortunately, I didn't take many pictures of this step. I'm not going to lie, it was pretty time consuming to cut the wire perfectly and get it to match up at the seam by twisting it together. Pictures probably would have involved scratched up hands, eyes bulging out of my head and me yelling at chicken wire. Not pretty.
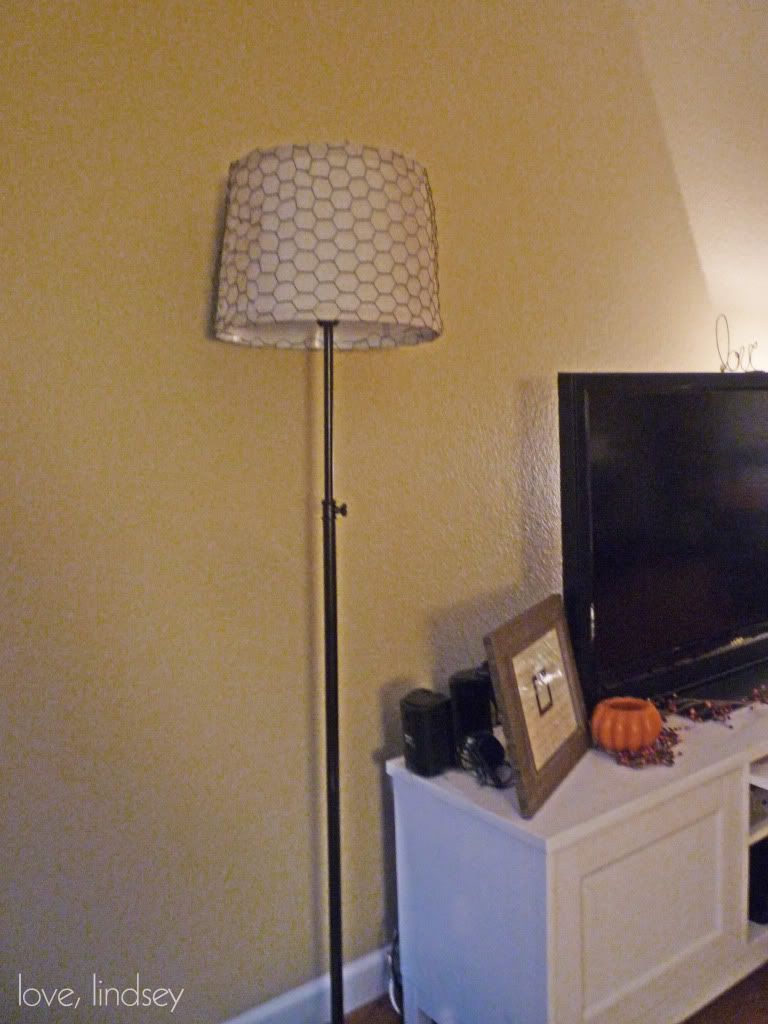
And even more unfortunately, neither Brandon and I are huge fans of the end result. (See? I told you guys I'd share my failures here too) It just looks a little sloppy and homemade when you get too close. We both agree we like the base color, but have decided that the lampshade needs a different look. I have something in mind...I'll be sure to share the final product soon!
Linking up to:
The Girl Creative

2 comments:
Maybe you could try coloring in some of the squares on the chicken wire????
I think this is cute, but it is a bummer when projects don't go as planned. You have a cute blog!! I'm a new follower. :)
Post a Comment